
Ladies and Gents!
Hello! I’m here today with my level 1 project for the Altenew Educator Certificate Program.
the basic requirements:
The challenge was to choose 3 techniques from level 1 classes and explain those techniques while using them to make his and hers card sets. The cards should have a cohesive theme and come in gift packaging that you create. A recycled element needs to be used, whether in the cards or in the packaging. Each card set should contain 4 to 6 cards, for a grand total of 8 to 12 cards. A detailed blog and/or You Tube video is to be made. And of course you must showcase Altenew products.
Stepping up to the challenge:
All of my cards were made with Altenew stamps, dies, stencils, and inks. The few exceptions are the Stazon ink for the acetate, the Versa-Fine ink for some of my sayings and a set of stamped images that I needed to watercolor, and the dies used to cut out the openings for my window cards (flower and fancy rectangle).
I made a total of 10 cards, 5 for the ladies and 5 for the gentlemen, with matching envelopes. I kept a theme of color, patterned papers, and techniques used for each set, so each set is matched, but not quite a carbon copy of one another.
I chose 4 techniques to highlight.
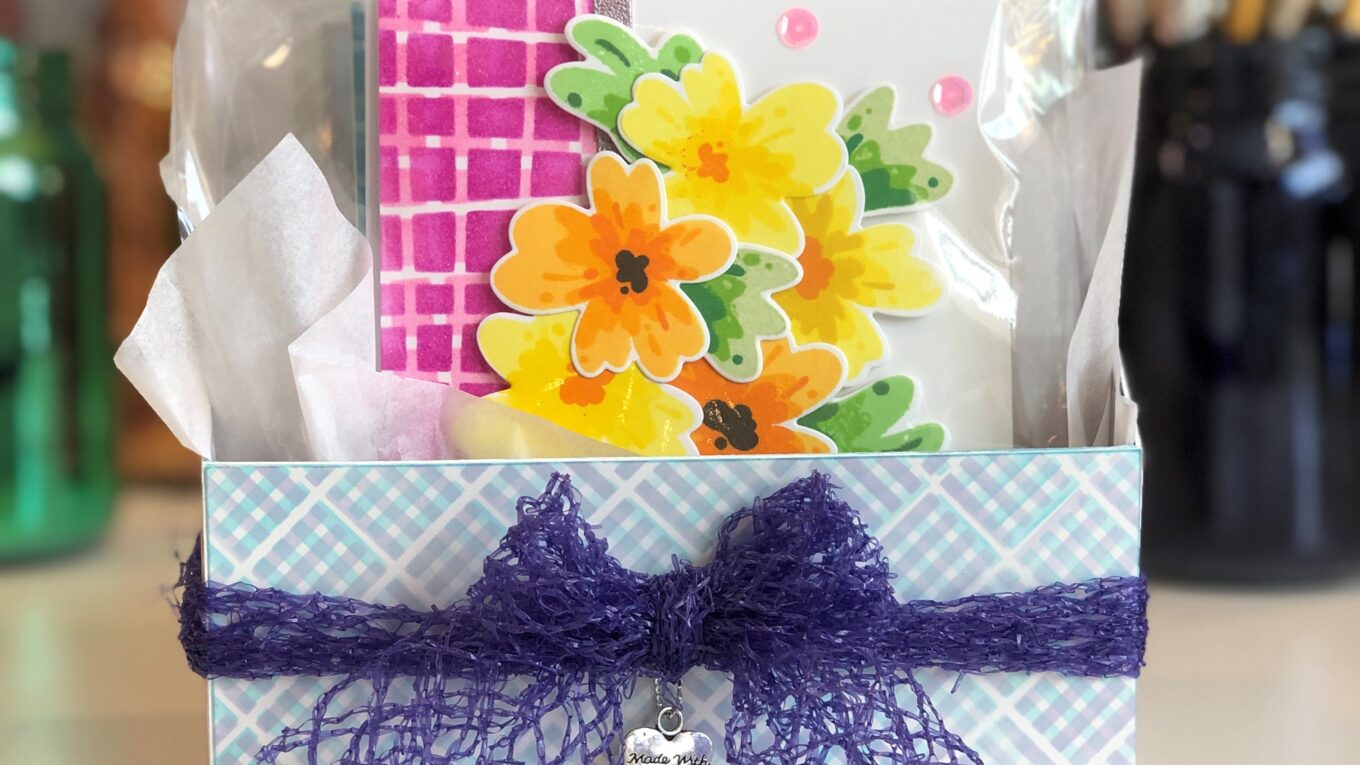
I made the gift packaging from scratch and used the outer coverings to tie in my color and pattern theme.
My recycled element was the bow I used on the packaging.
This blog post has a summary of the techniques I used for my cards and gift box, plus I have provided a You Tube video with more detailed card and packaging making. At times I only focused on one card of each set (Ladies or Gents) since each set is similarly themed and uses the sames techniques. You can see the video here and at the bottom of my blog.
tying my theme together:
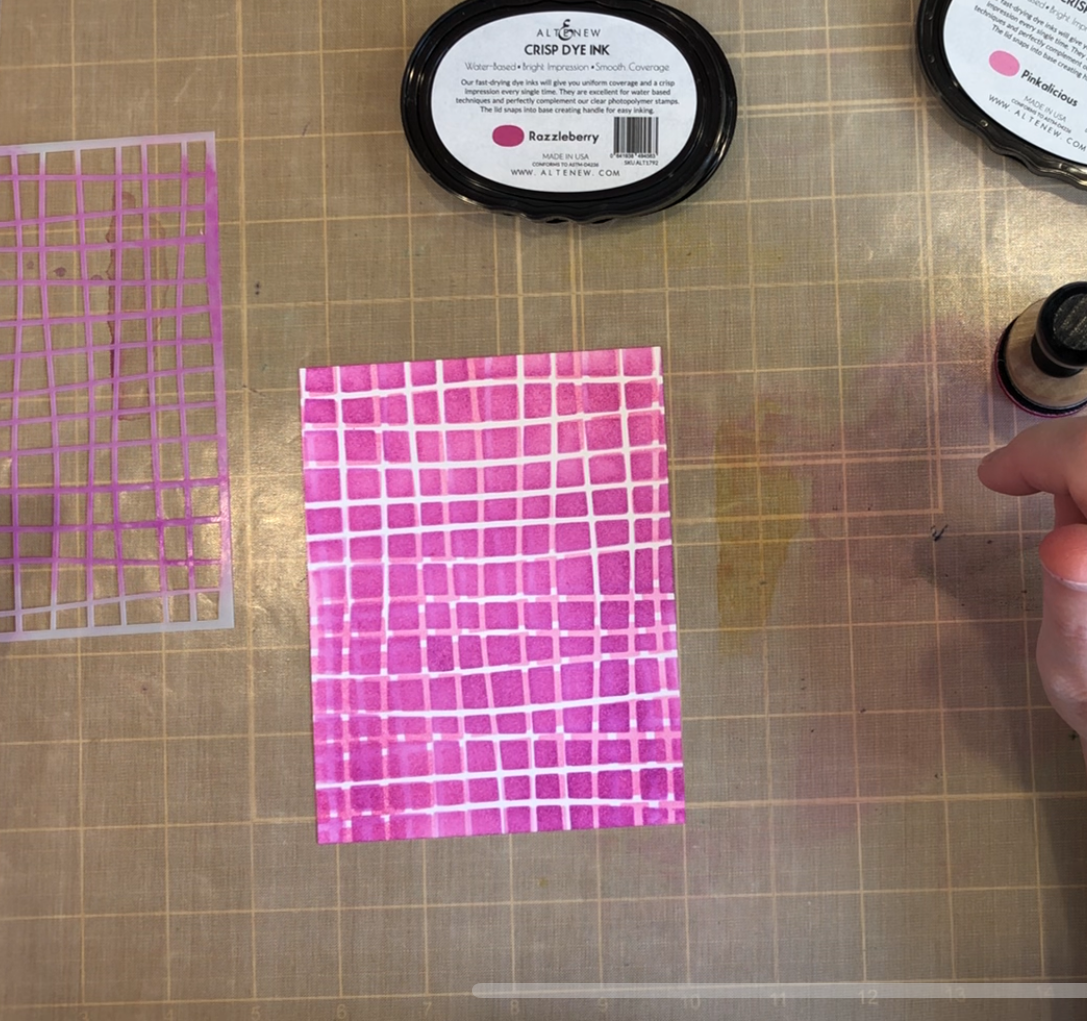
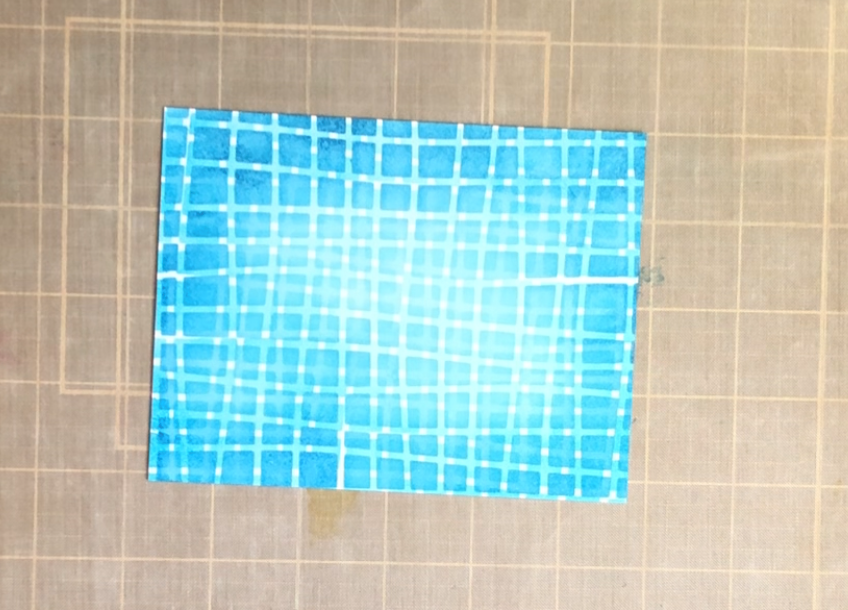
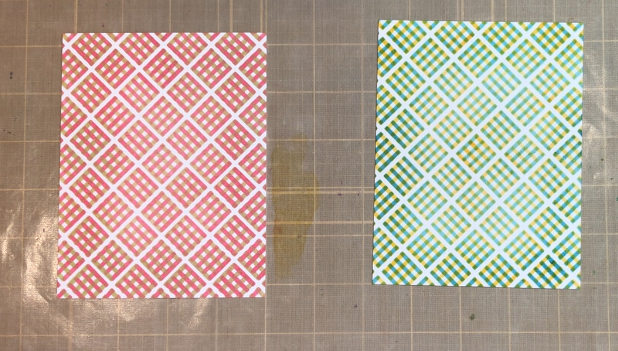
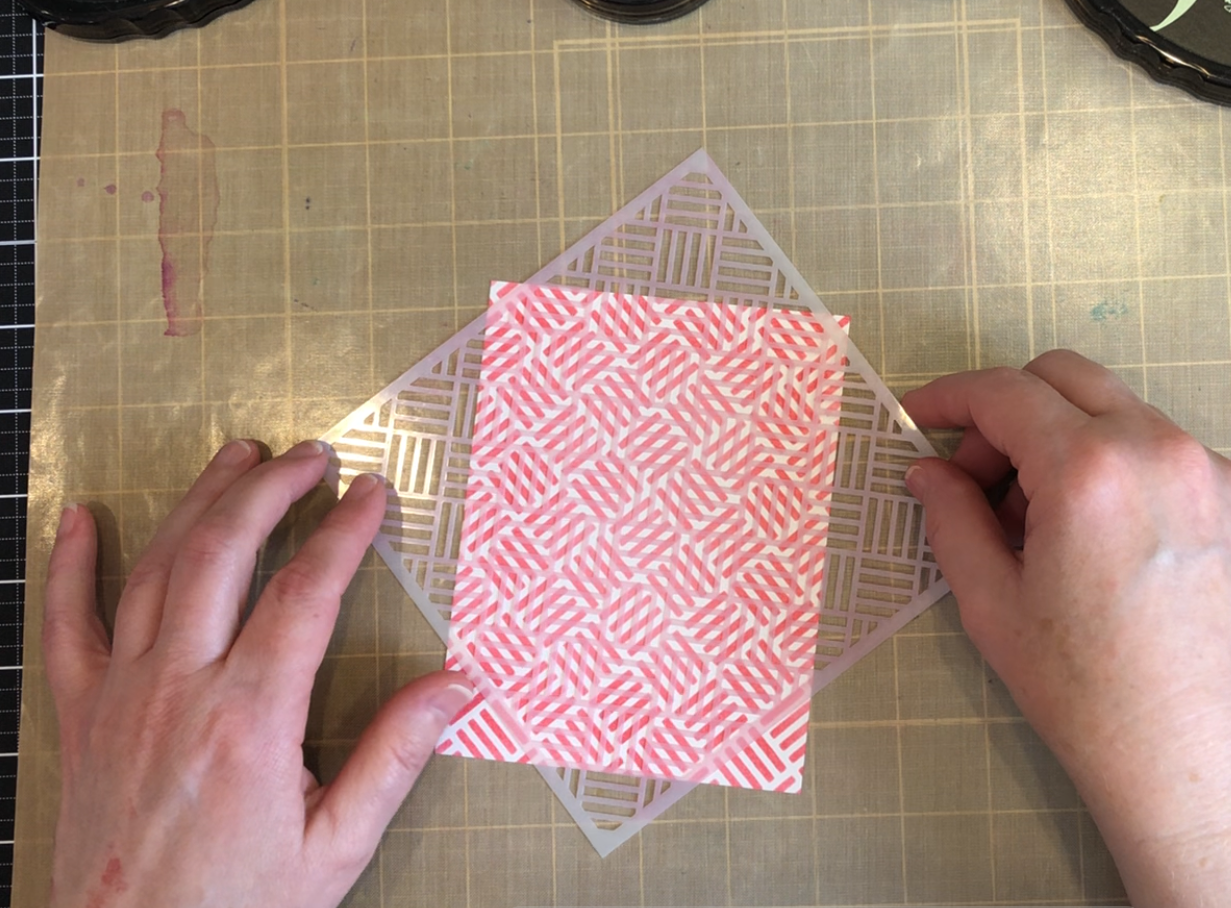
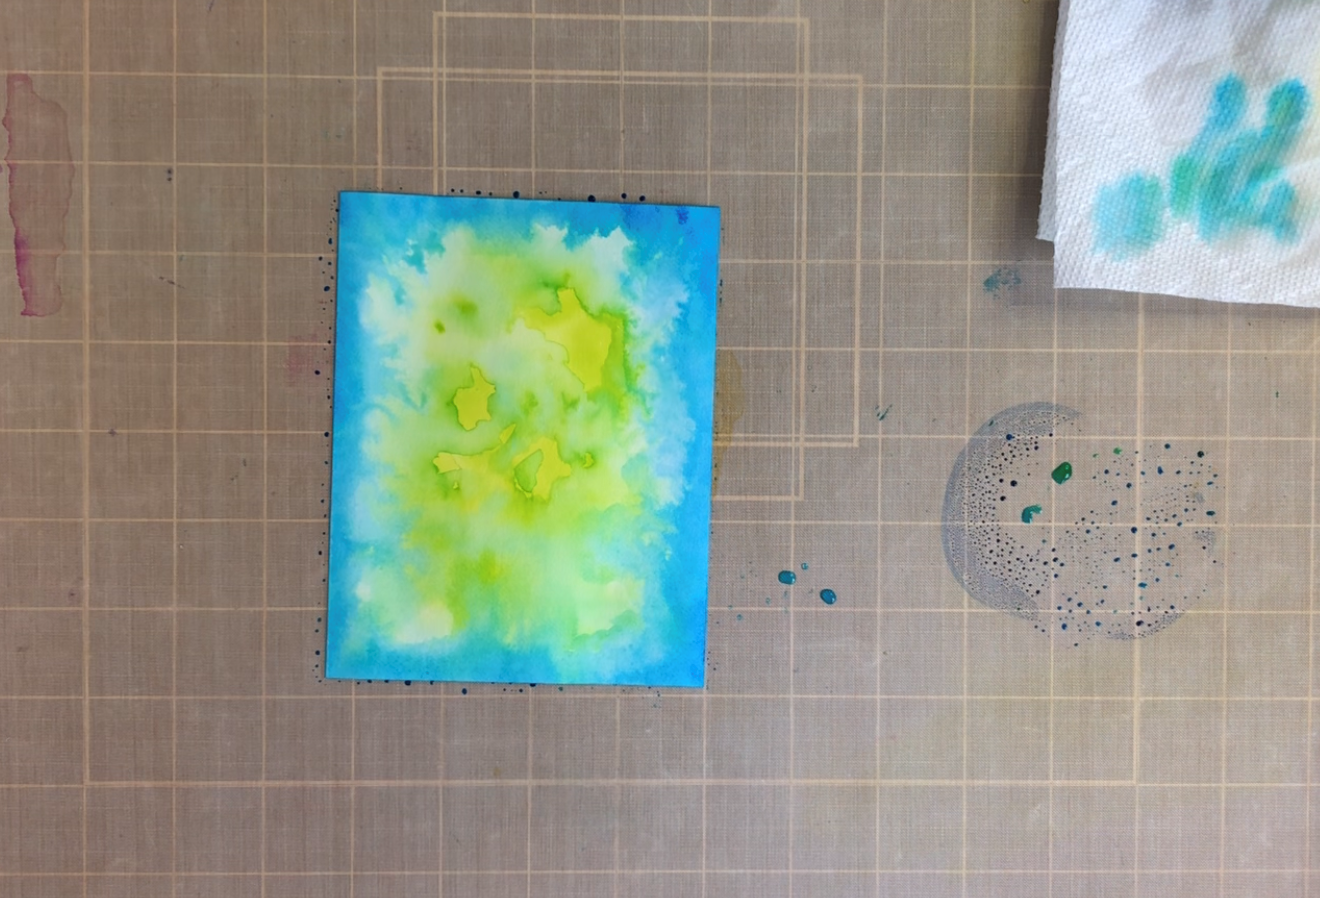
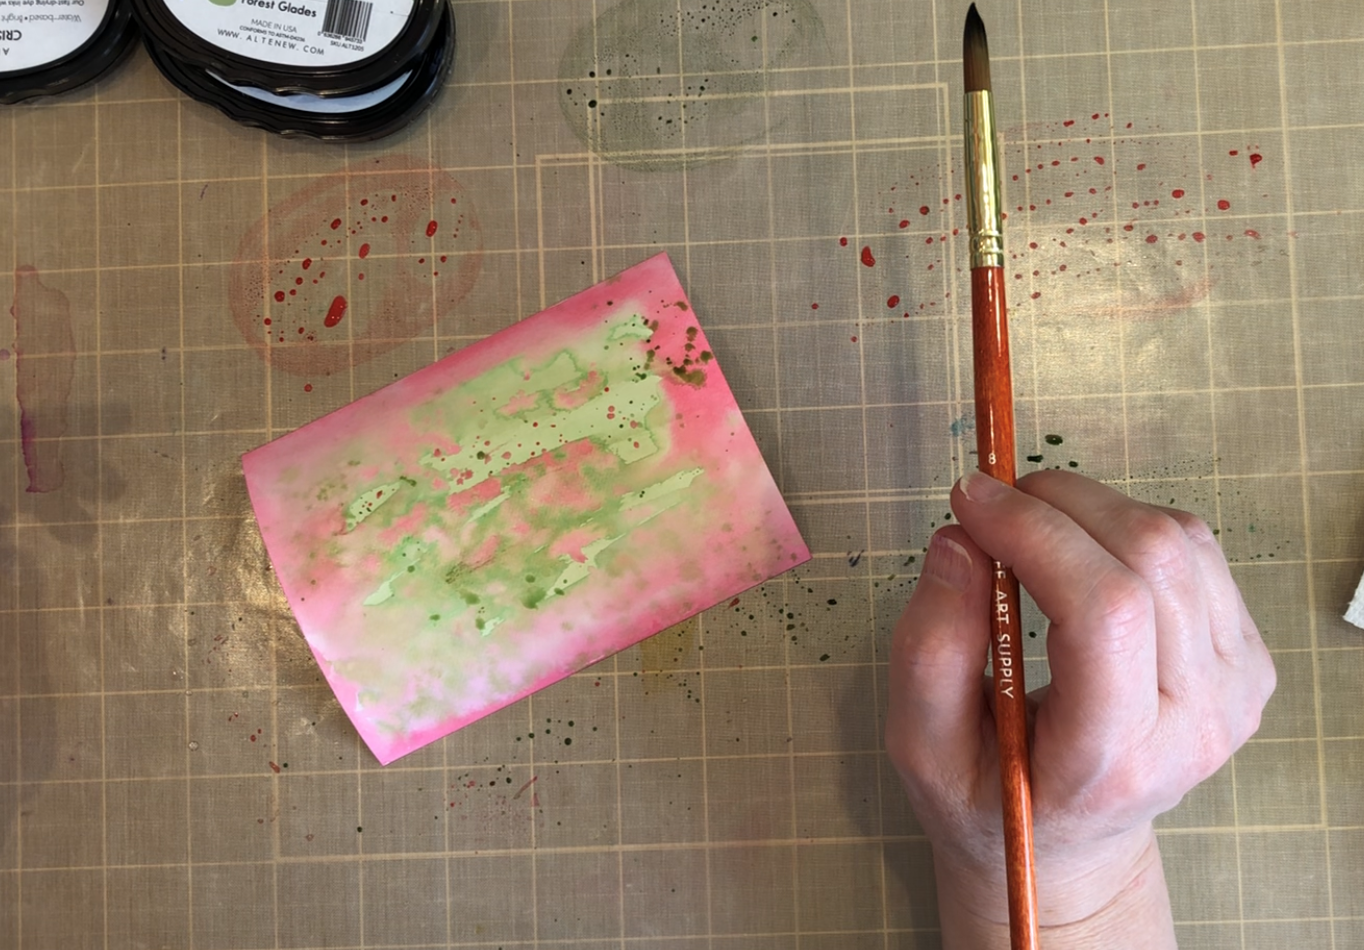
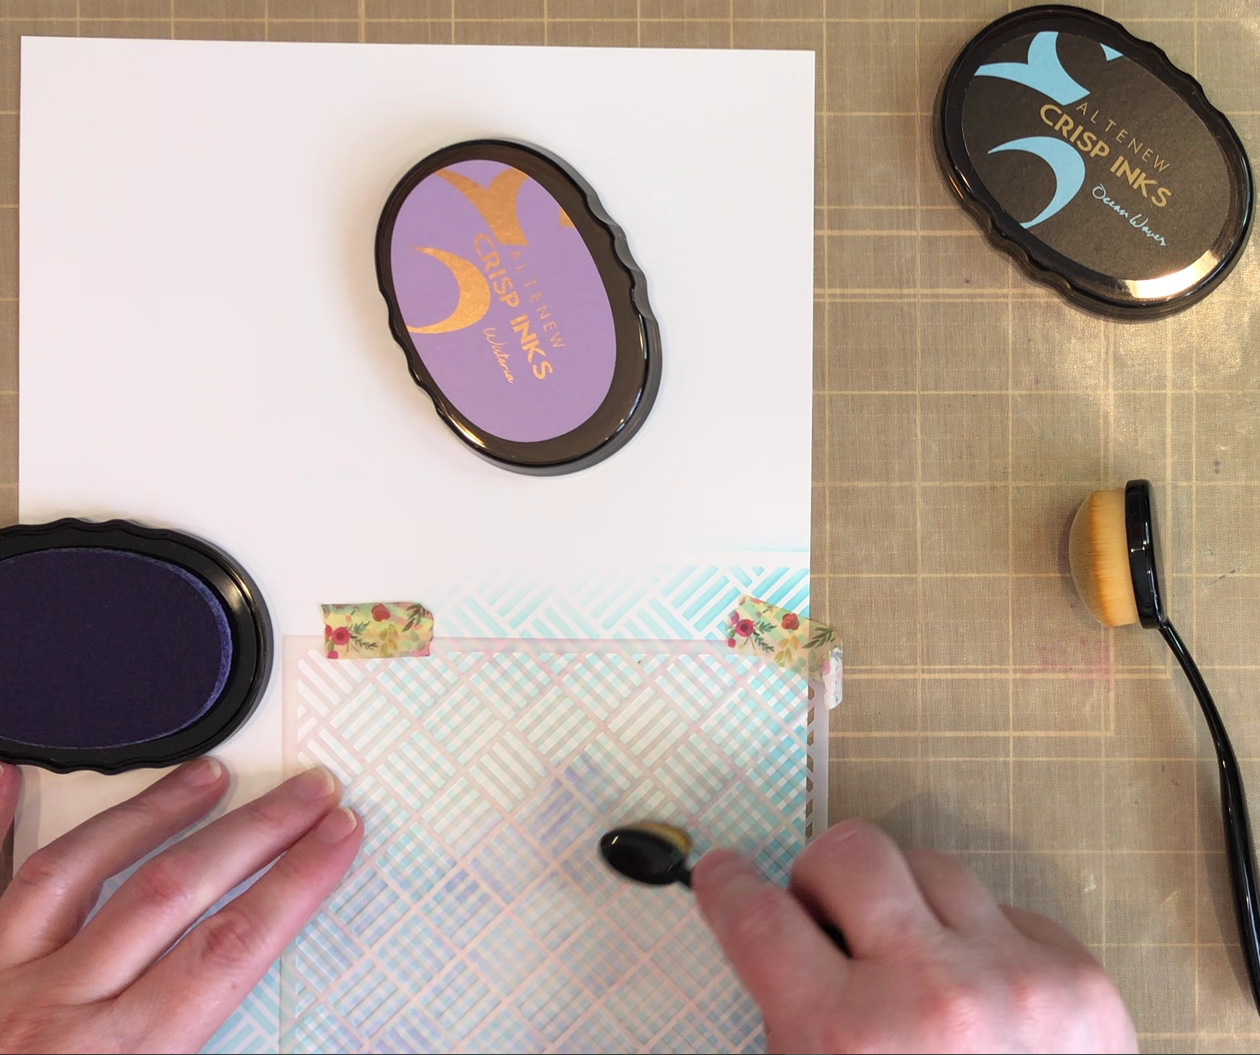
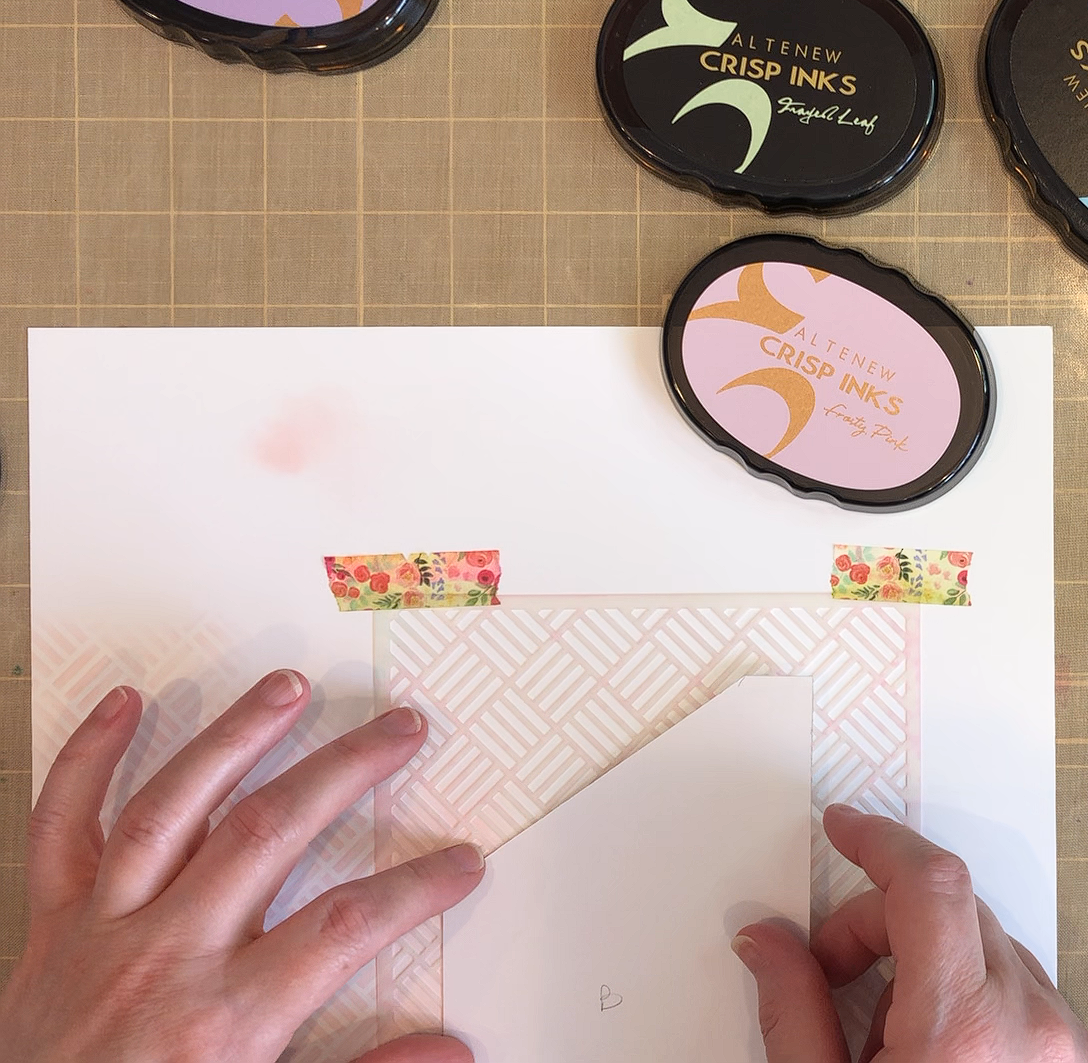
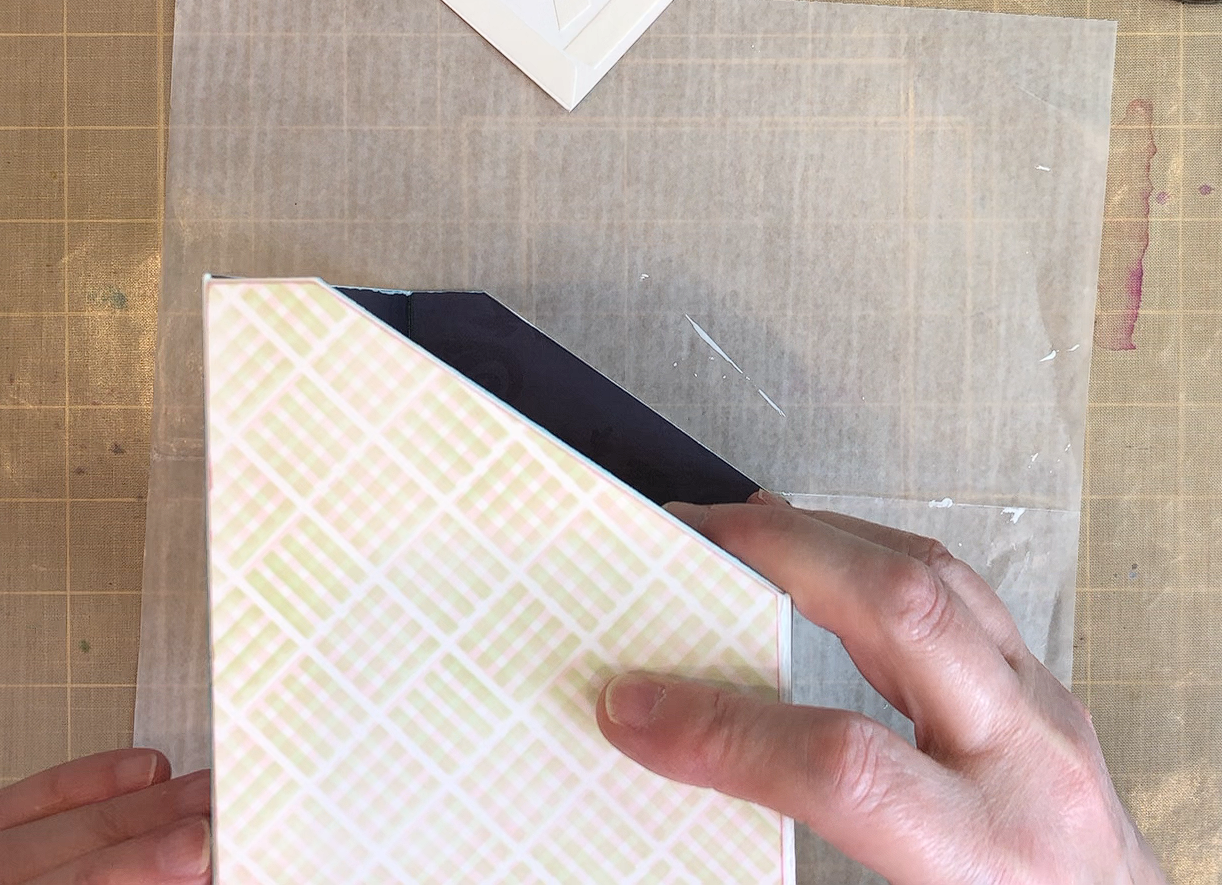
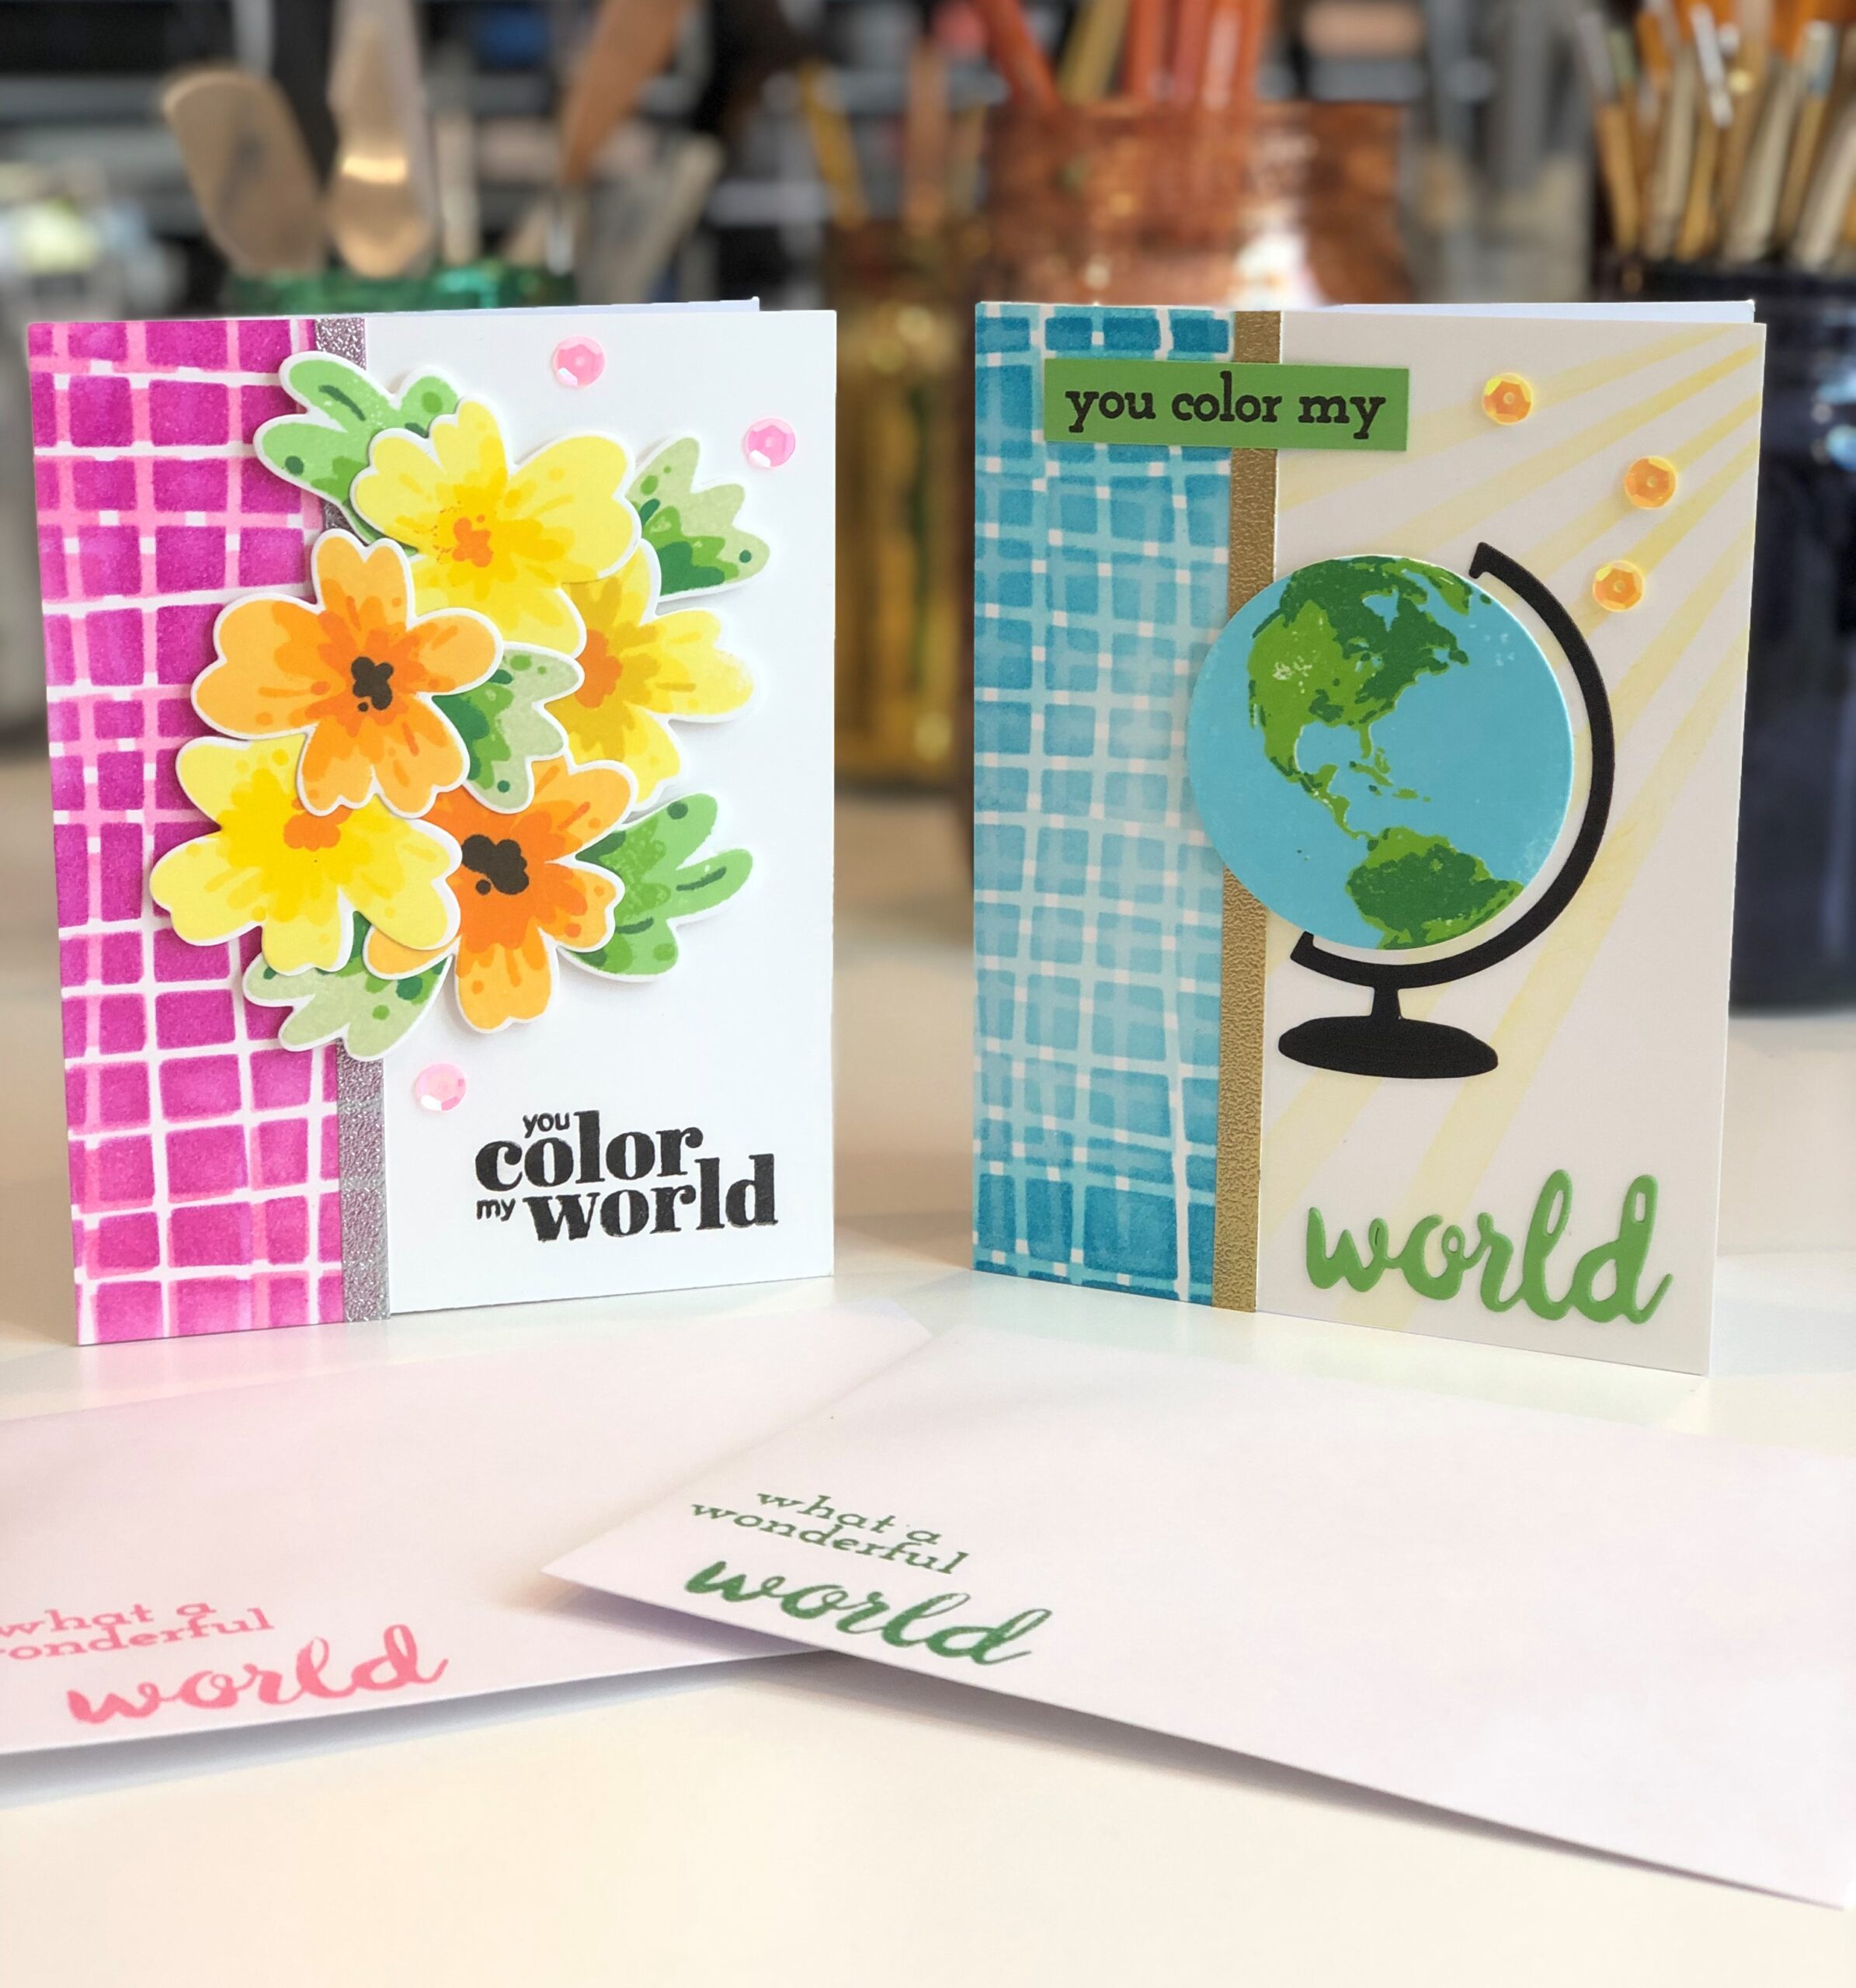
I created pattern papers using Altenew stencils and Crisp Dye Inks. Each stenciled paper was cut, or die cut, and then used for two cards each. For instance the Square Weave Stenciled paper was used for the window cards and the shaker cards. The watercolor wash paper was used for just one card. The pattern papers were made by stenciling with one color, then turning the stencil and using a different color. For the watercolor wash paper I used Crisp Dye Inks, water and a paint brush to apply color to Altenew watercolor paper.
so many techniques, so little time:
While these are the few techniques that I chose to showcase, I must give a shout out to the other instructors not mentioned in my technique descriptions, as their lessons were all also valuable in creating my final project:
- For the Guys with Jennifer Rzasa
- Let It Shine with Carrisa Wiley
- Irresistible Inking Techniques with Sara Naumann
- Easy Ink Blending Techniques with Amy Lee
- The All About Layering series with Nicole Picadura and Lydia Evans
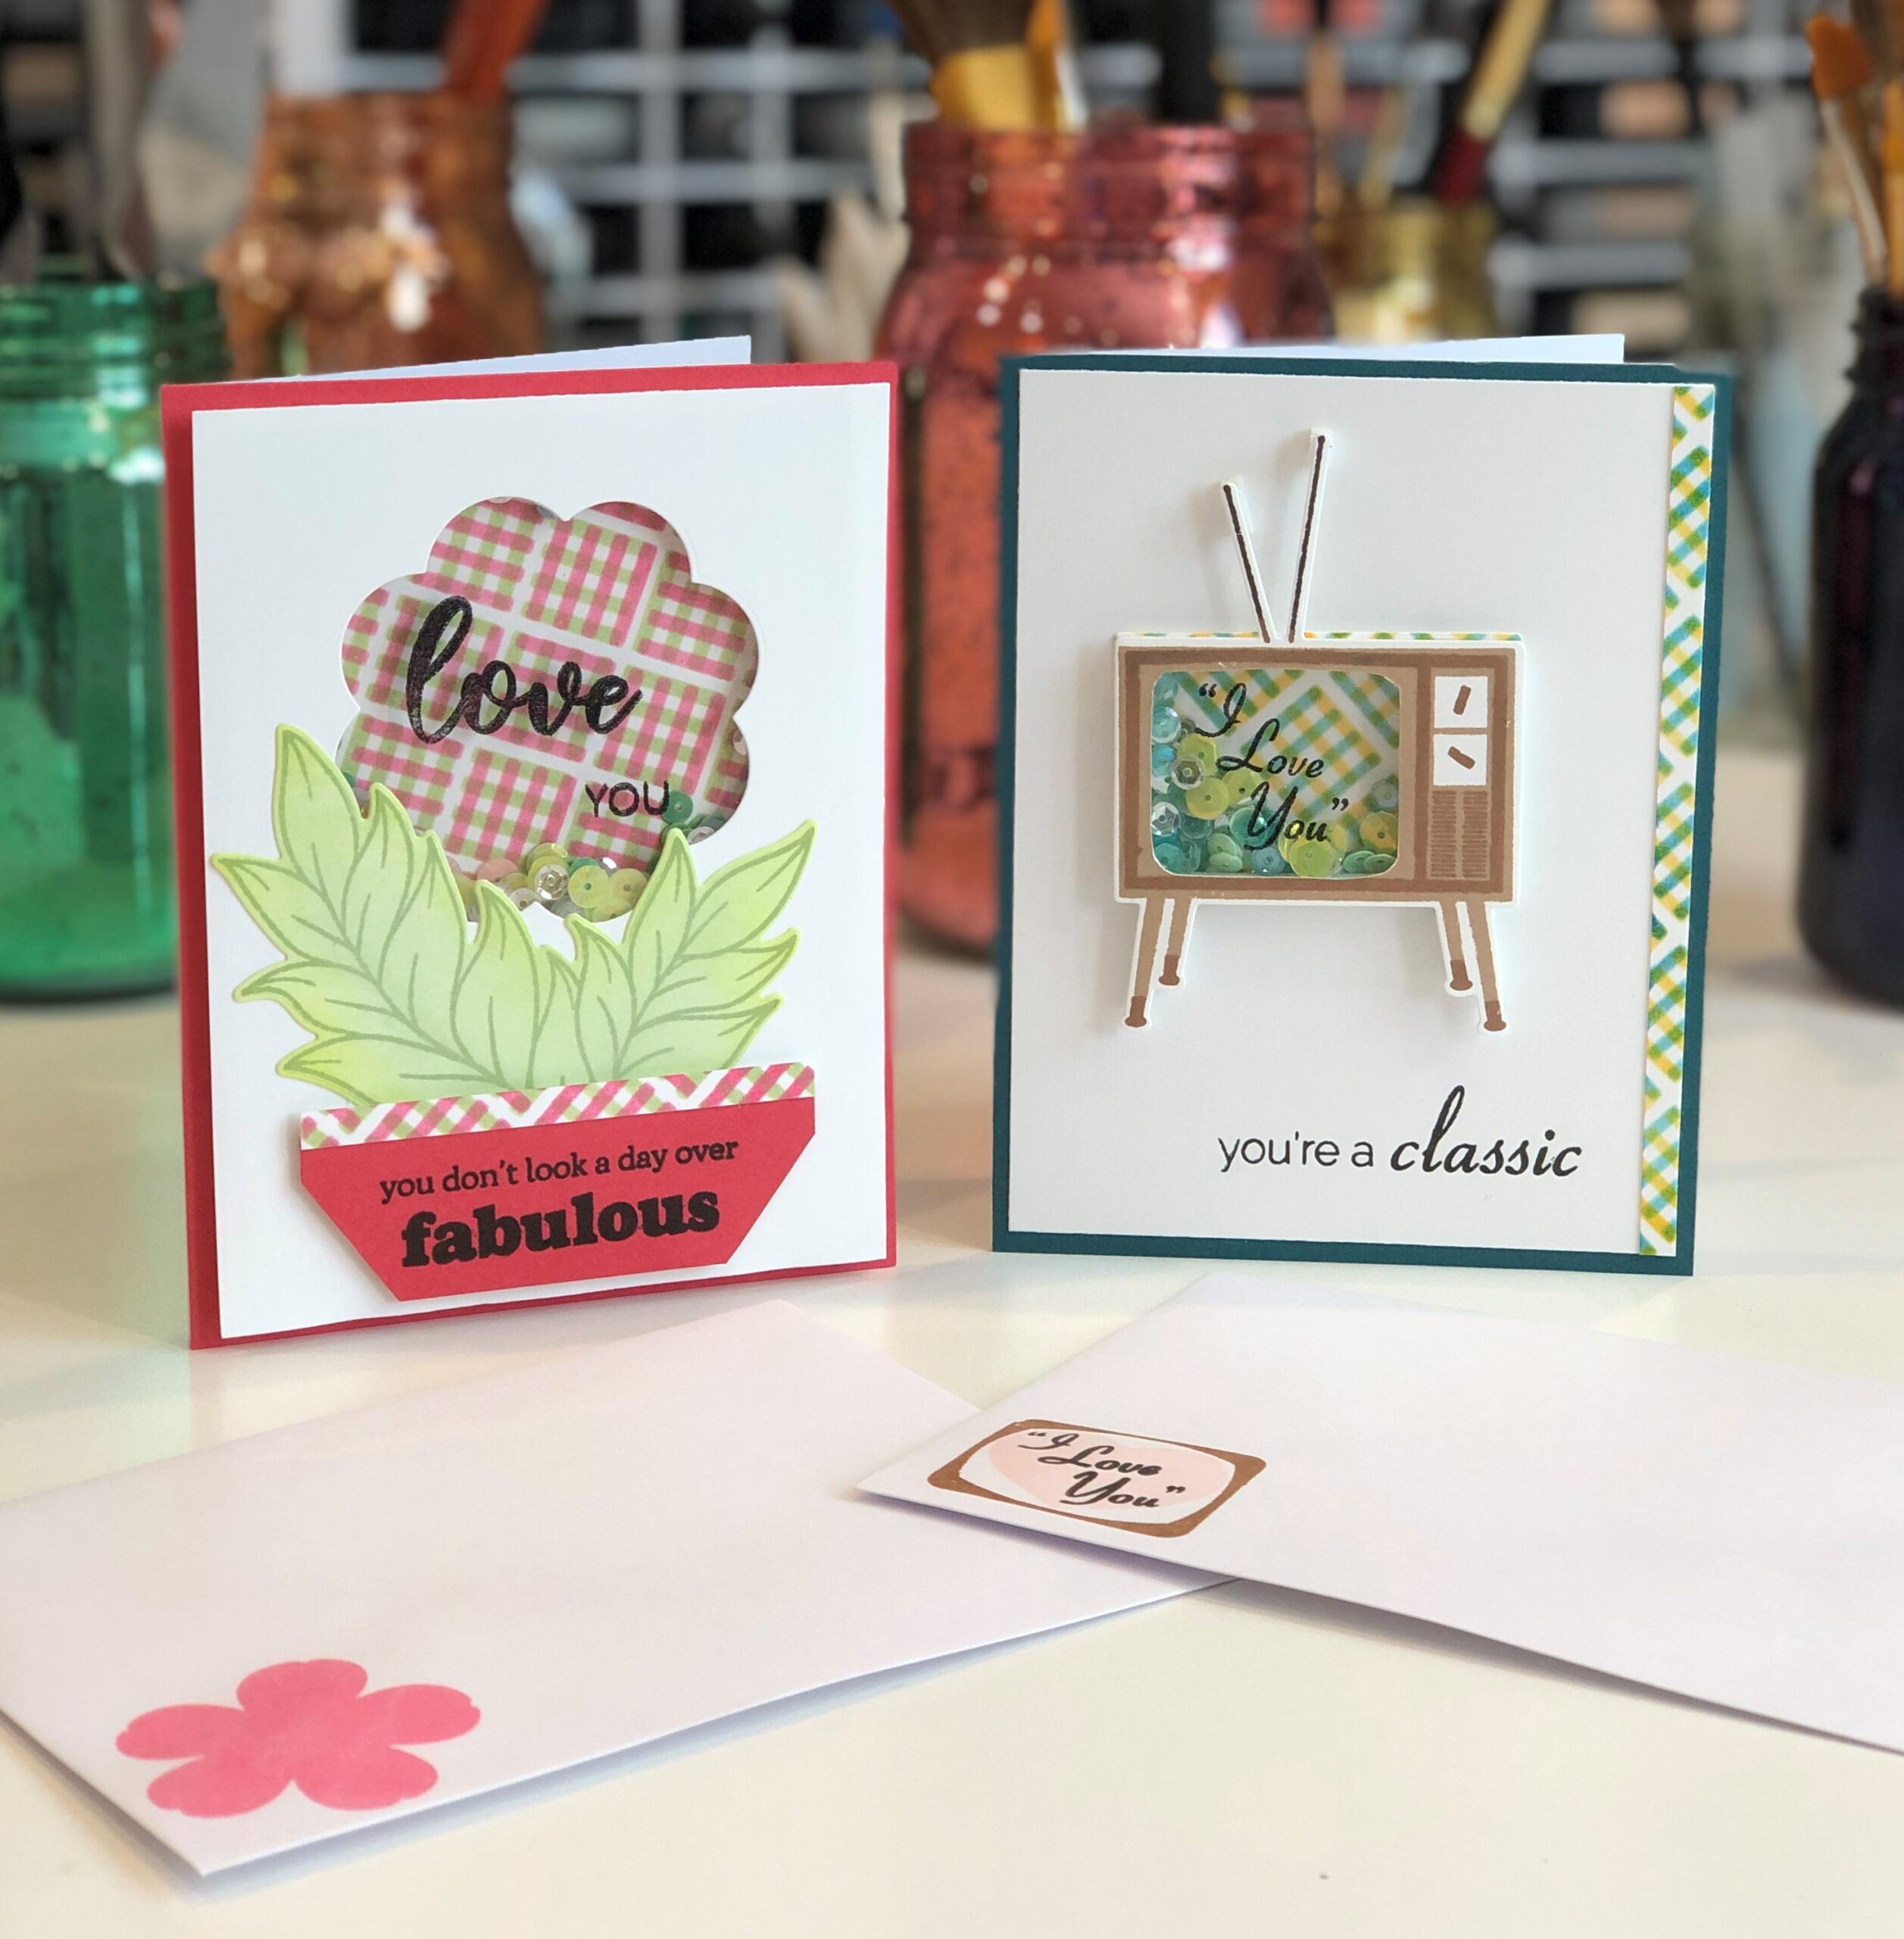
Shaker card from Seasonal Scene Building with Nichol Magouirk

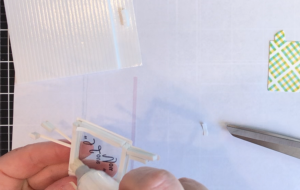
For this shaker card I stamped two layers of the TV set from Vintage Vibes in Mocha, Dark Chocolate, and Jet Black for the antenna then die cut the image. I used an Exacto knife to cut out the center of the TV. I stamped the “I love you” saying onto the acetate with Stazon Ink then glued it the back of the TV. I applied foam tape strips to the back of the TV near the opening, I did two layers (one on top of the other) to give enough height for the sequins to shake about. I used anti-static powder (normally used before embossing) on the inside of the shaker to reduce static and take the sticky off the edges of the foam tape, this way the sequins don’t stick to it. I die cut the backing piece with the TV die and trimmed the antenna and most of the legs off. I filled the center of the TV with sequins then put the backing on.

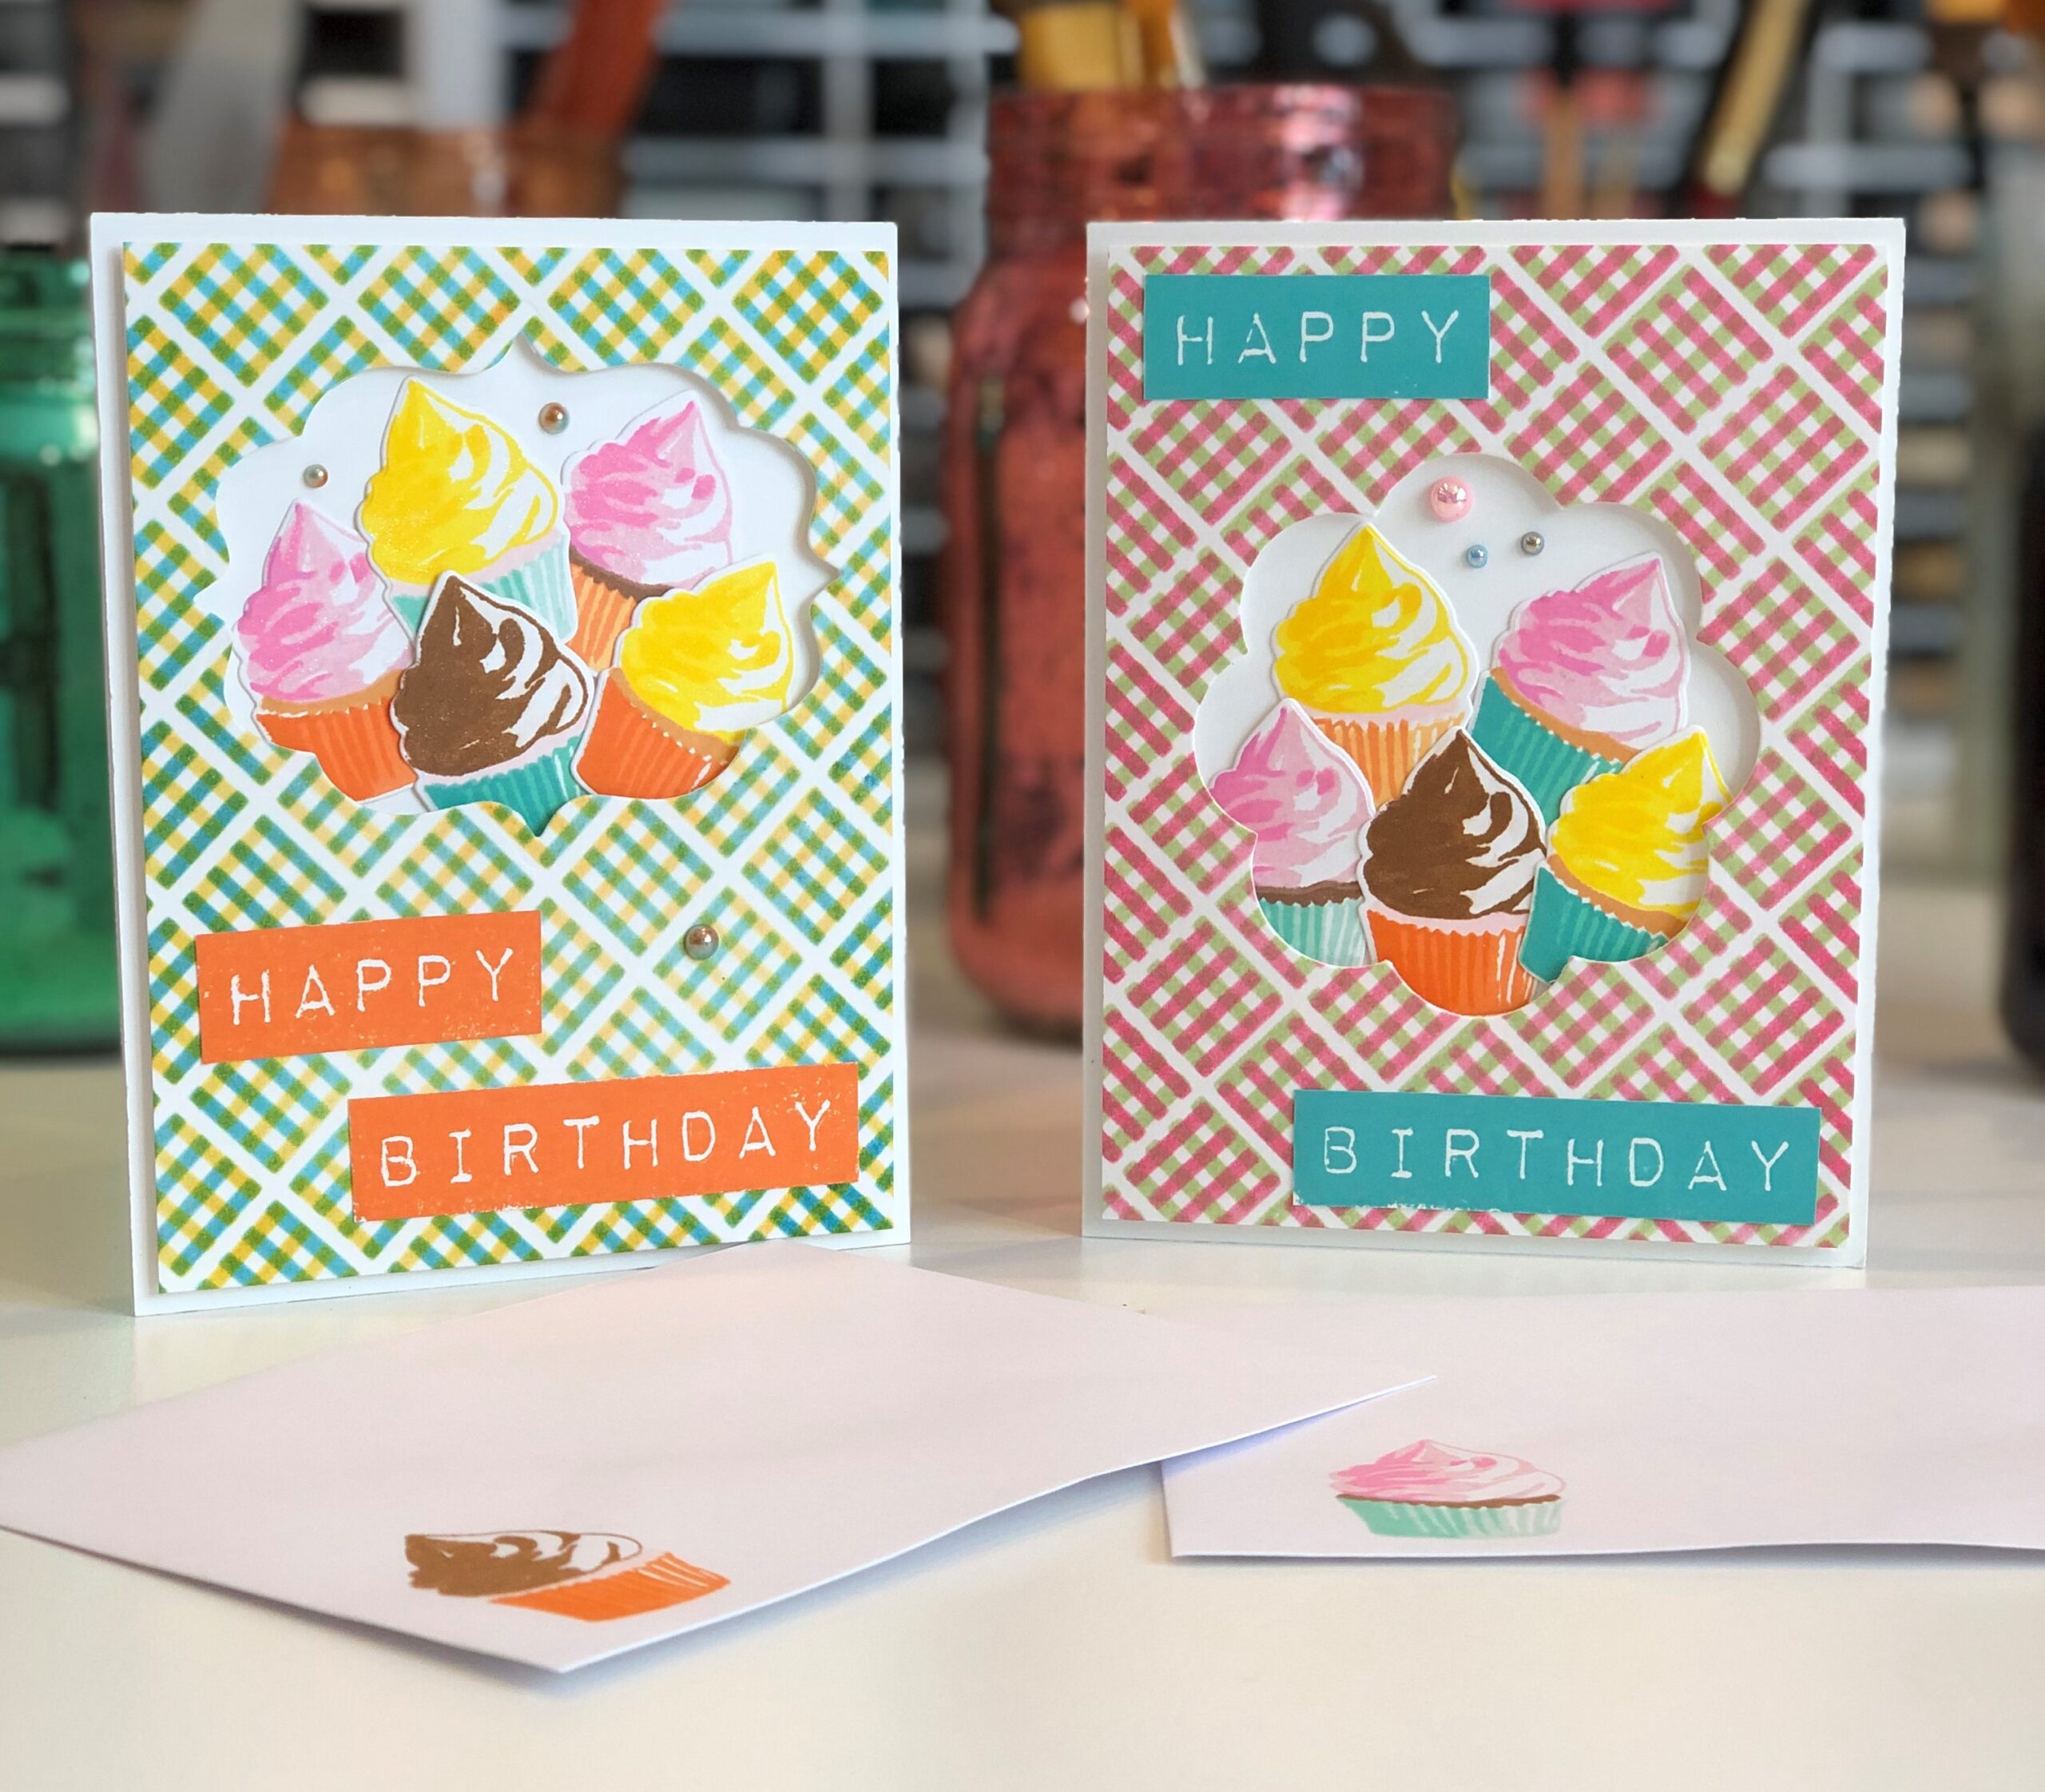
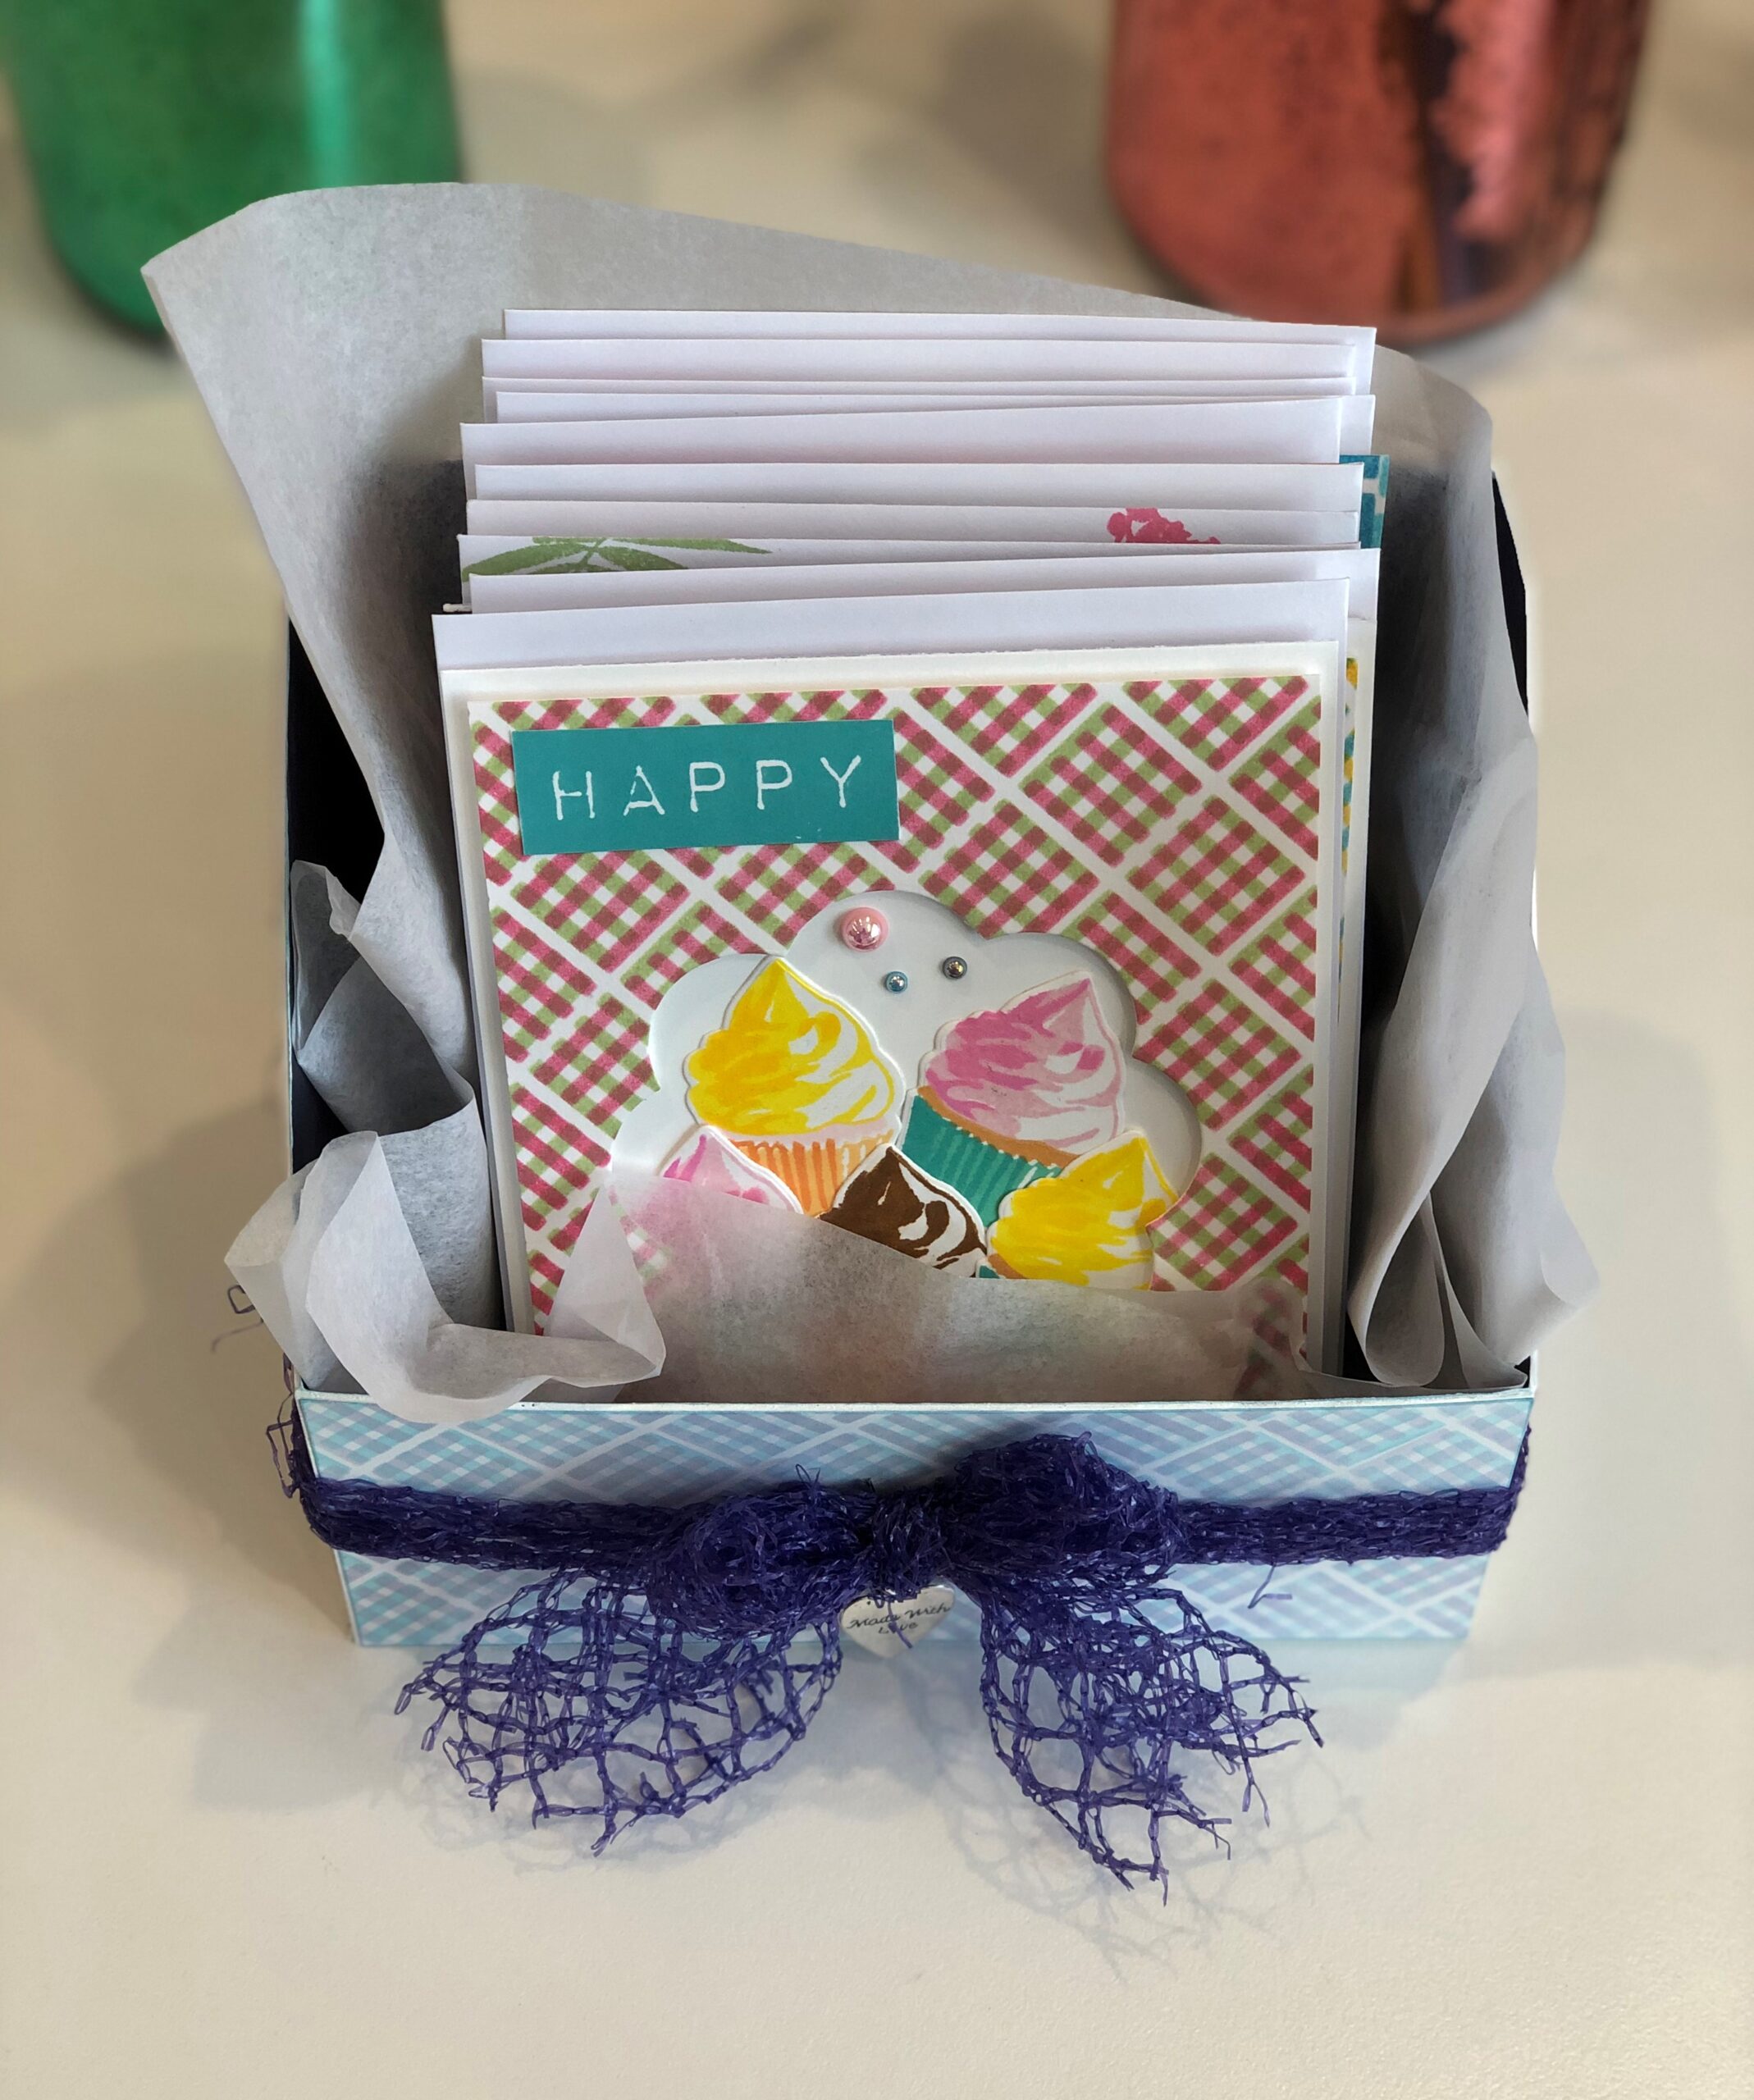
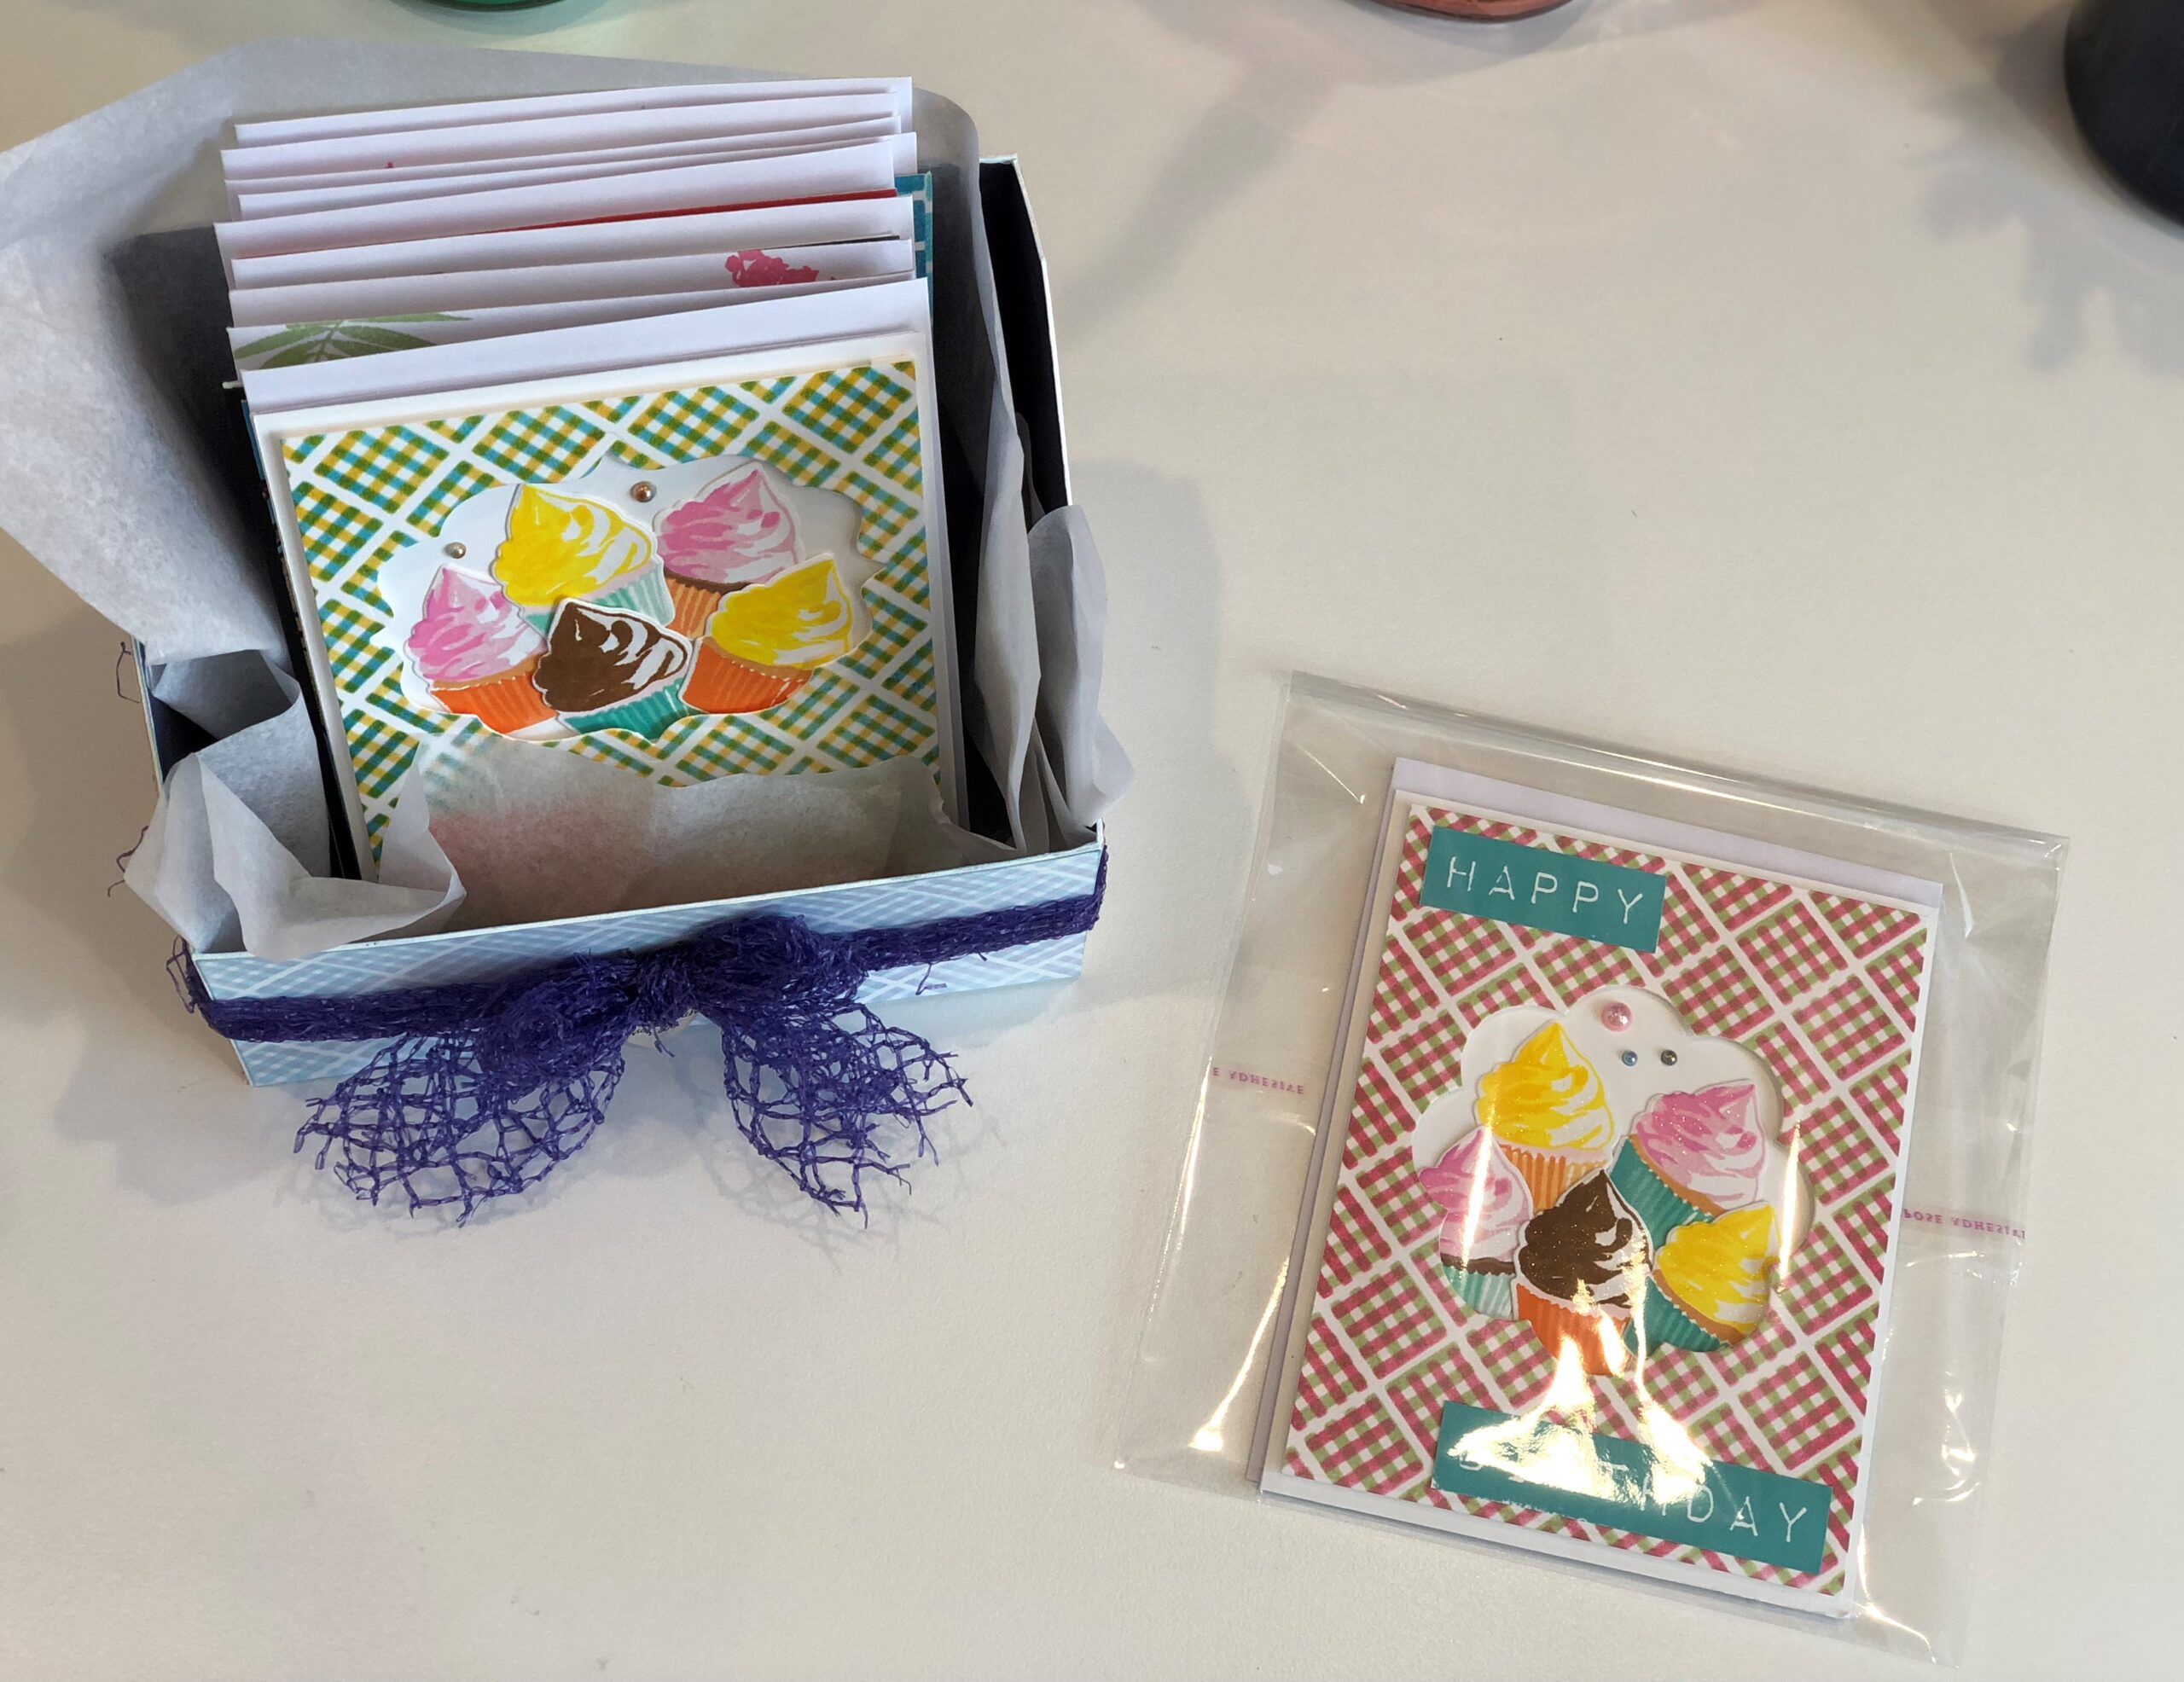
Window card from Seasonal Scene Building with Nichol Magouirk
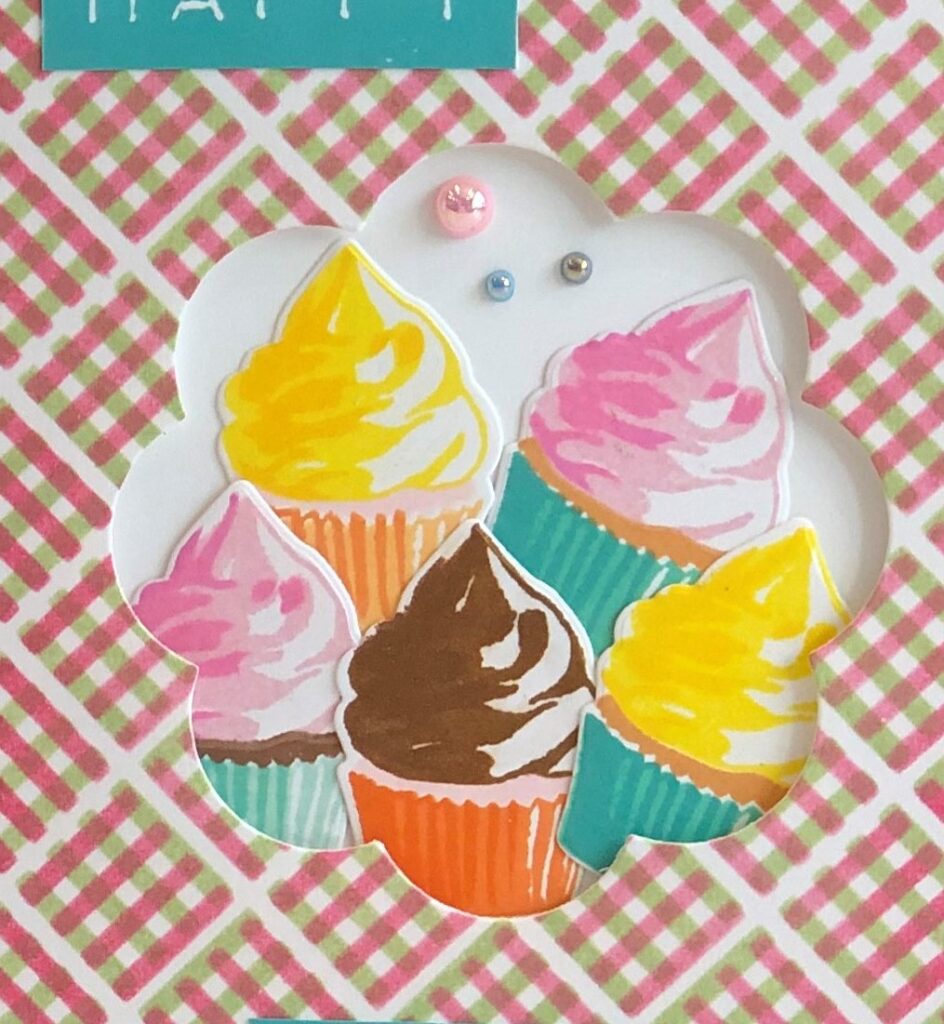
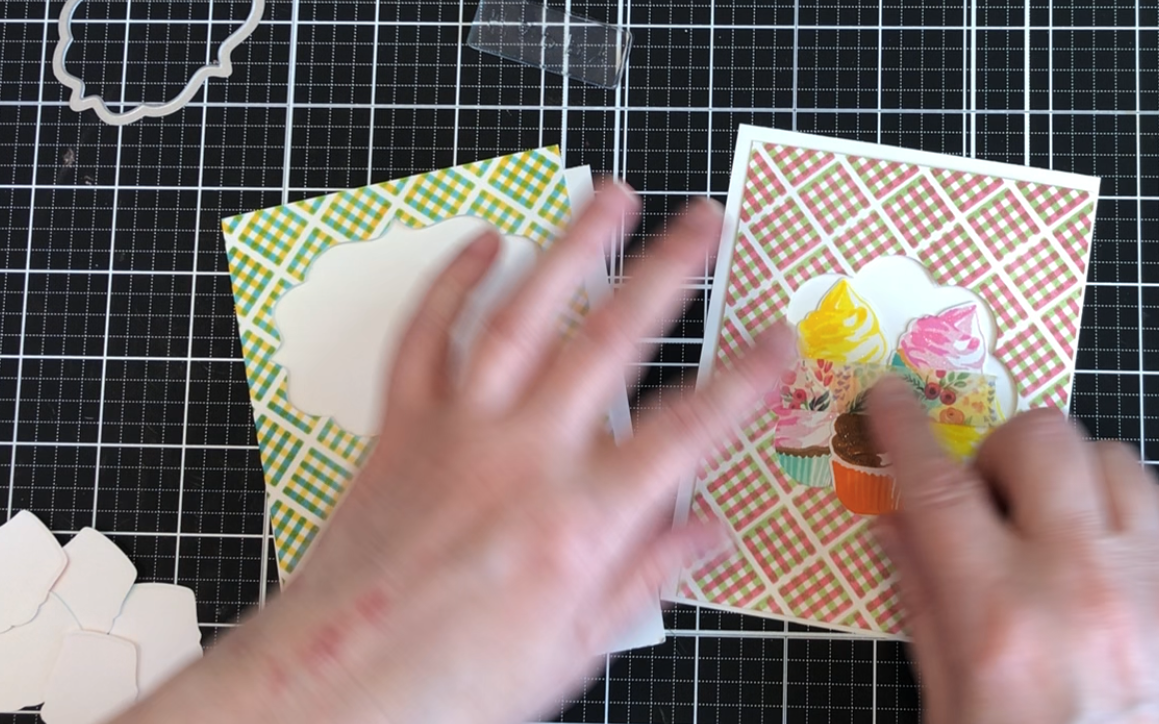
For my window card I die cut a flower shape out of my patterned paper (the flower left over was used for the ladies shaker card). I created cupcakes by using the Mini Cupcake stamp and die set. I used a lot of inks for the cupcakes: the wrappers are Mountain Mist, Volcano Lake, Lagoon, Sunkissed, Orange Cream, and Autumn Blaze; the cakes are Frosty Pink, Caramel Toffee, and Dark Chocolate; the icing is Pink diamond, Pinkalicious, Fresh Lemon, Maple Yellow, Milk Chocolate, and Dark Chocolate. Now I want a cupcake 🙂 After stamping and die cutting my cupcakes I spent time arranging them inside the window. When I was happy with the lineup I used a little low-tack tape on the front to adhere them together. This kept them all in place so that I could flip them over as a unit and tape the back together permanently.
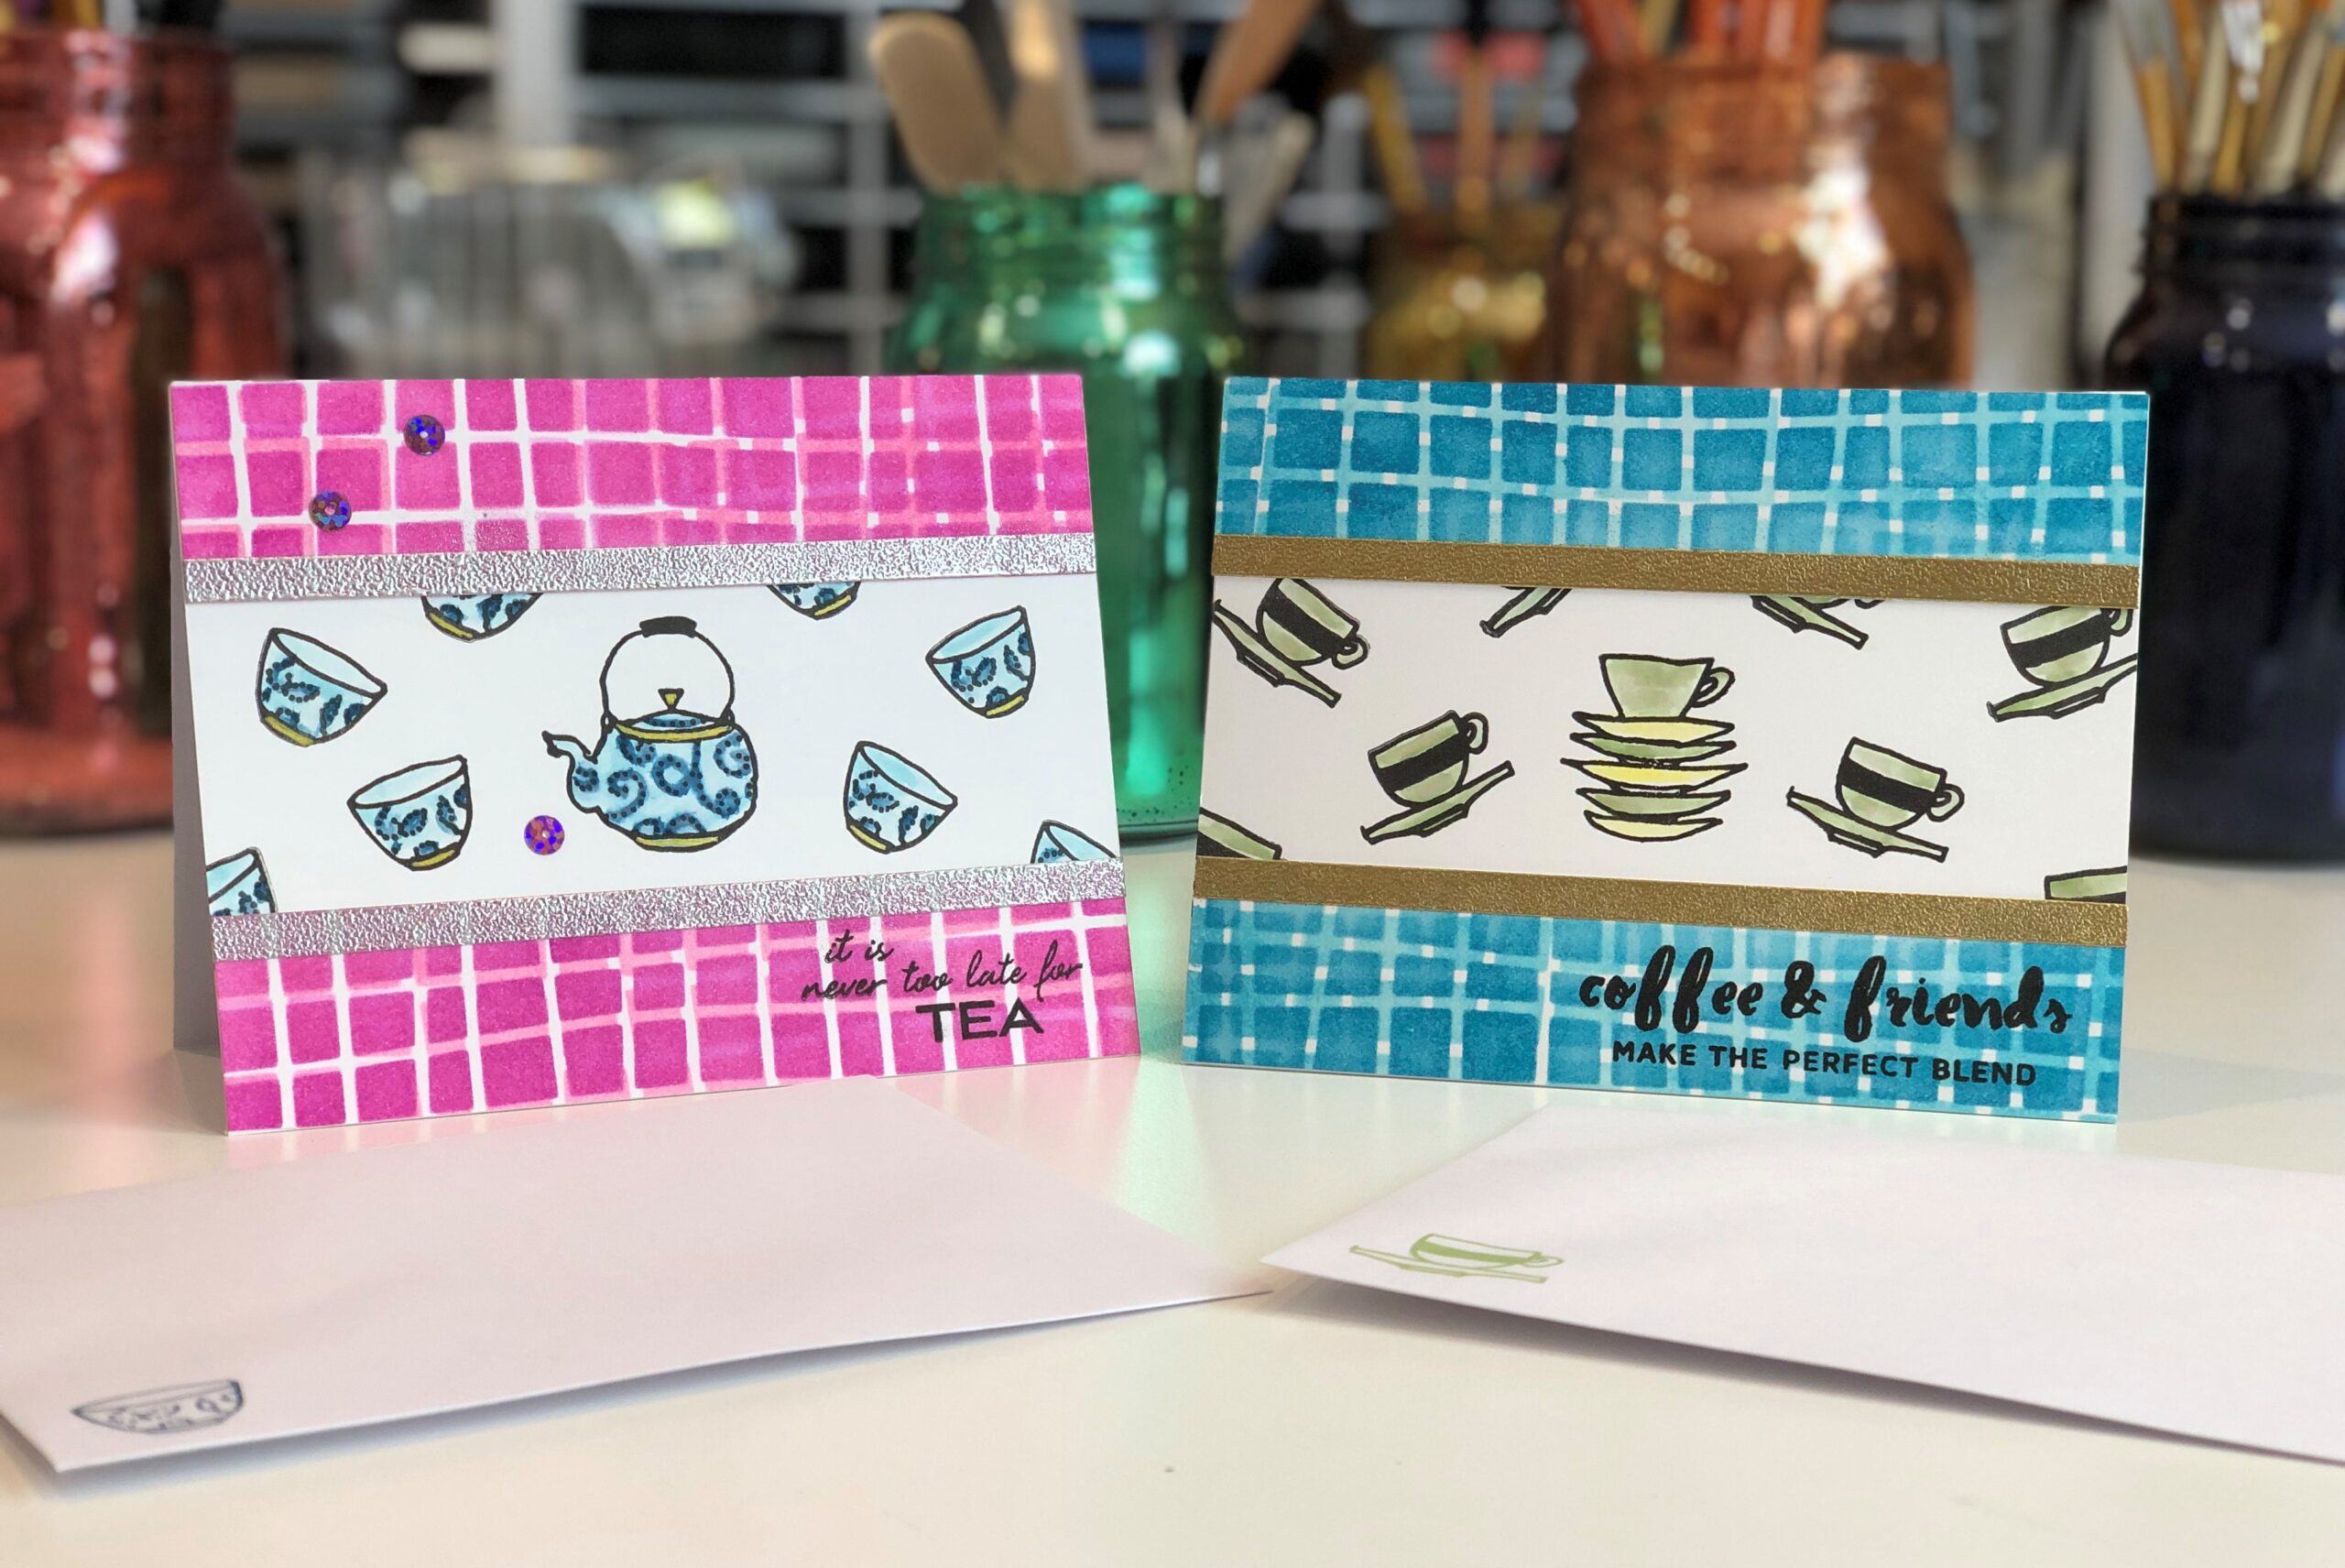
Stenciling with dies from Celebration Stencil Techniques with Laurel Beard
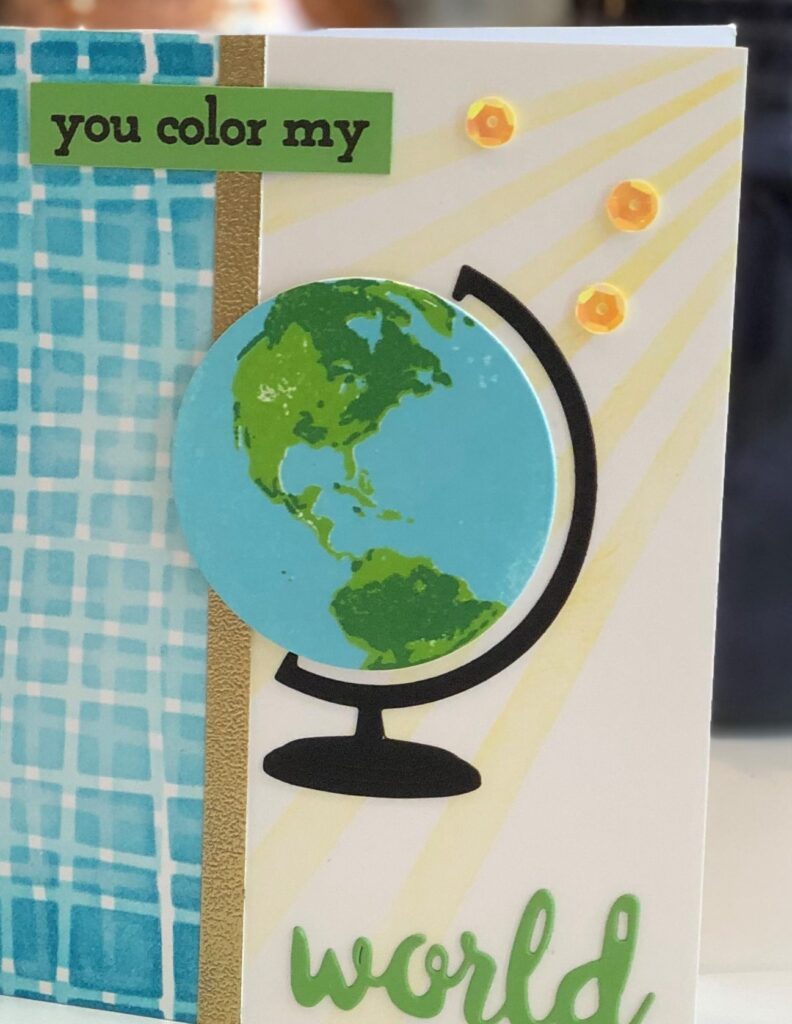
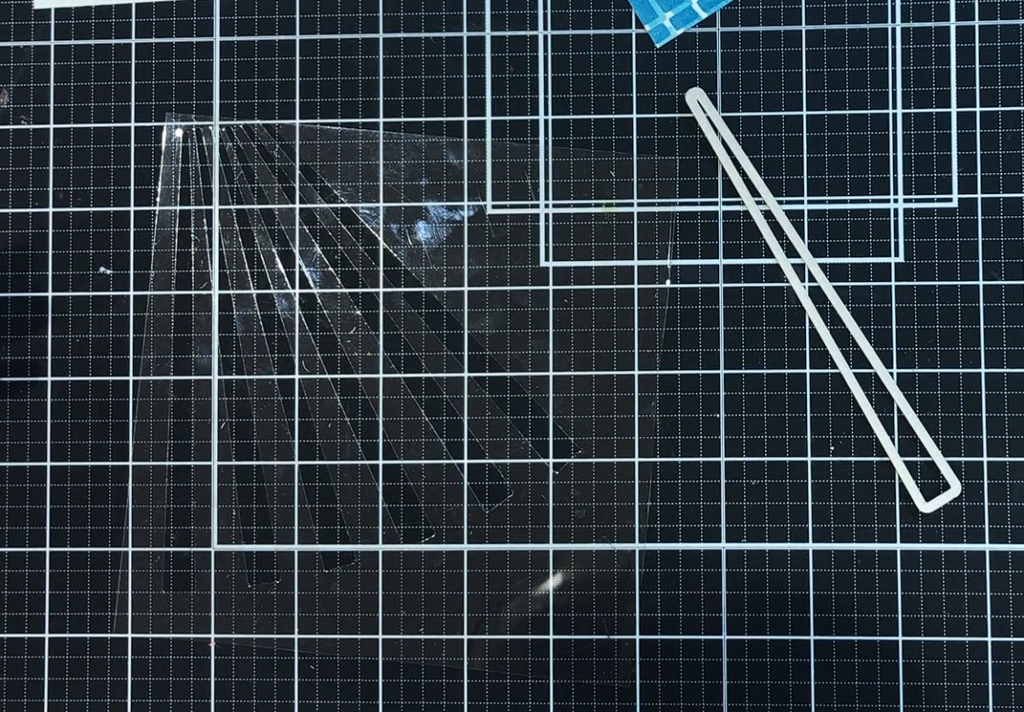
For this technique I used the sun-ray die from the Rain or Shine stamp set to make my own stencil. I cut a square of acetate and then began die cutting the sun-ray out at regular intervals to create my stencil. For blending the sun-rays on my card I used….wait for it….Sunray Crisp Dye Ink! 🙂
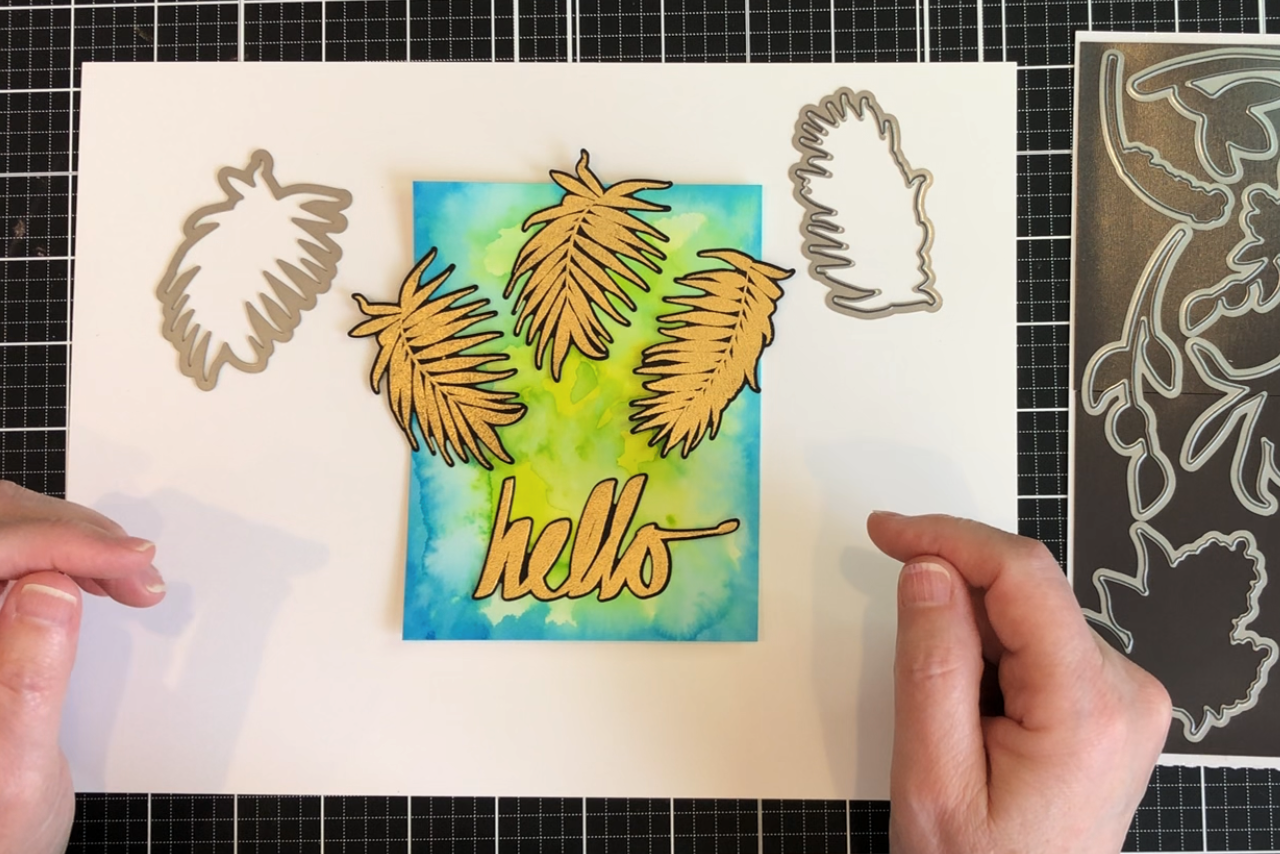
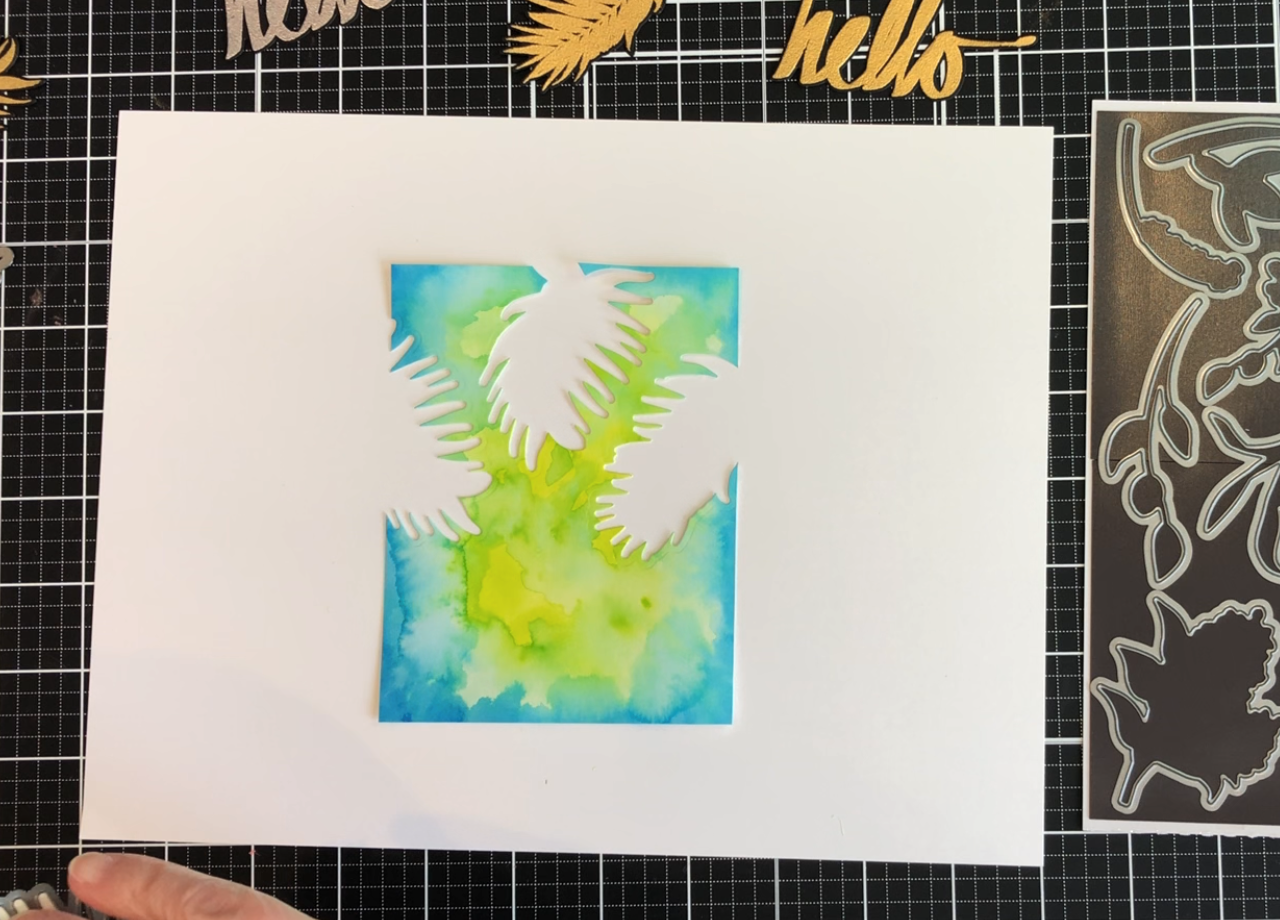
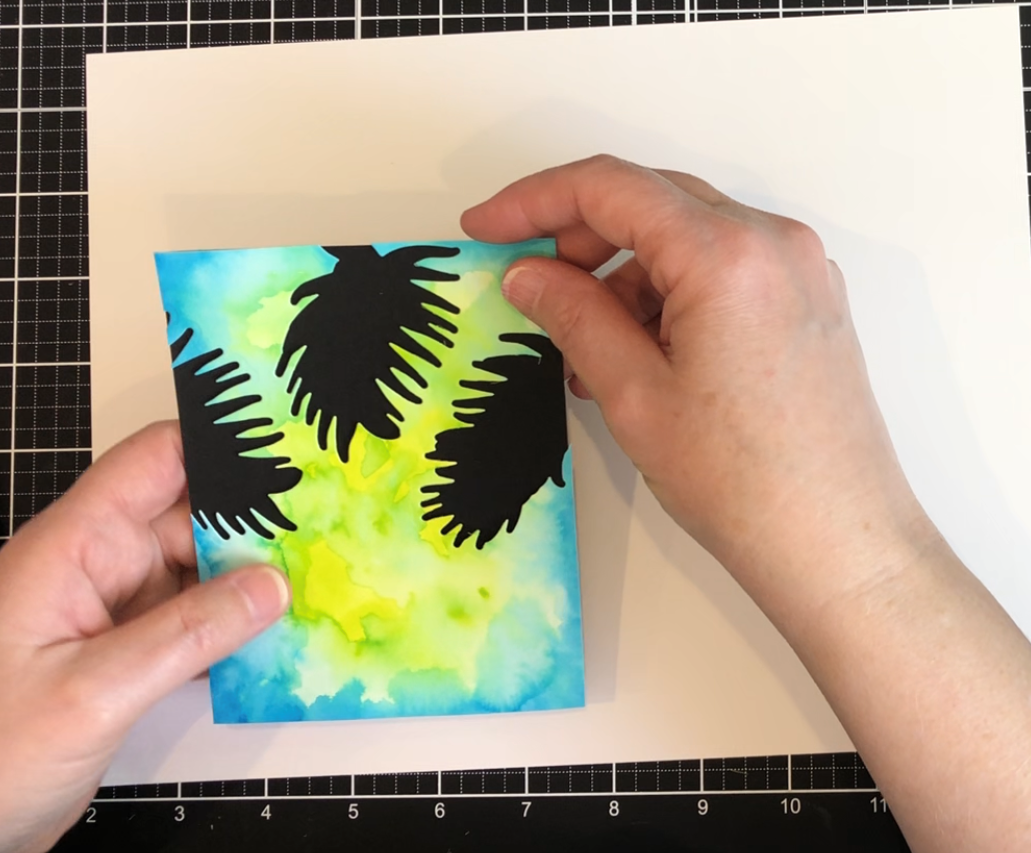
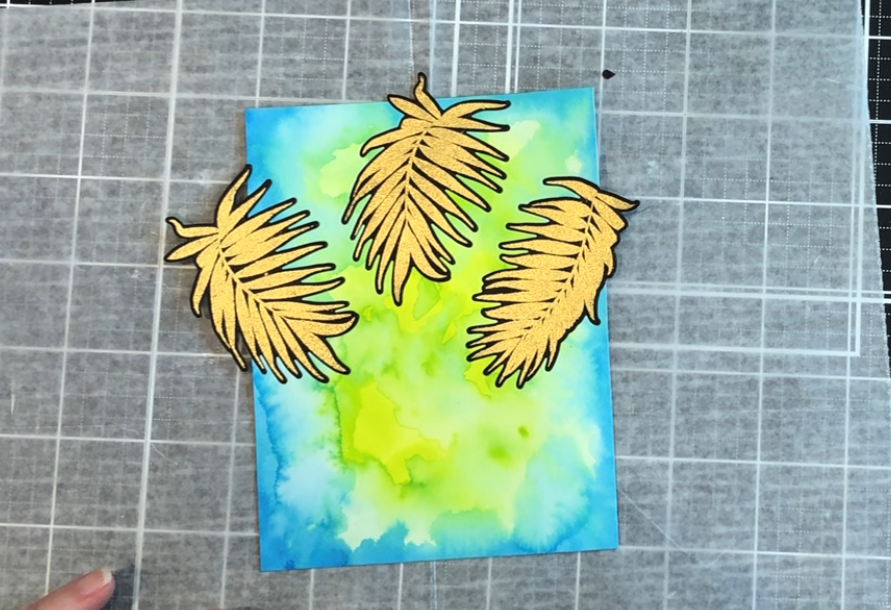
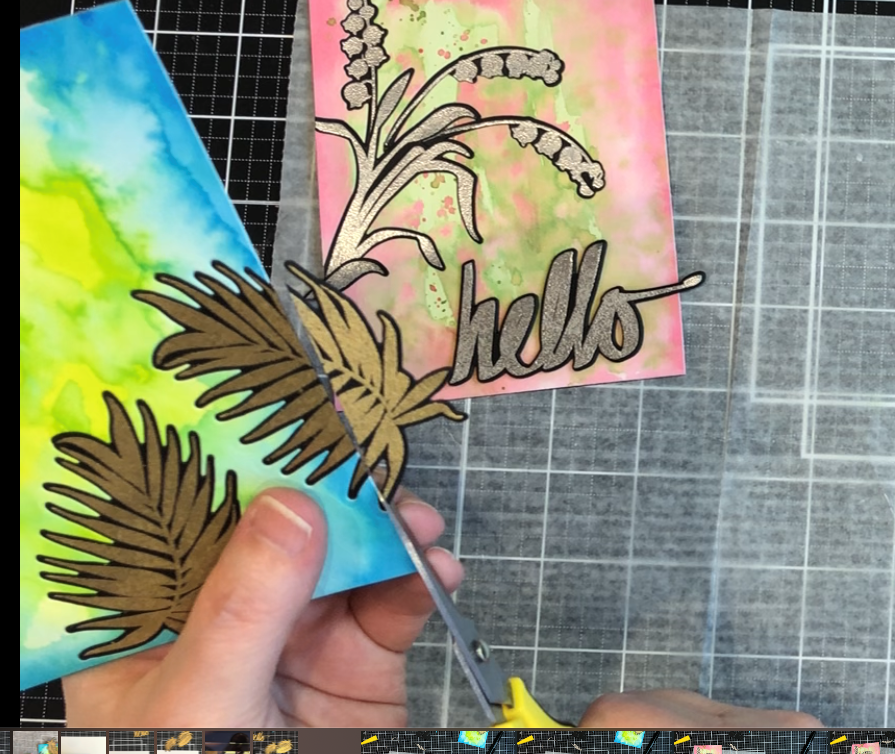
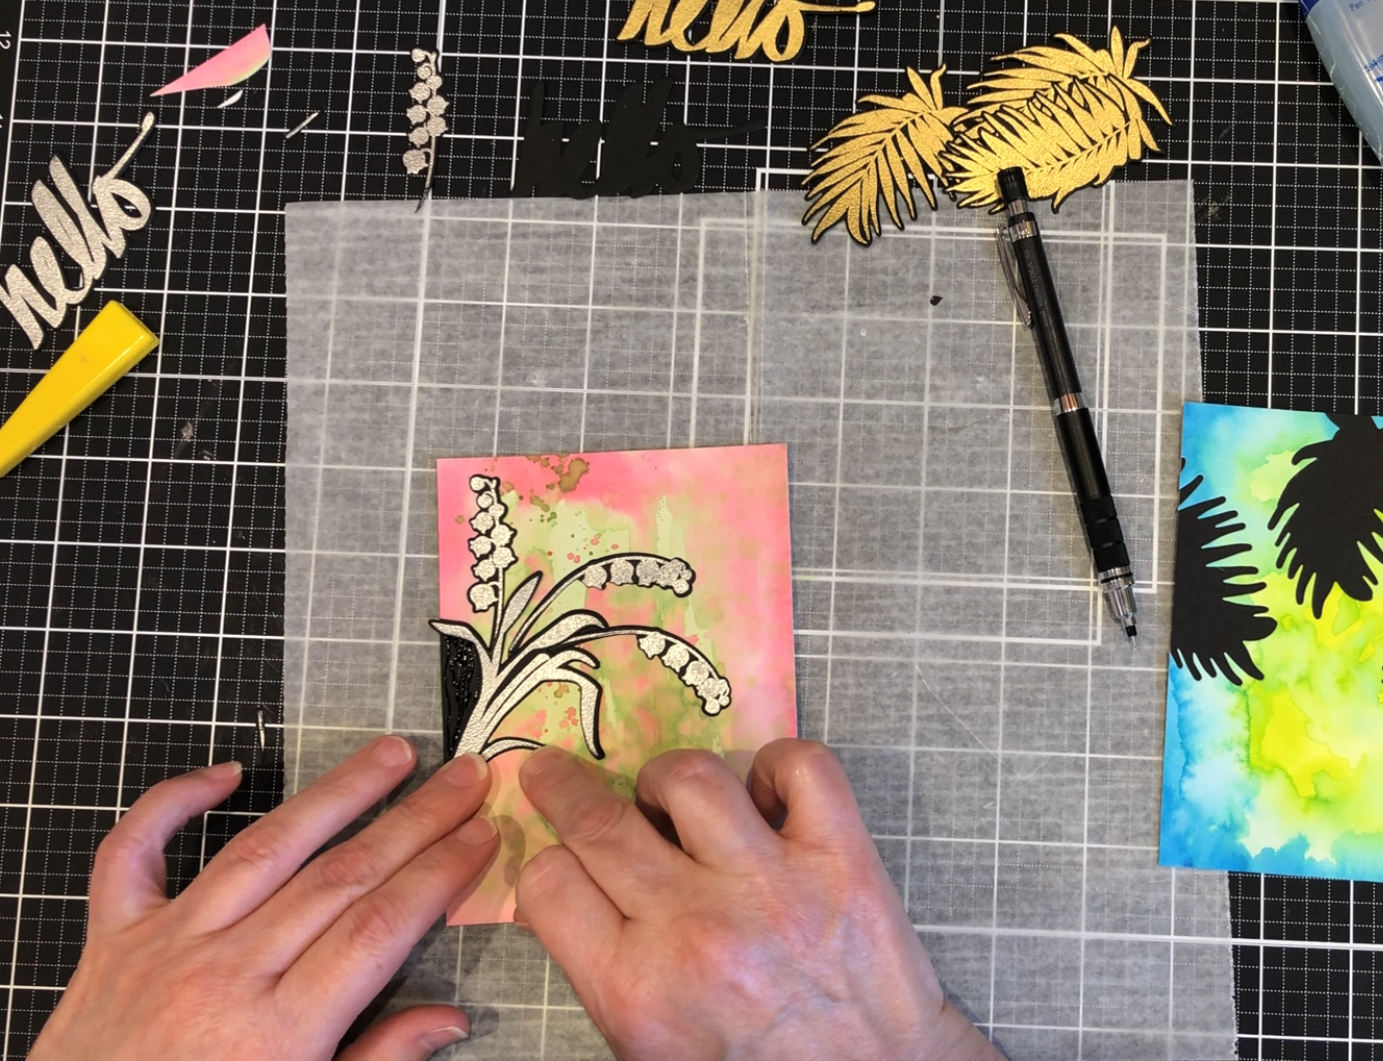
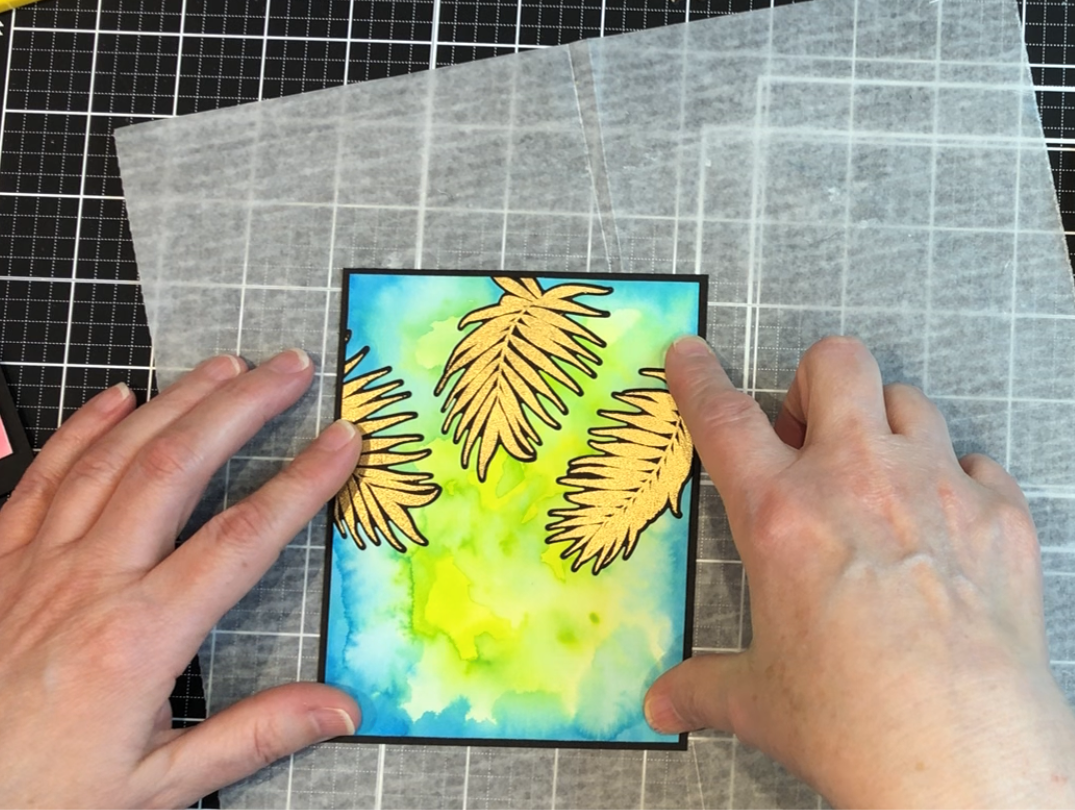
Inlaid die cutting from Easy Die Cutting Techniques with Yana Smakula

The inlaid die cutting technique is one of my favorites. I started by stamping the large leaves from the Vase Fillers stamp set onto black cardstock, heat embossing in gold, and die cutting. After choosing the layout I wanted for the leaves and saying, I die cut the leaves from my watercolor wash paper. Be sure to save all the bits as they may have to be puzzled in later to complete the image. The watercolor wash panel is then adhered to black cardstock cut the same size. The gold embossed leaves are glued in place and trimmed to fit the panel, (saving any bits), glue the bits into place to complete the image. Then the completed panel is adhered to a black cardstock mat.
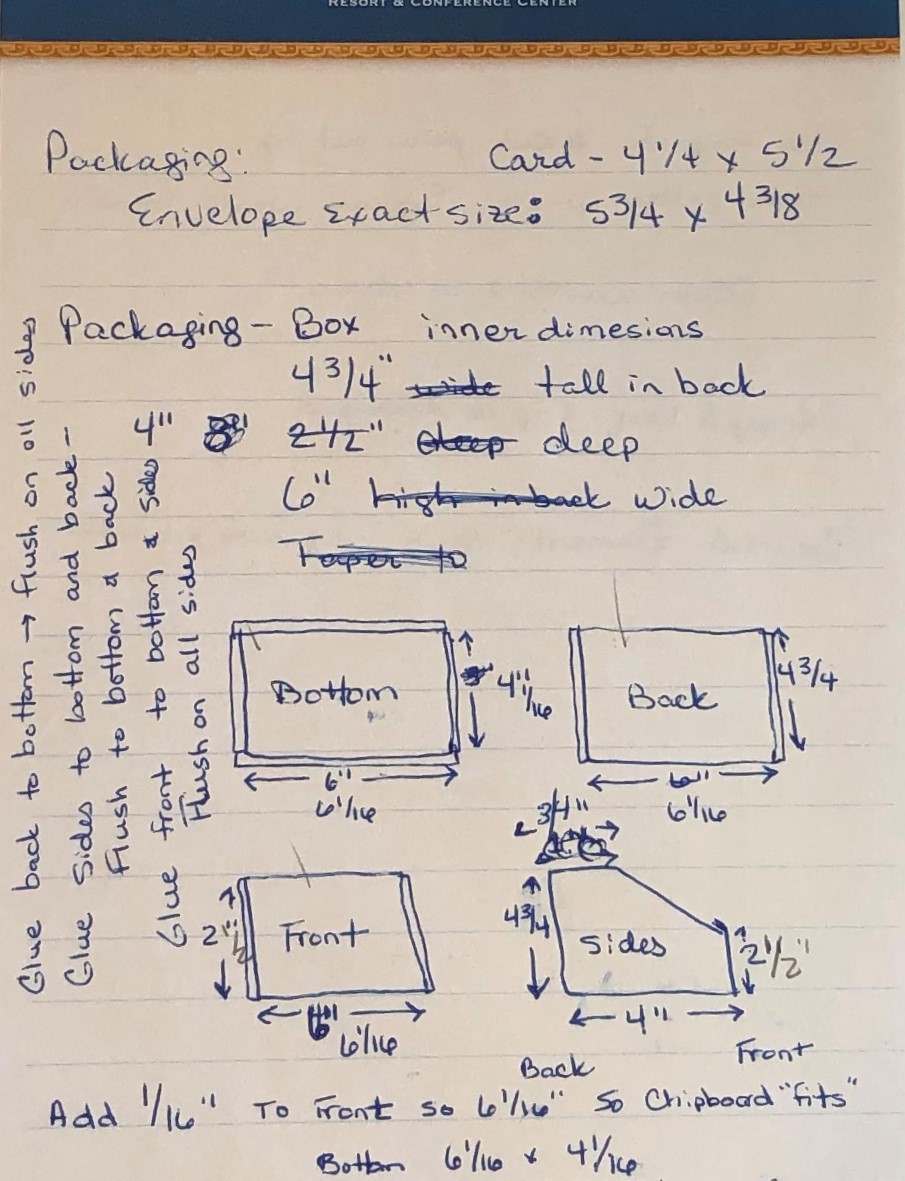
box these beauties up:
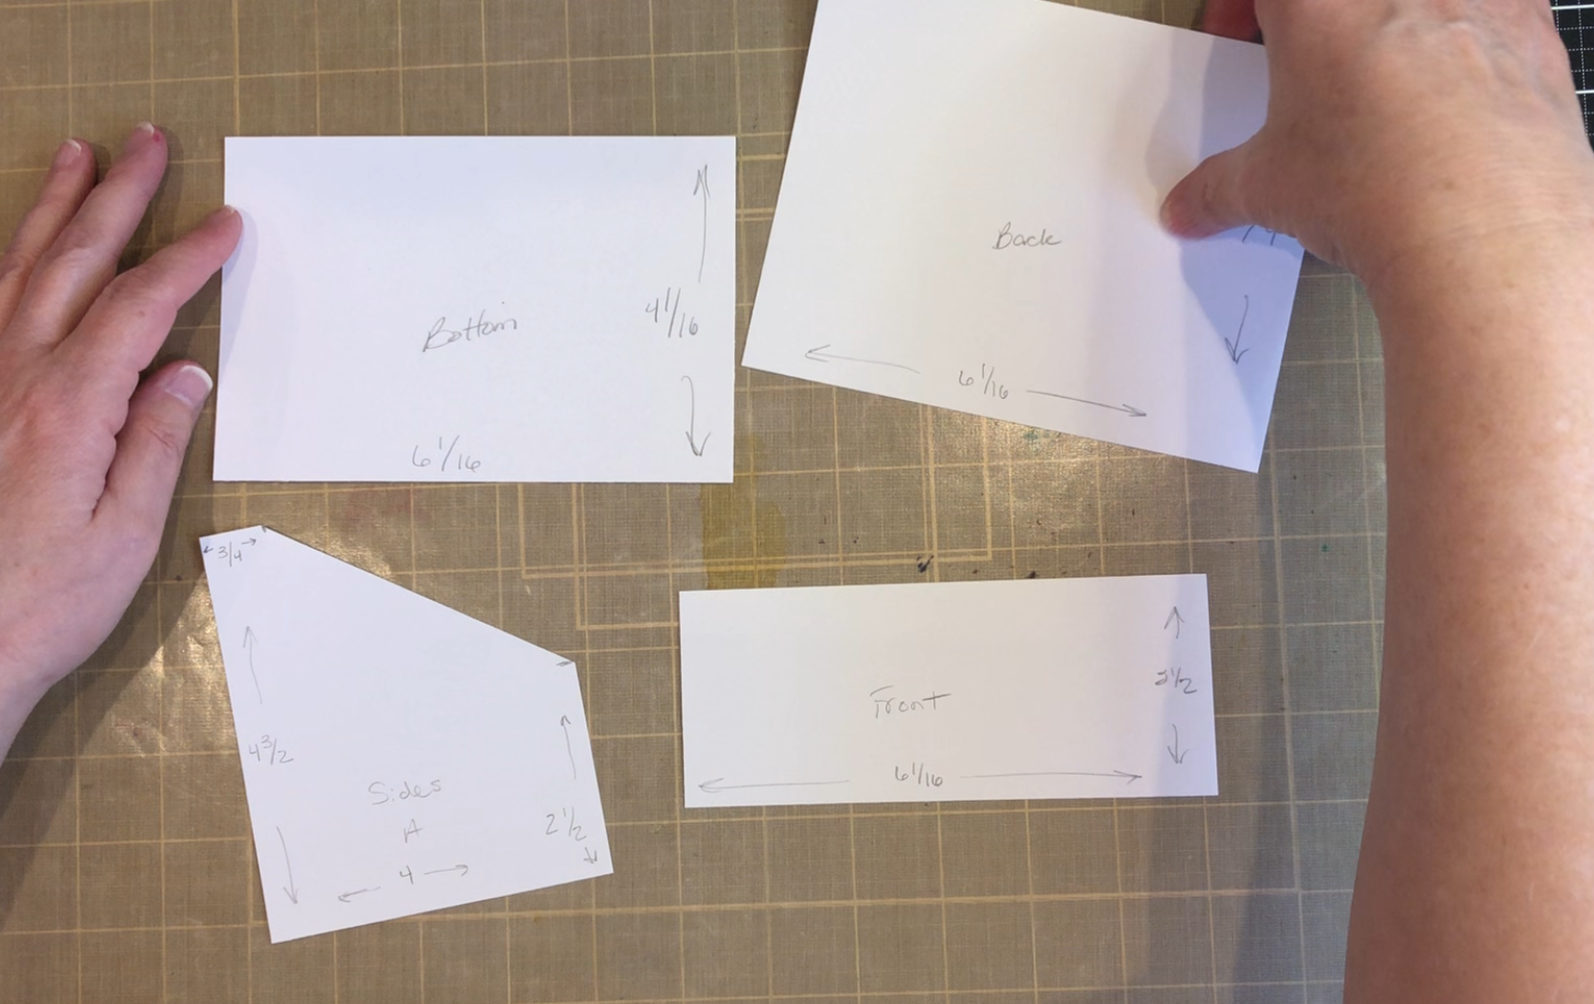
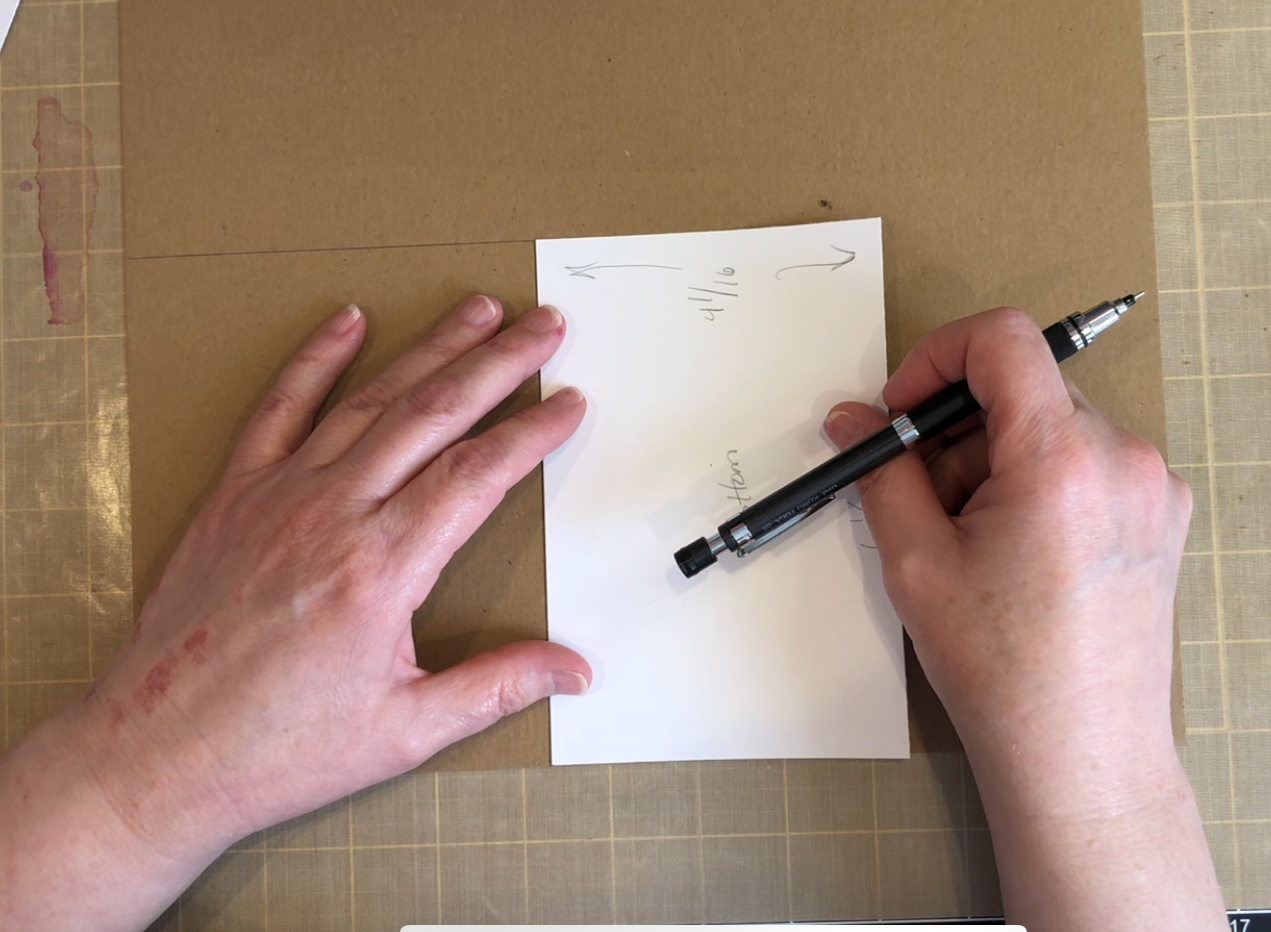
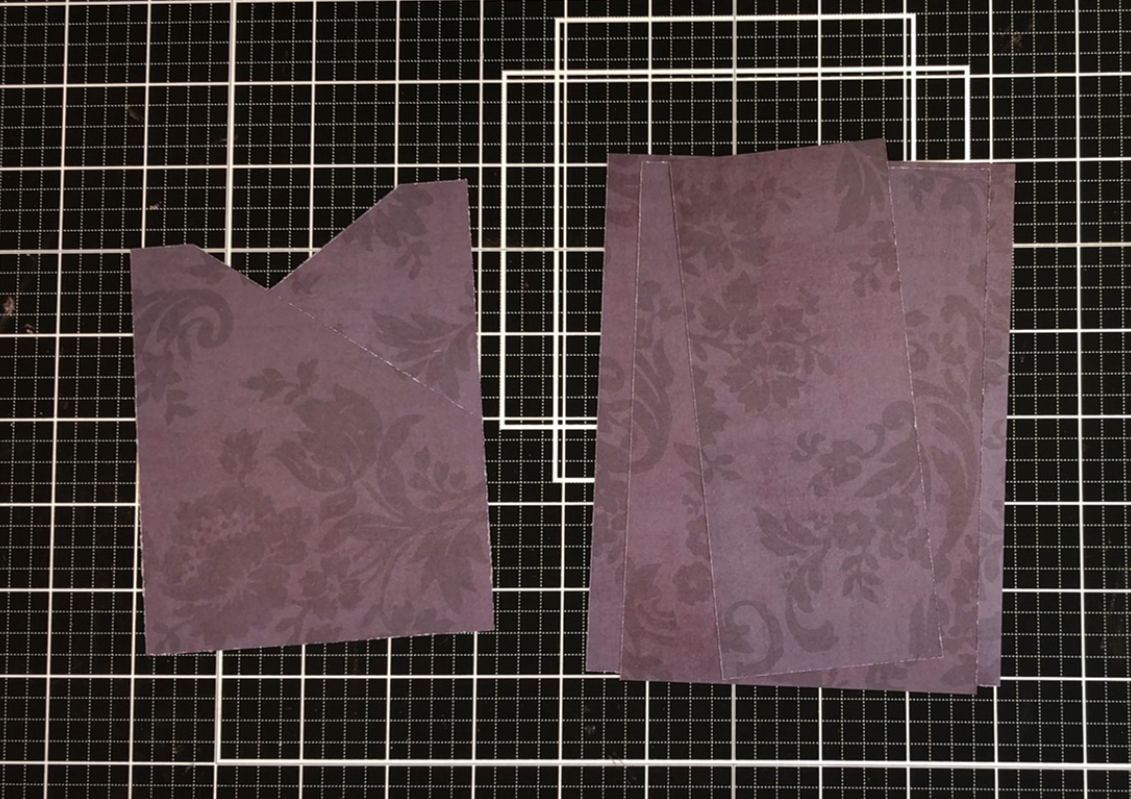
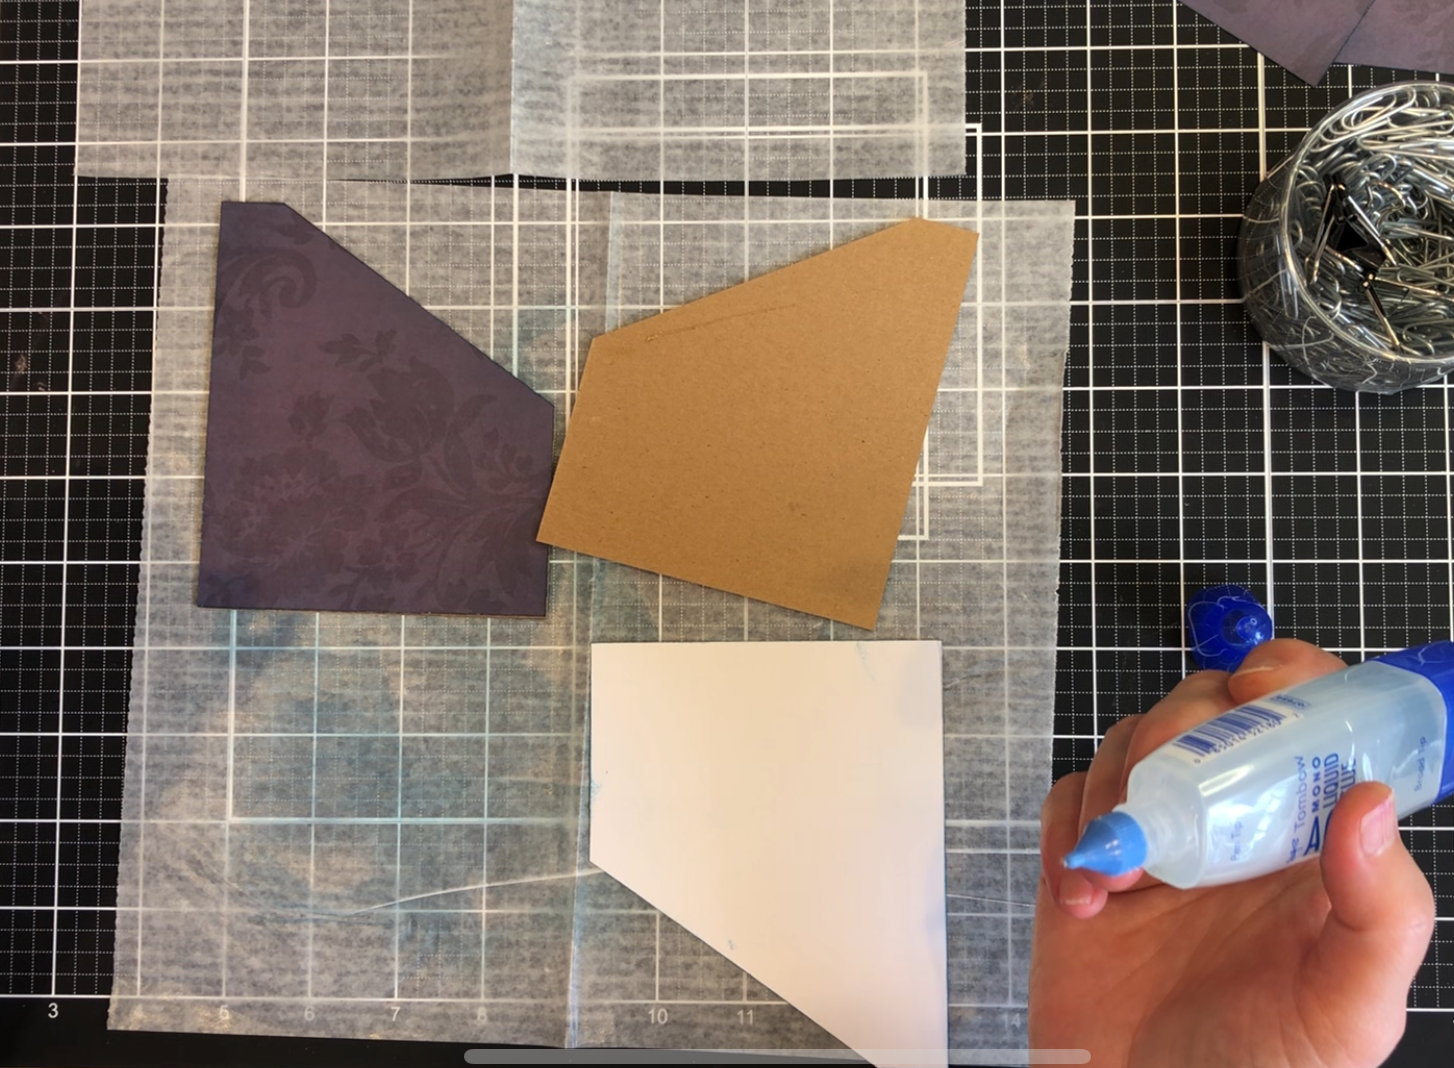
I chose to make my box from chipboard. I wanted it to resemble a recipe box, and hopefully have more use once the cards were all sent out. I had already decided that all of my cards would be A2 size (4 1/4″ by 5 1/2″). I used the measurements for the envelopes of my A2 cards to figure out the inside dimensions of the box, with a some extra space added for wiggle room and extra cellophane packaging. I guessed at the depth, it was mainly dependent on what I thought would be stable standing up, I didn’t want it to fall over once it had the weight of the cards in it, plus I wanted it deep enough to hold my cards with foam pop-outs. I made some drawings to help me figure out the exact measurements. I needed to add 1/16″ to some sides as my chipboard was 1/32″ thick and I wanted to fit the sides flush in certain areas. For instance: the sides of the box will sit flush on the edge of the bottom piece but inside the back and front piece. I used my final measurements to make templates that would be used for the chipboard, the interior, and exterior coverings.
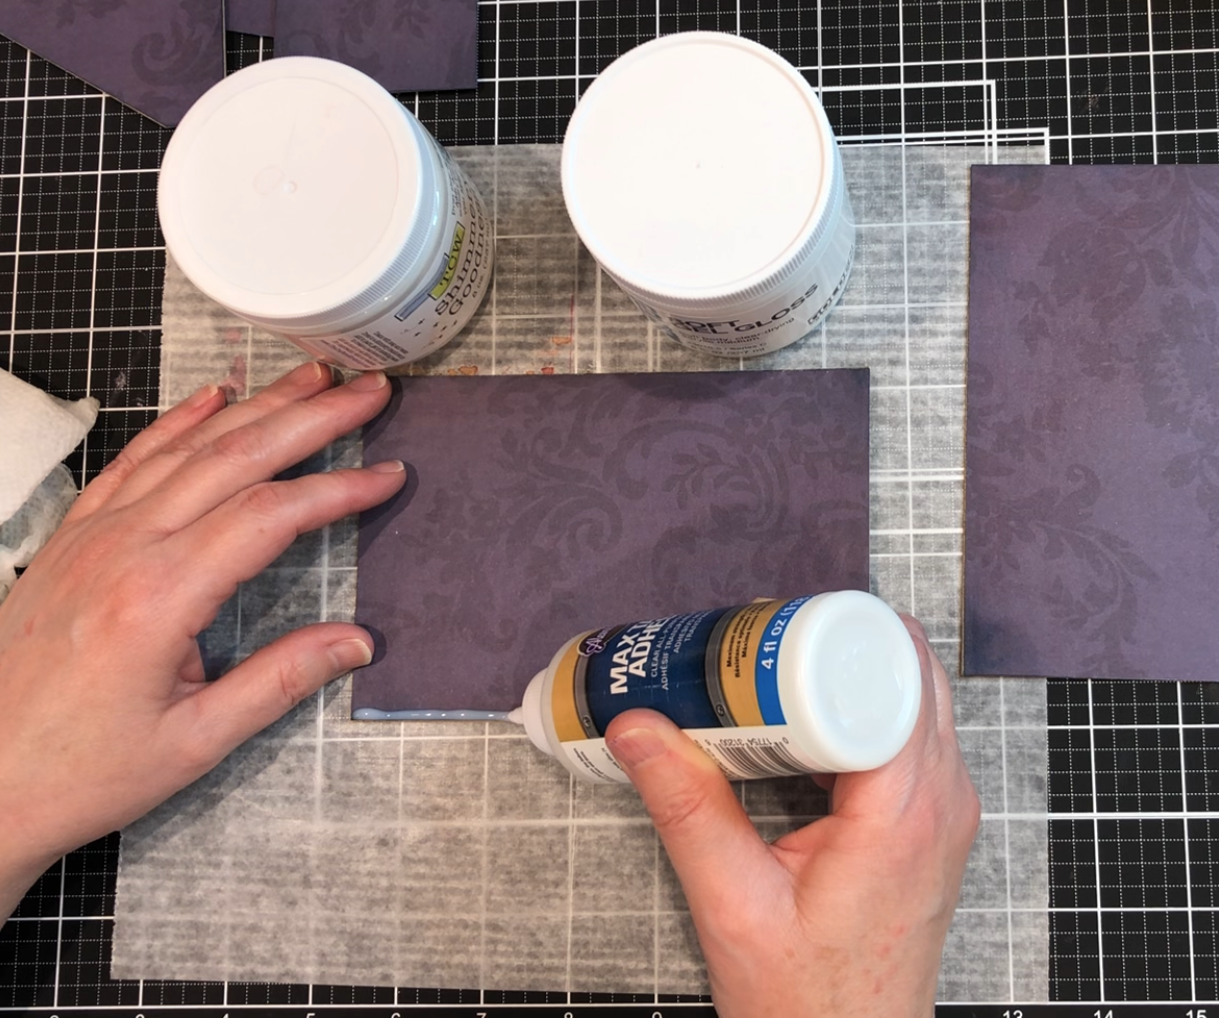
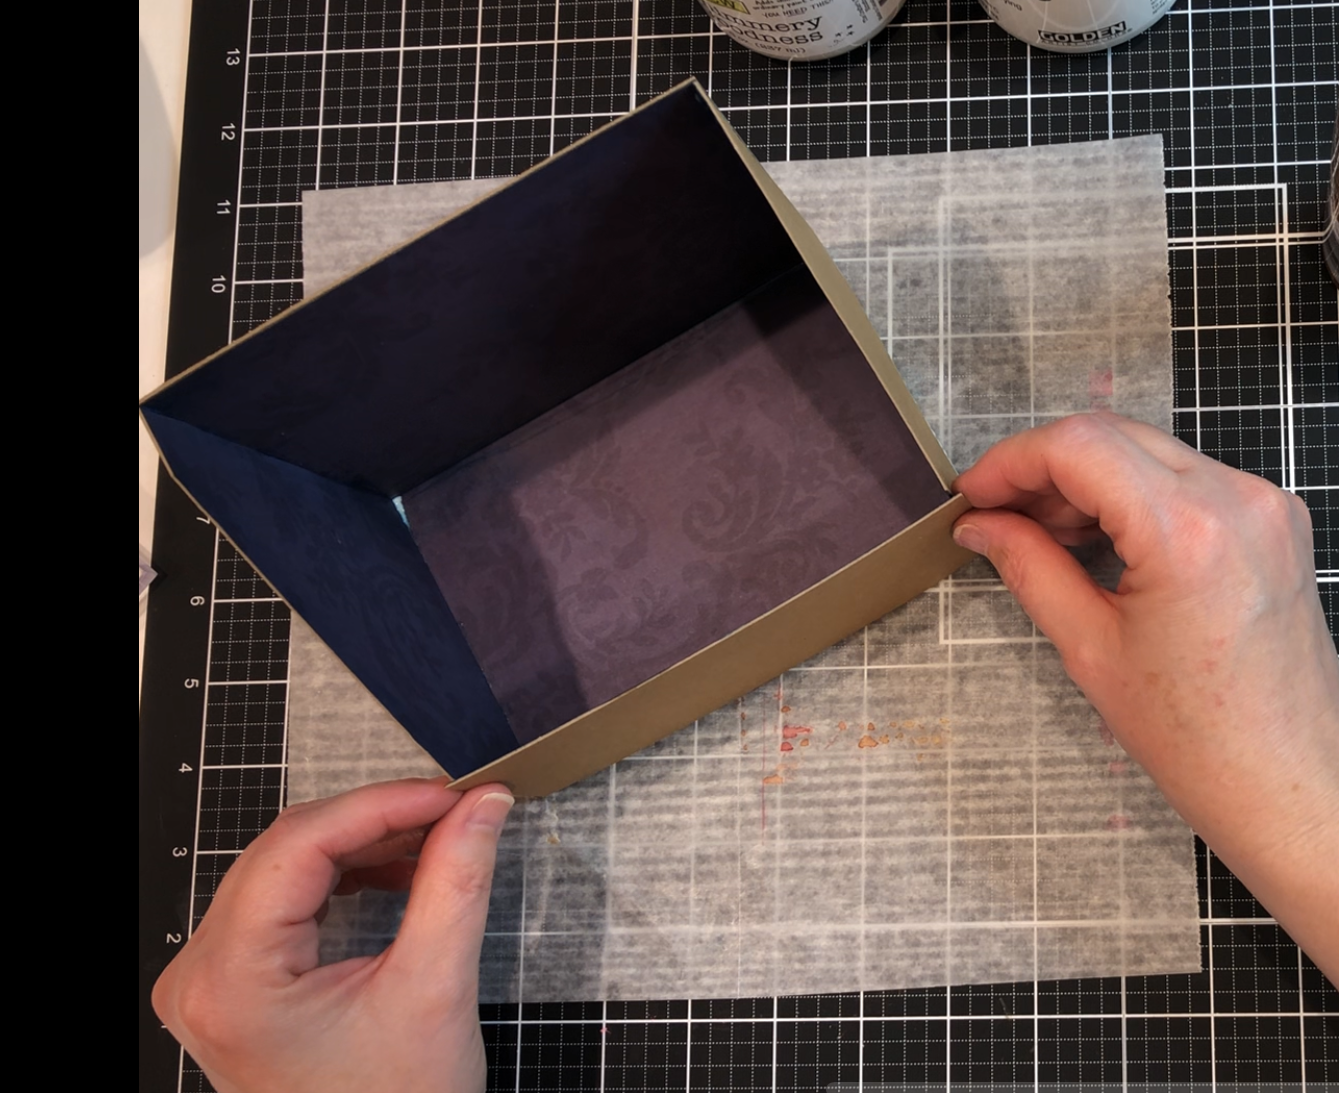
Preparing box for assembly :
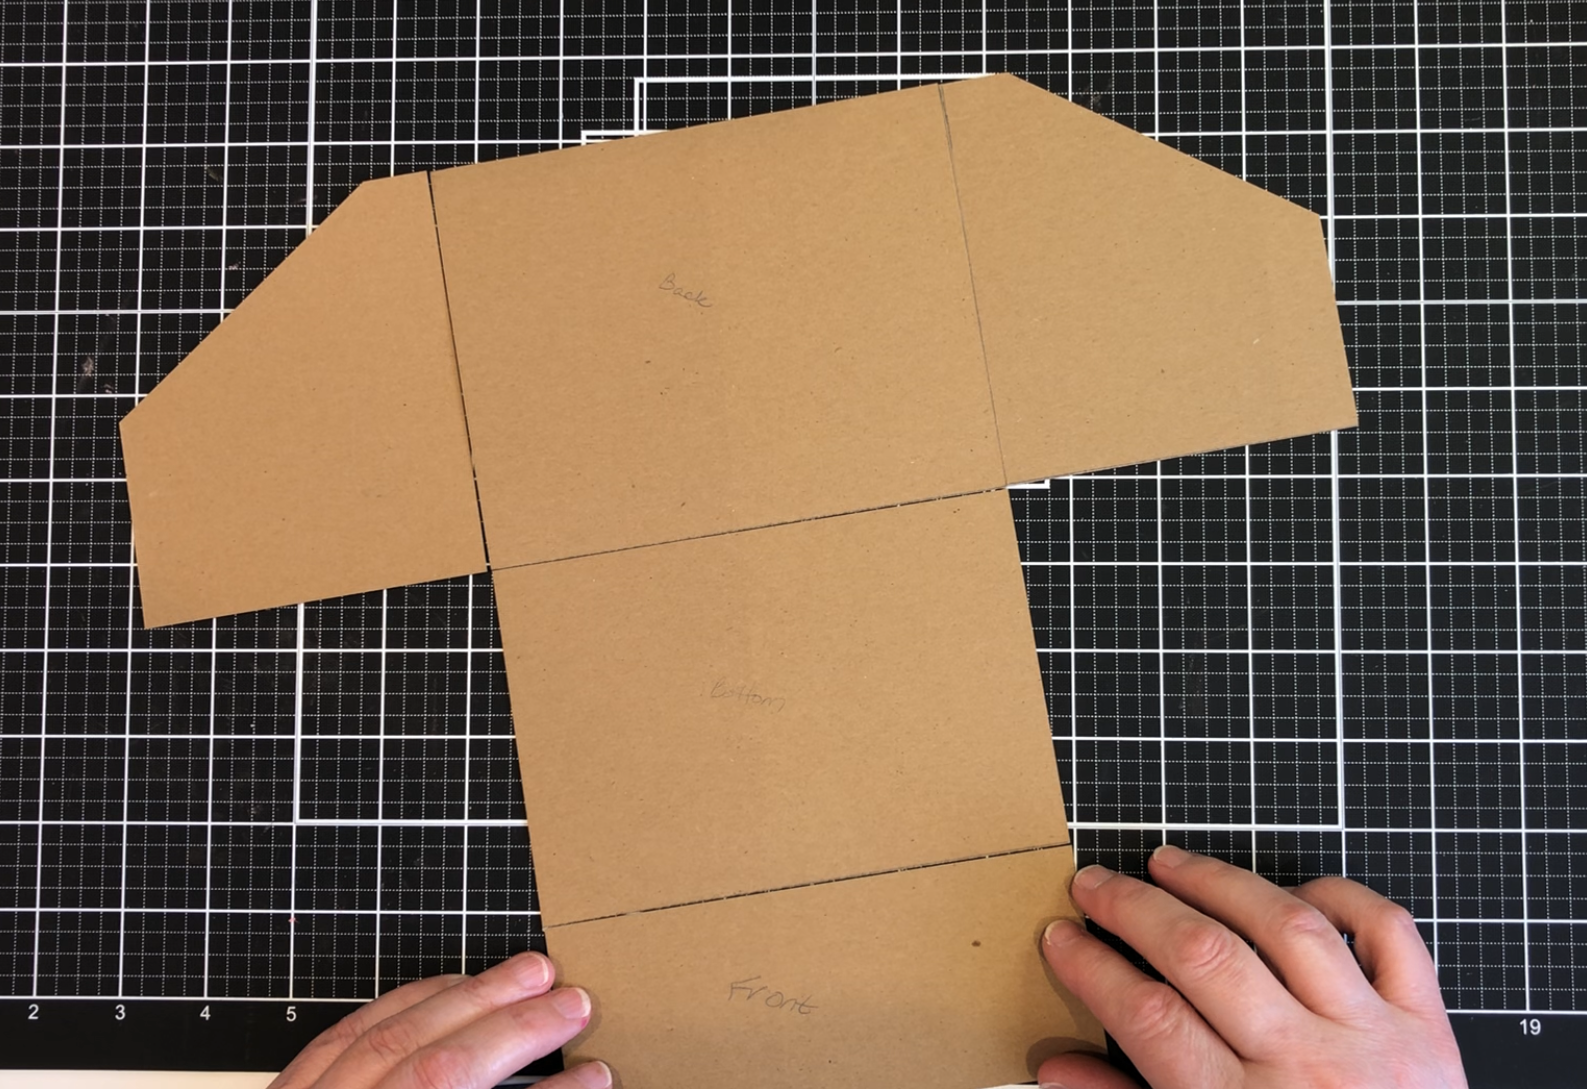
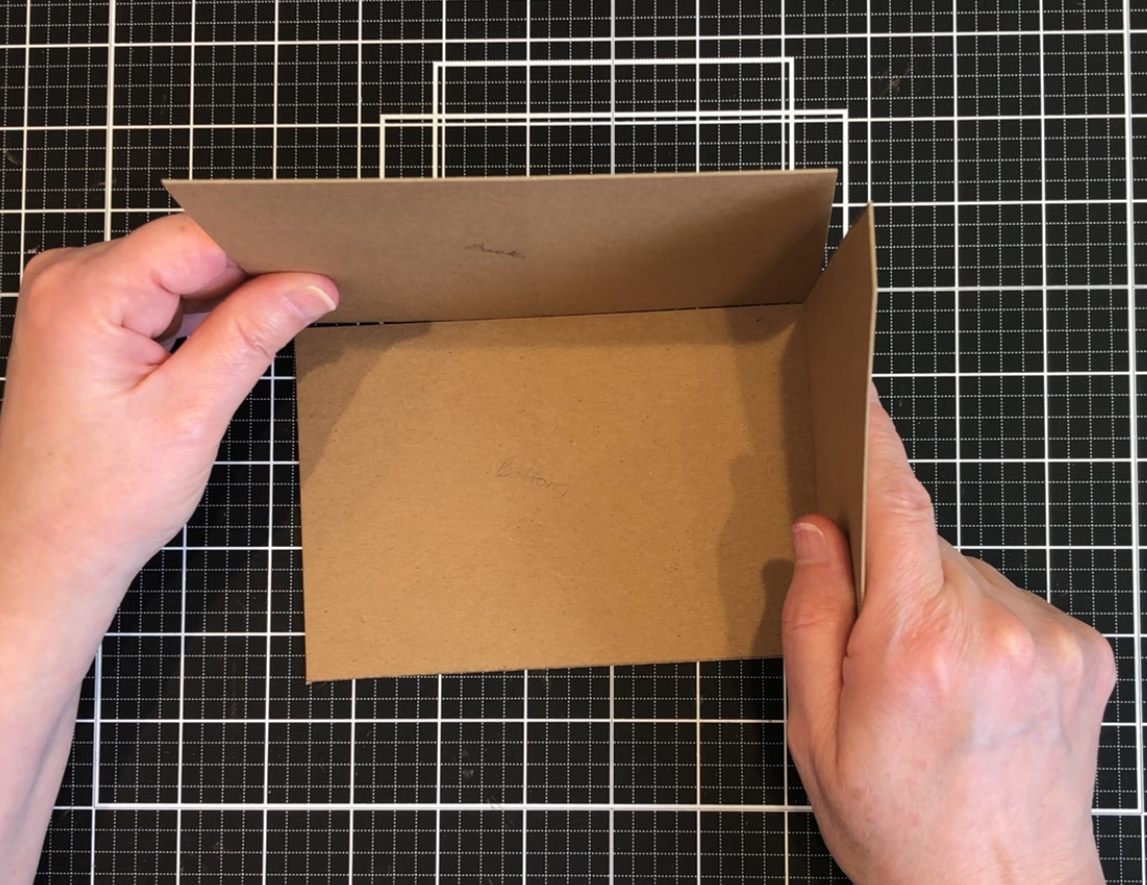

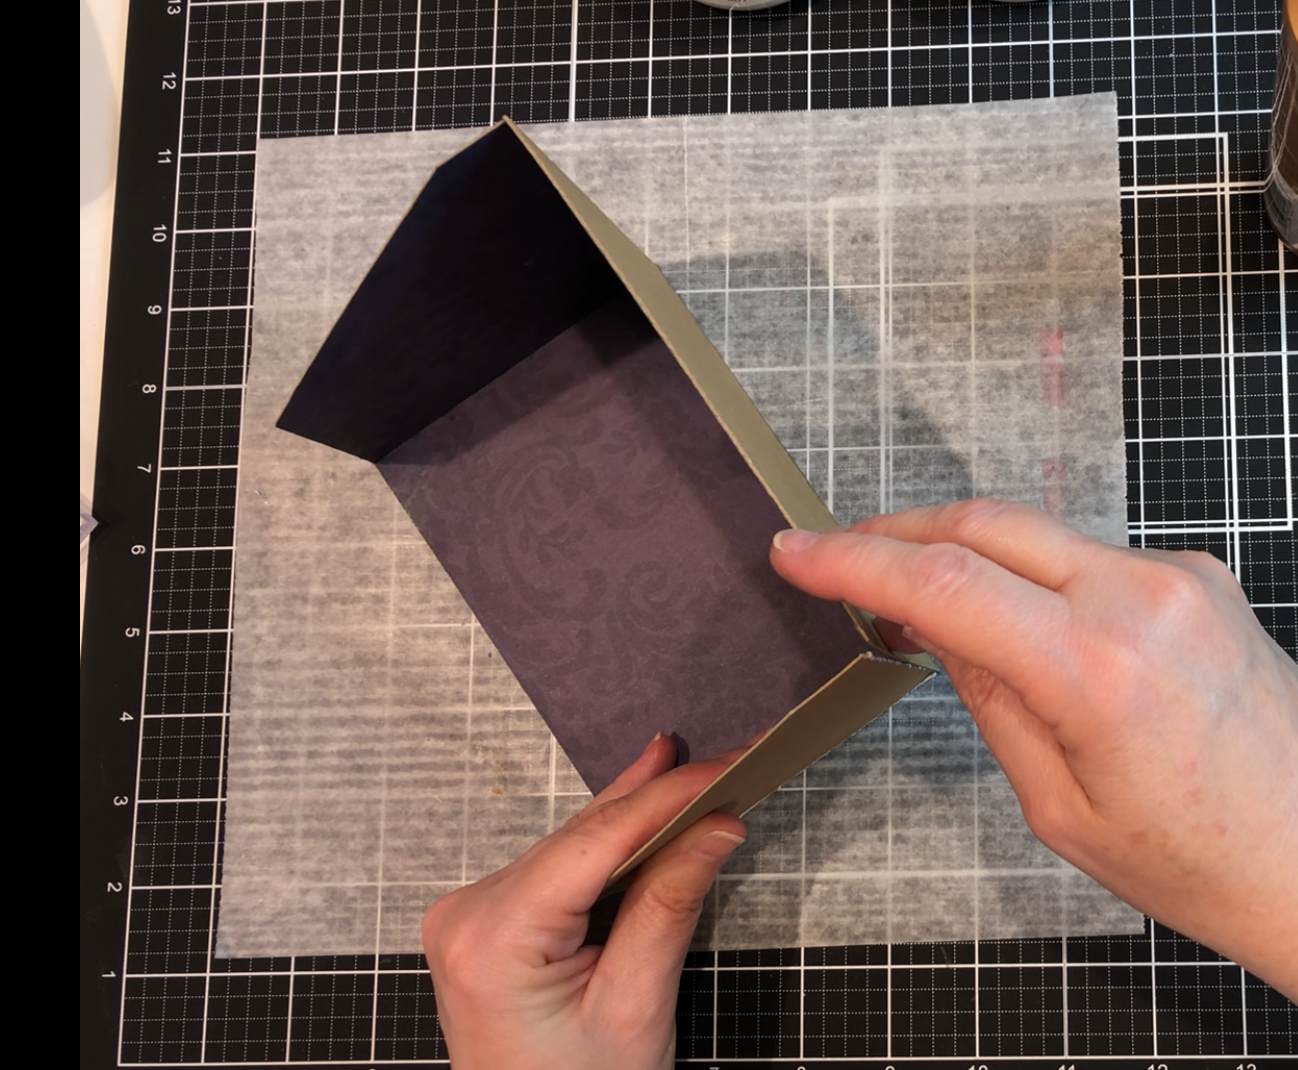
Box Assembly:
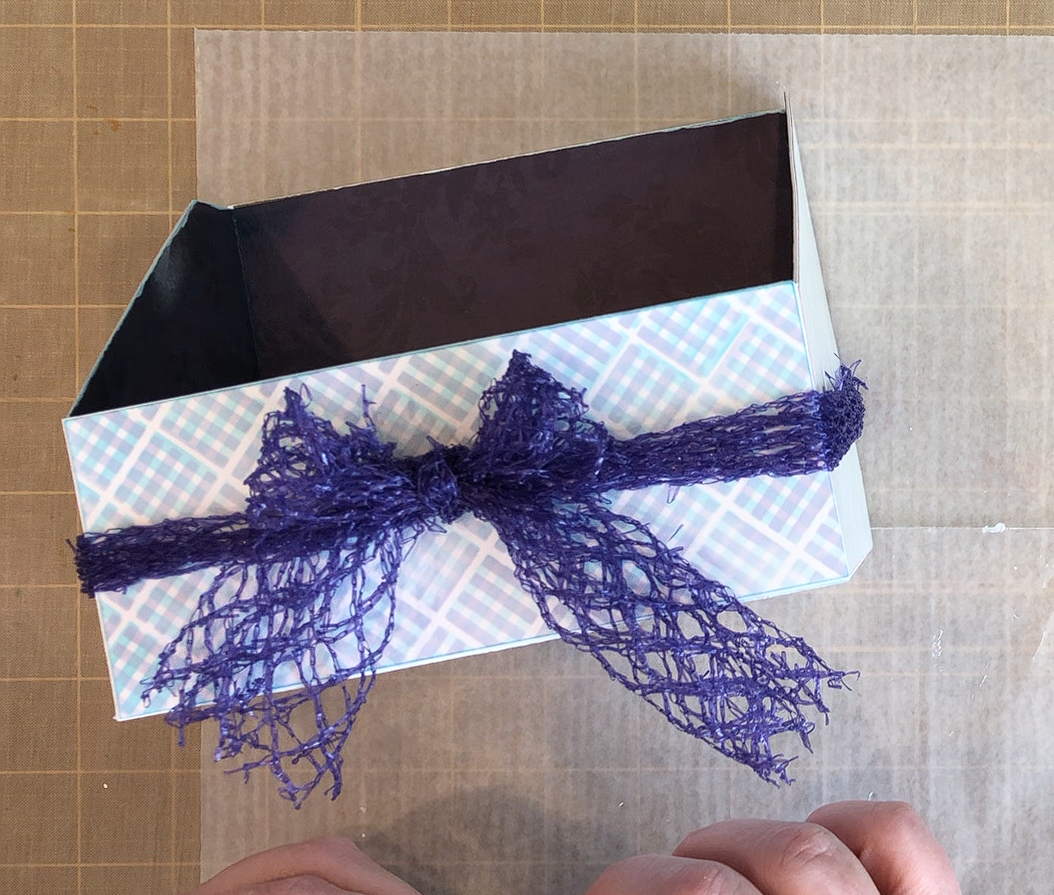
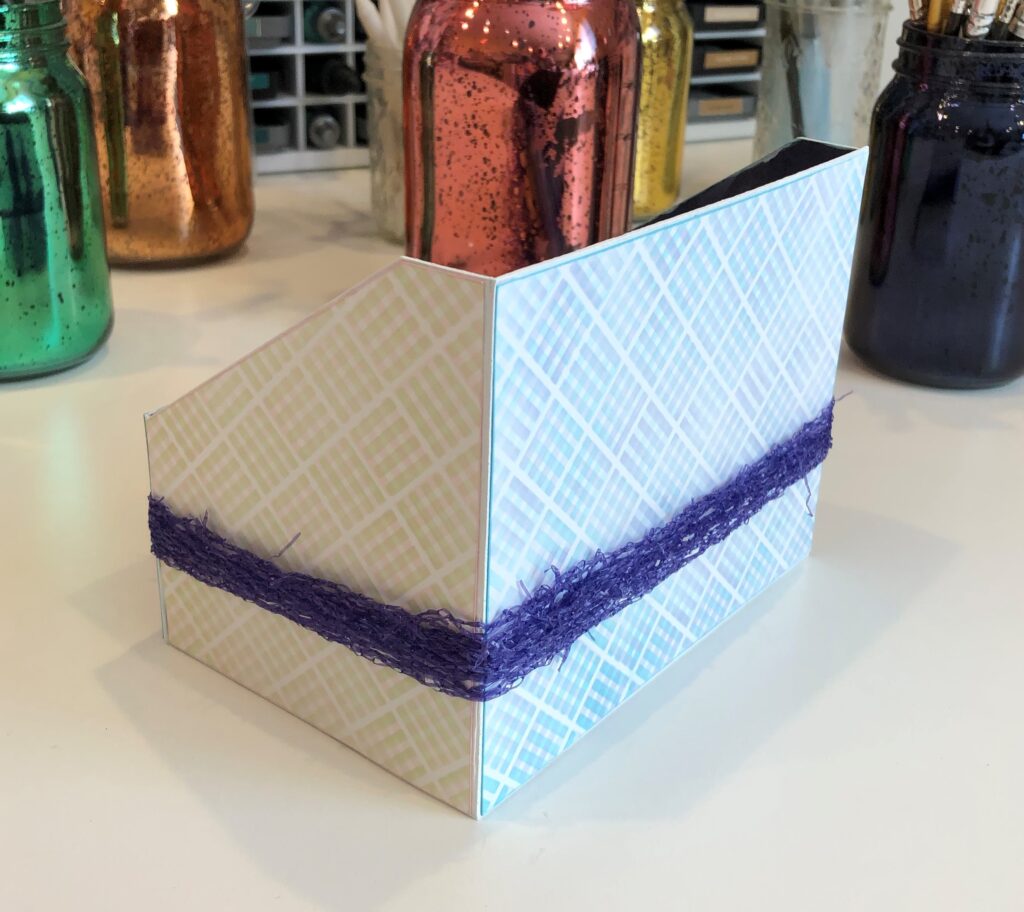
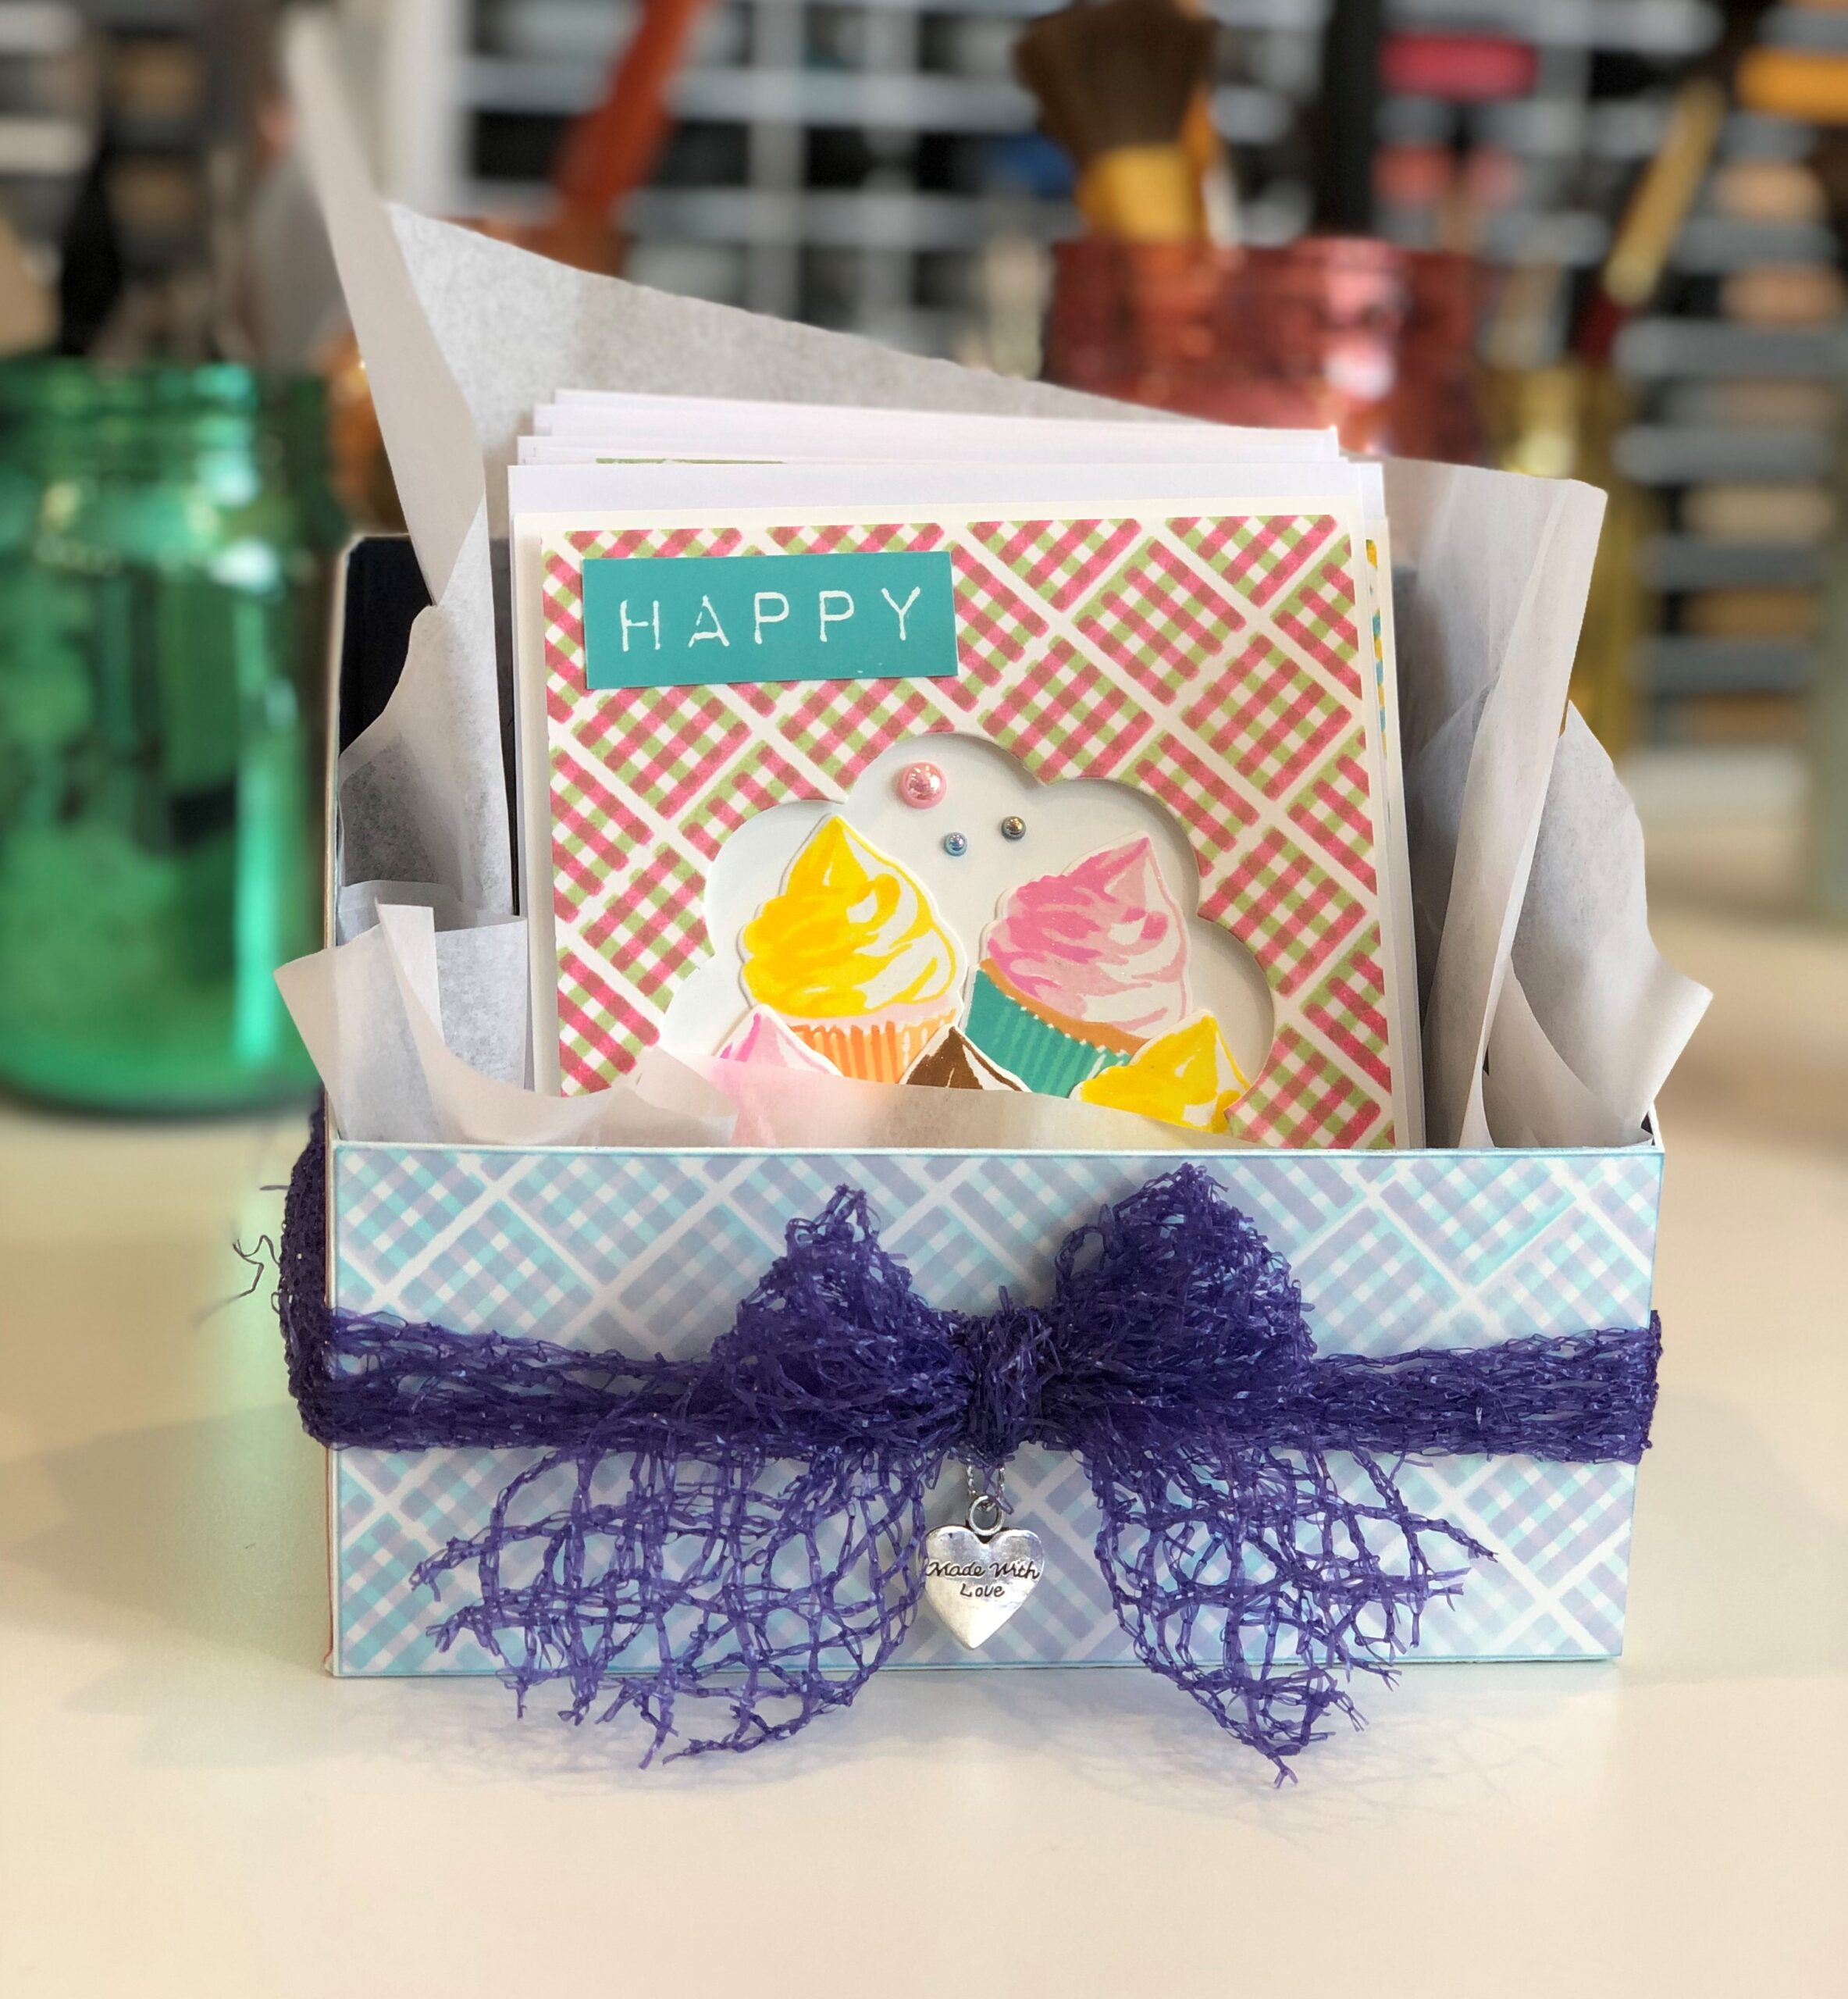
Once assembled, I painted the box with two coats of white acrylic paint. To continue my theme I used the Square Weave stencil to make the outer coverings in subdued hues that mimic my cards. I chose to use a purple color (Wisteria) instead of yellow or green for masculine colors to help tie in my bow and the inside color of the box.


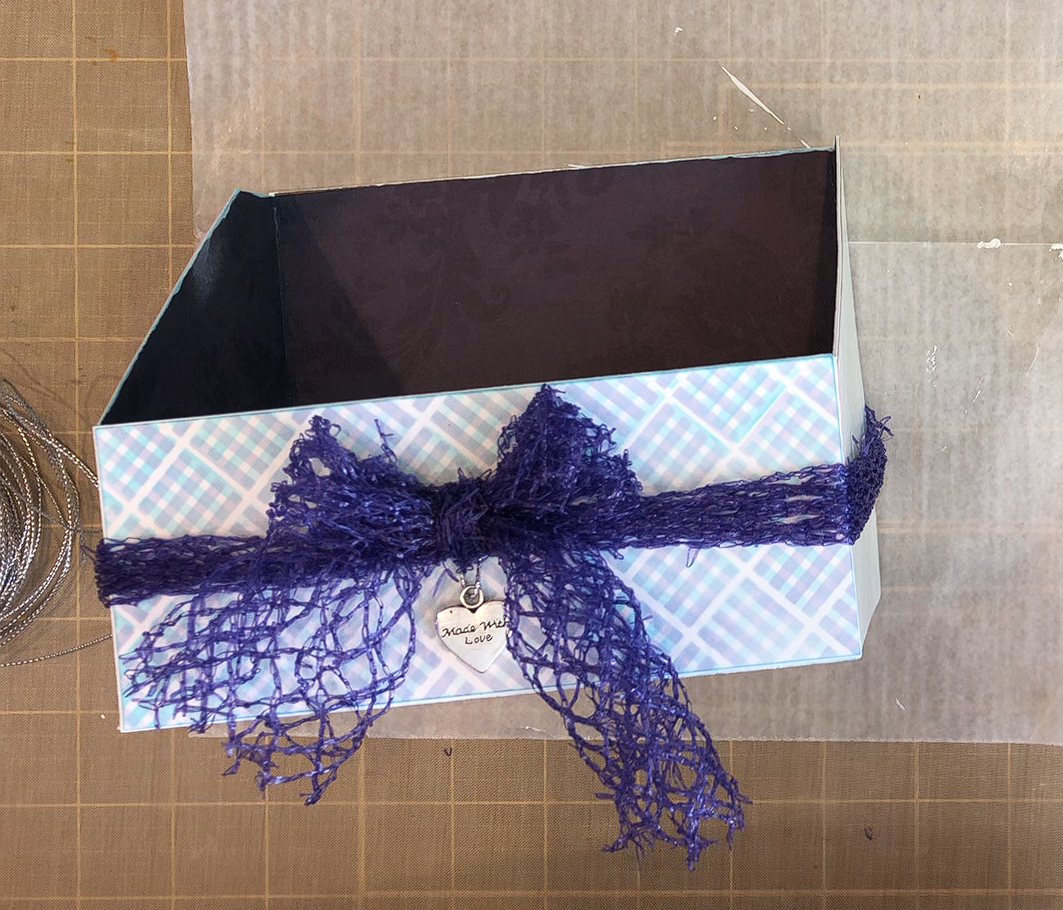
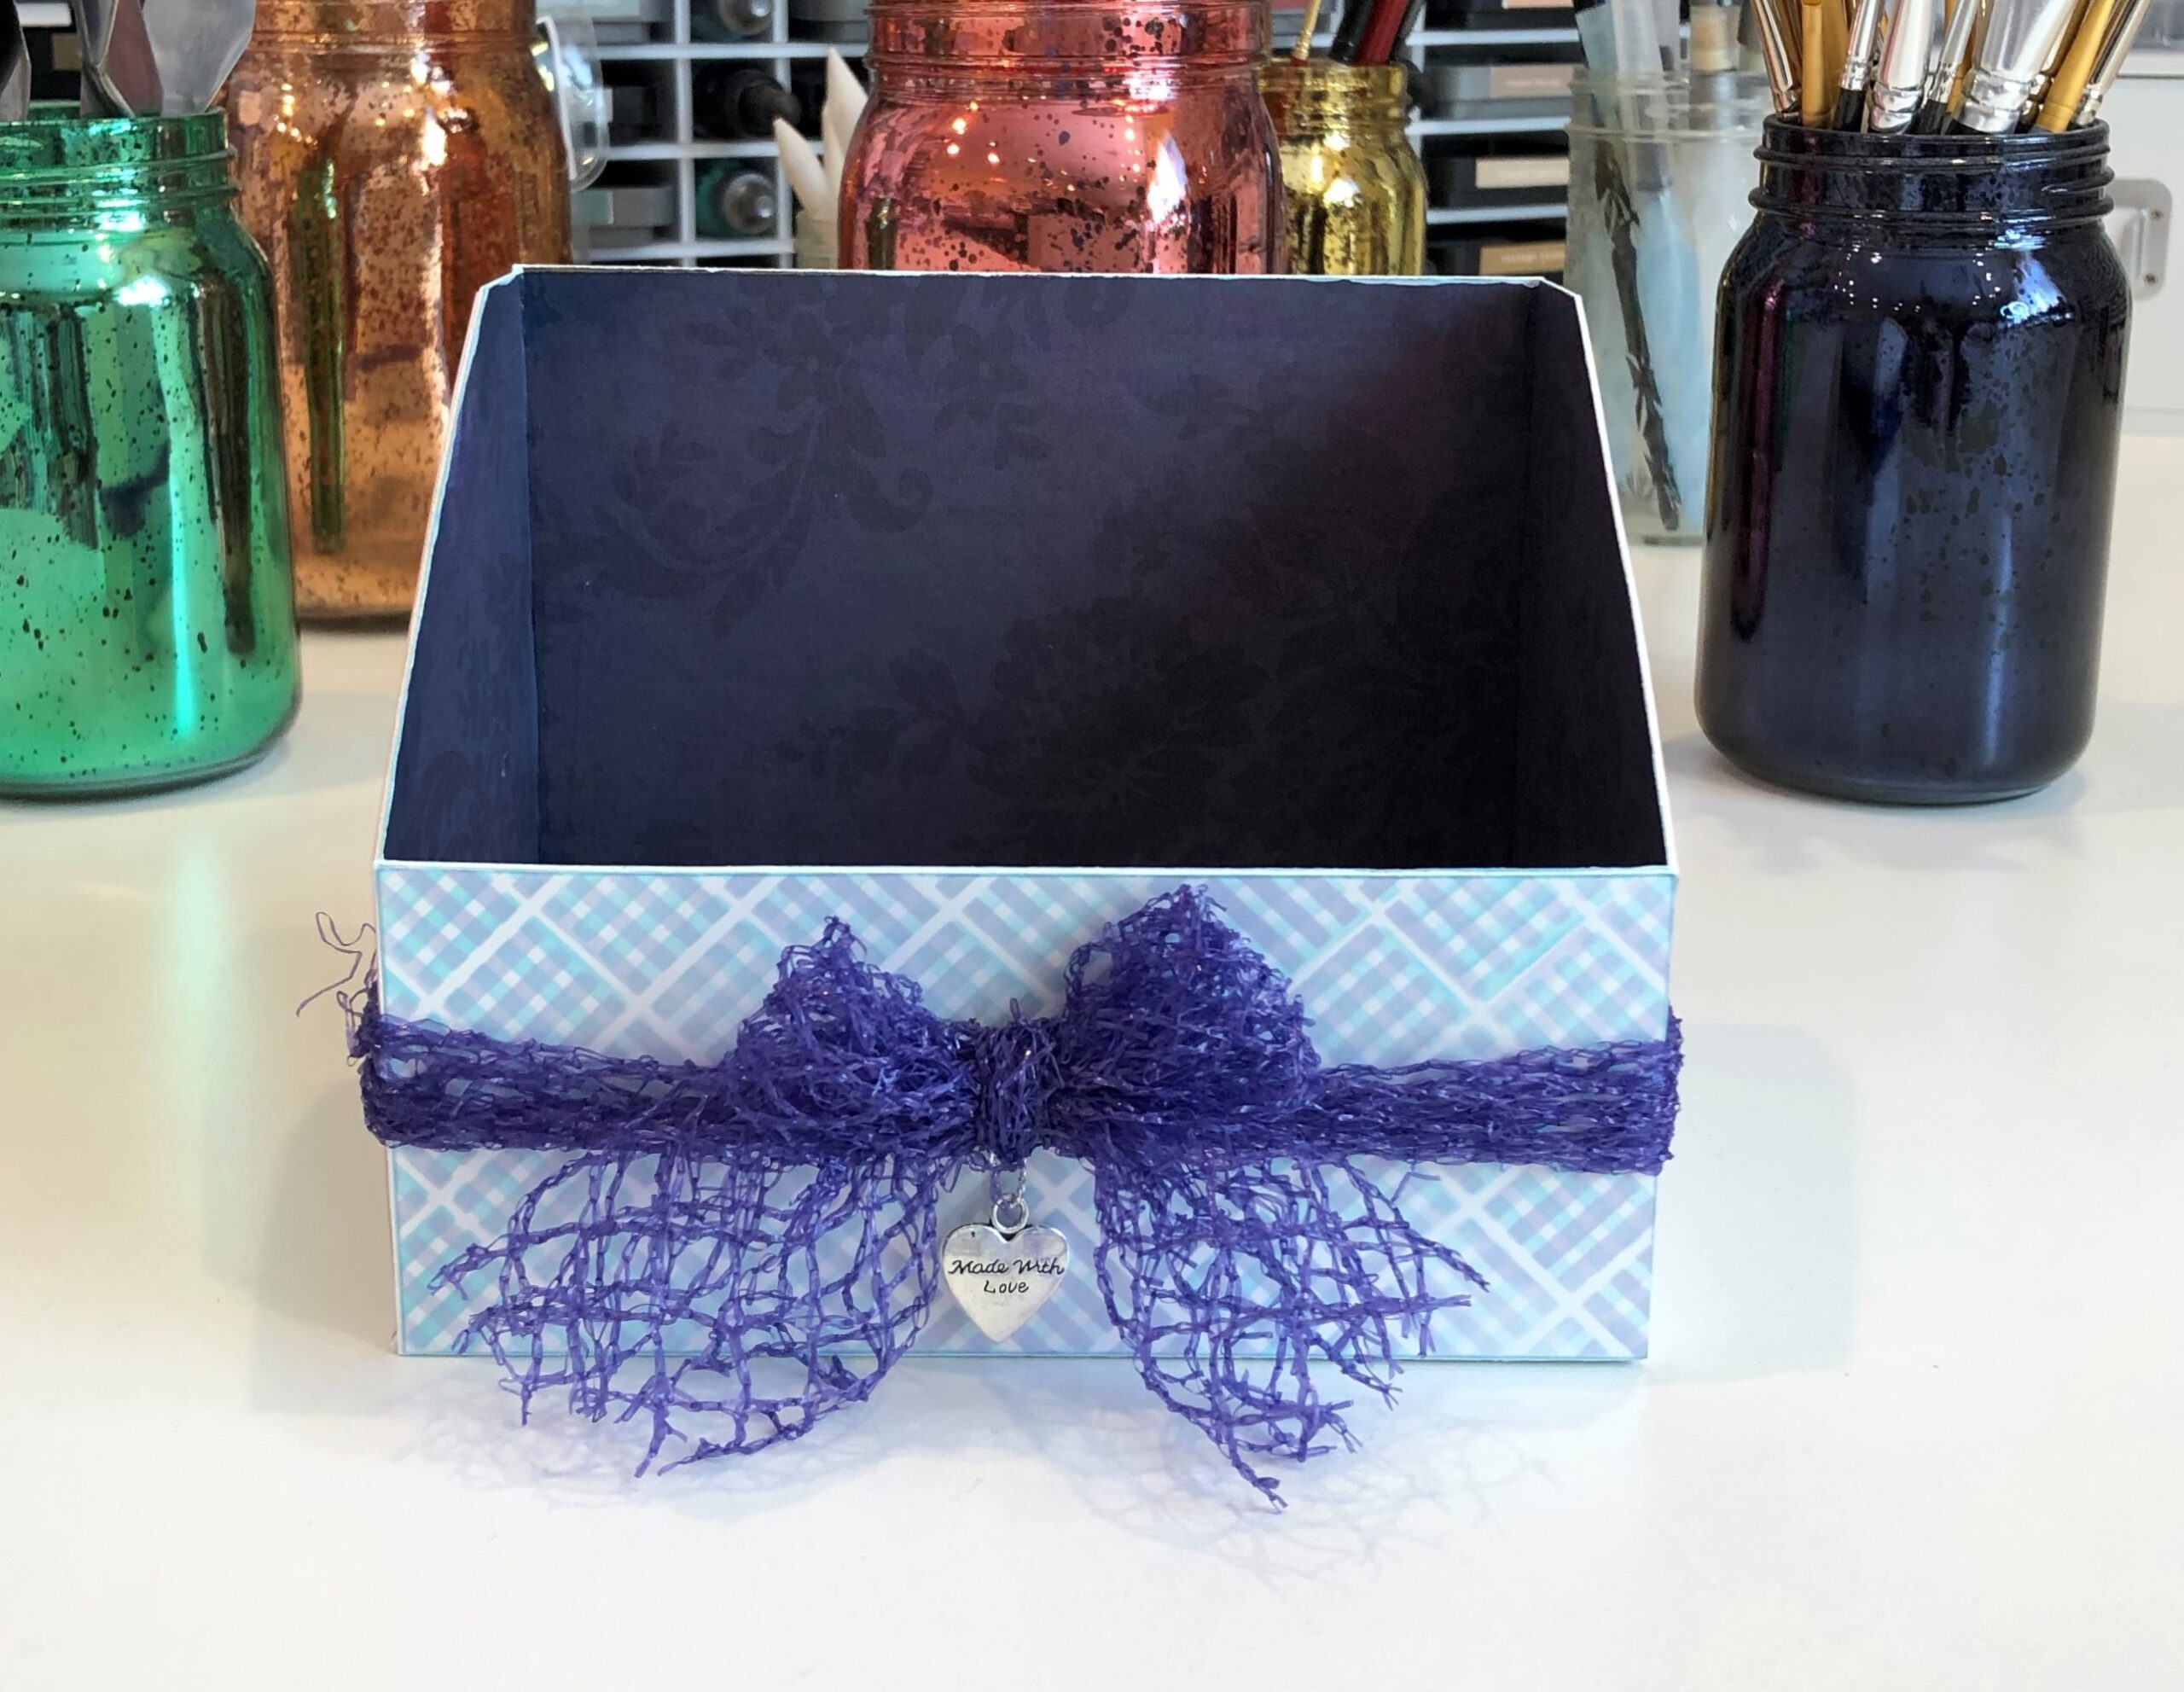
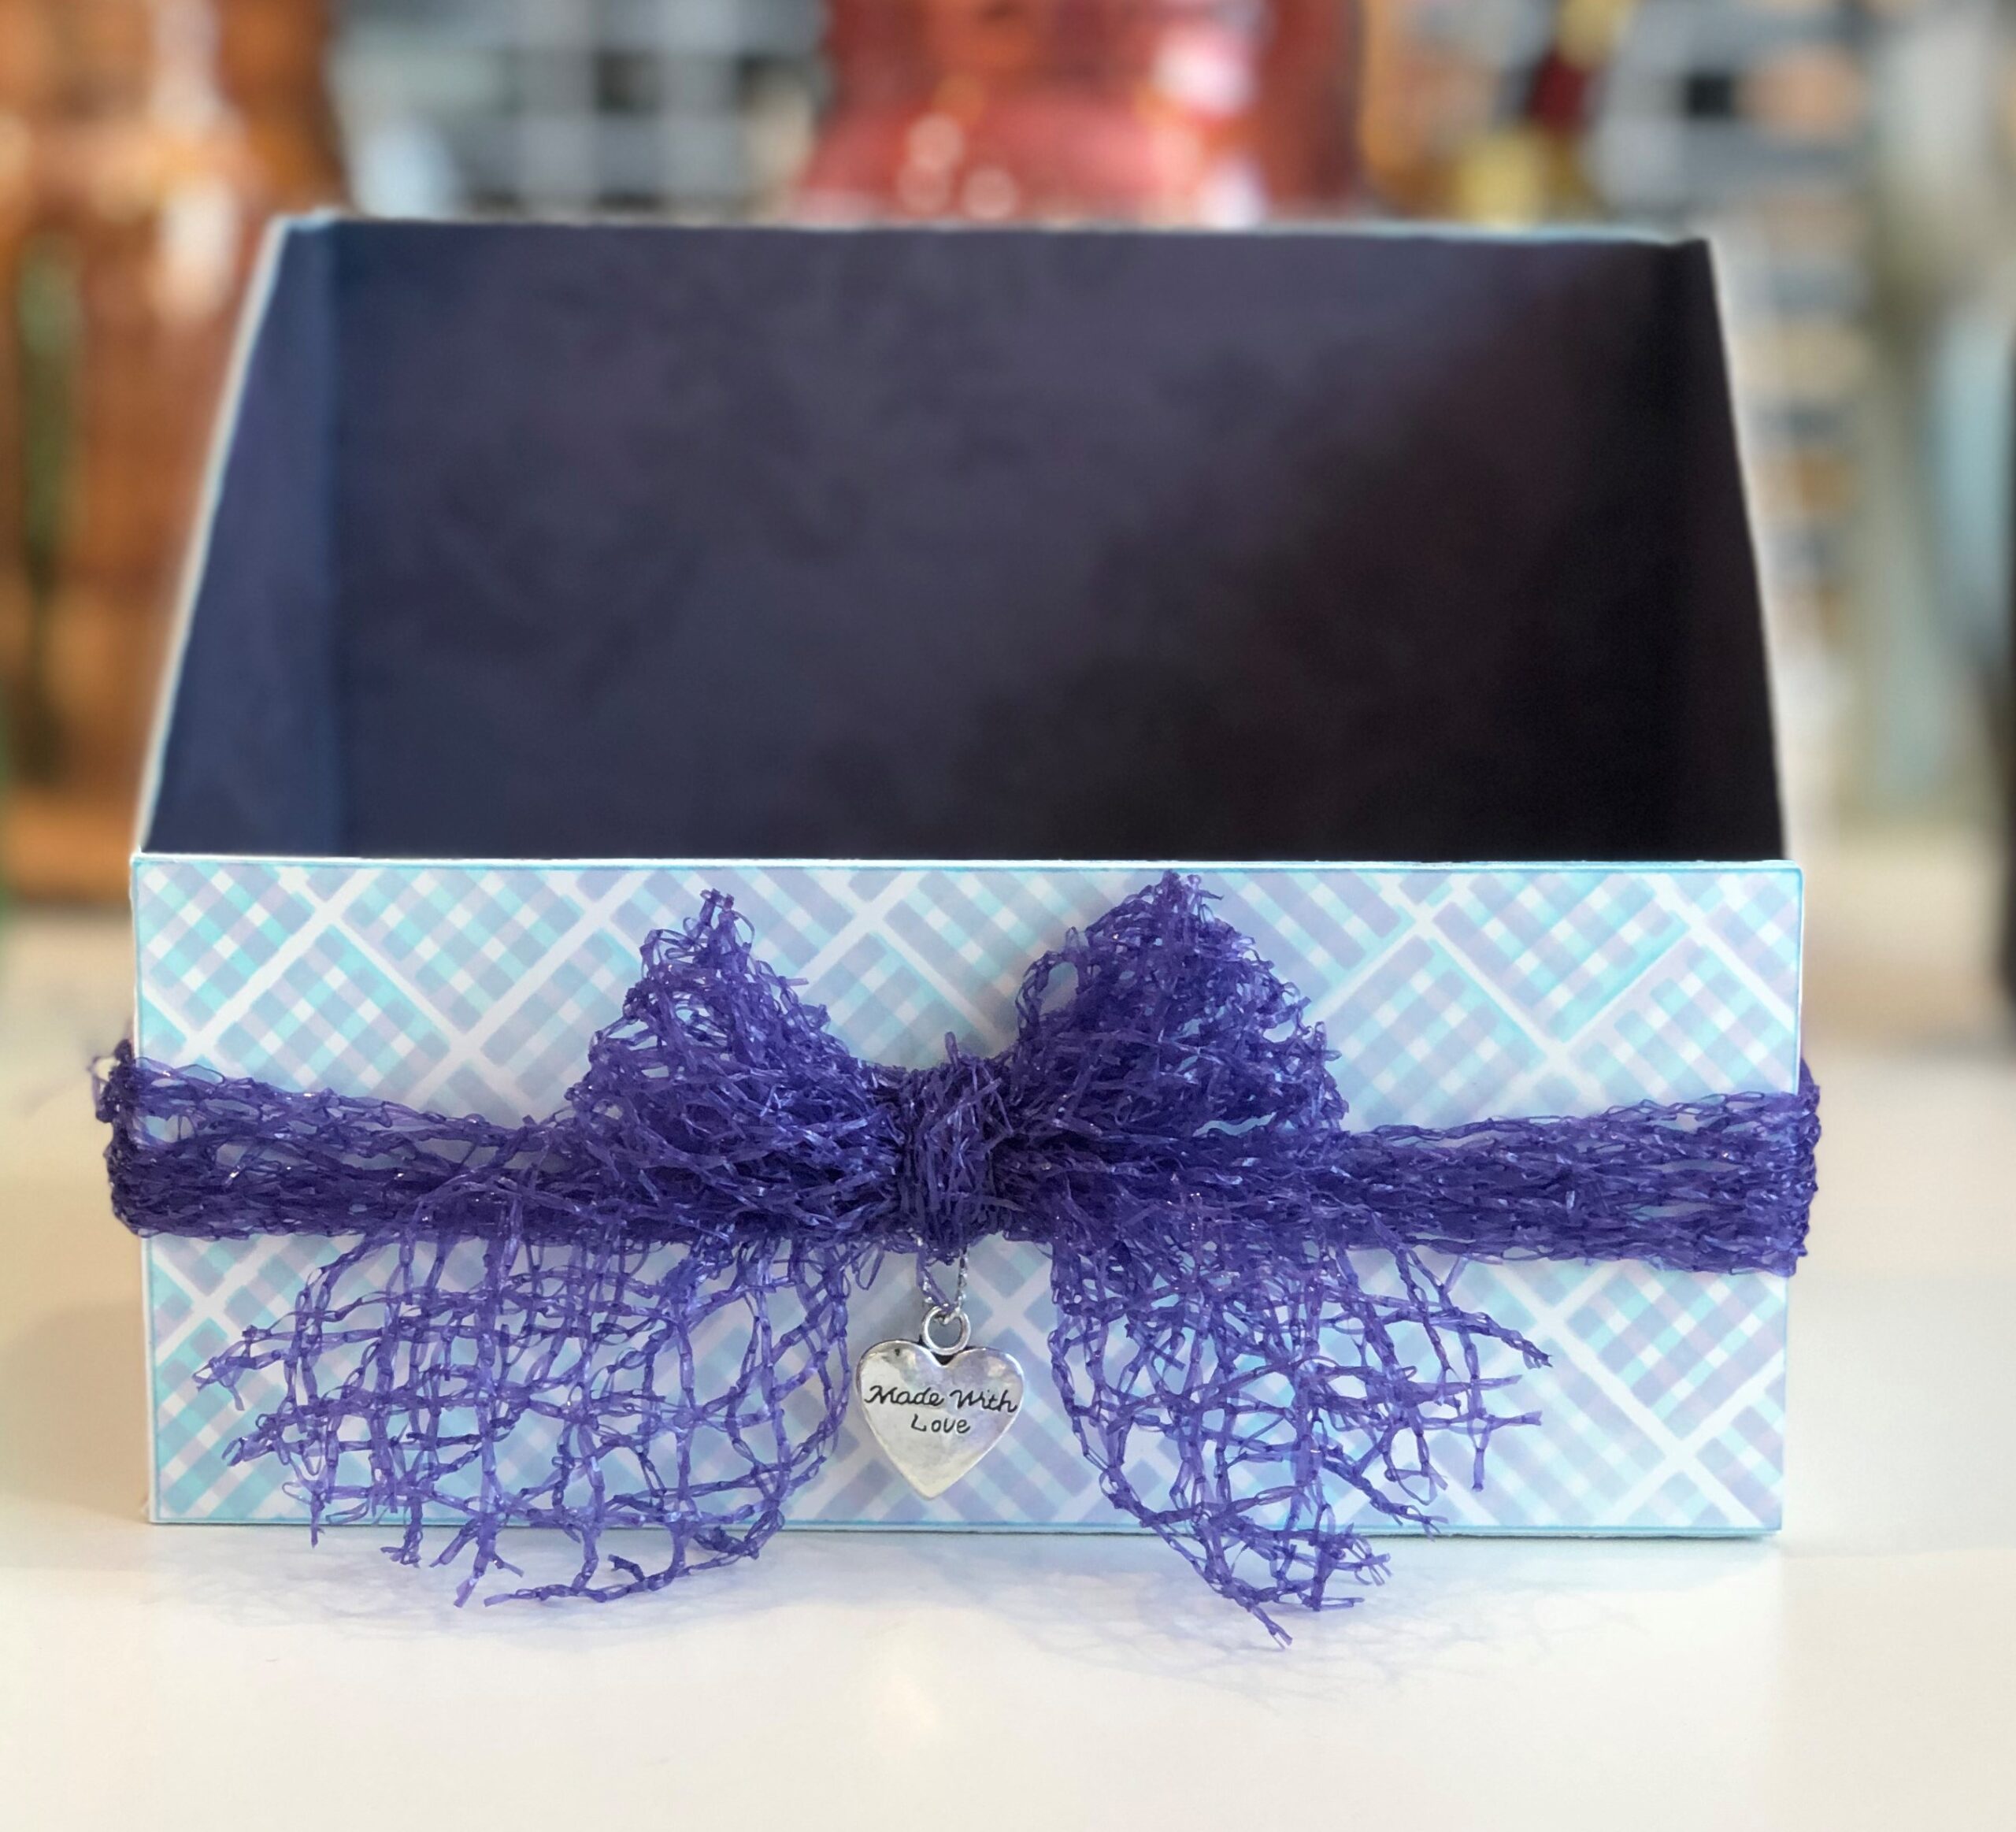
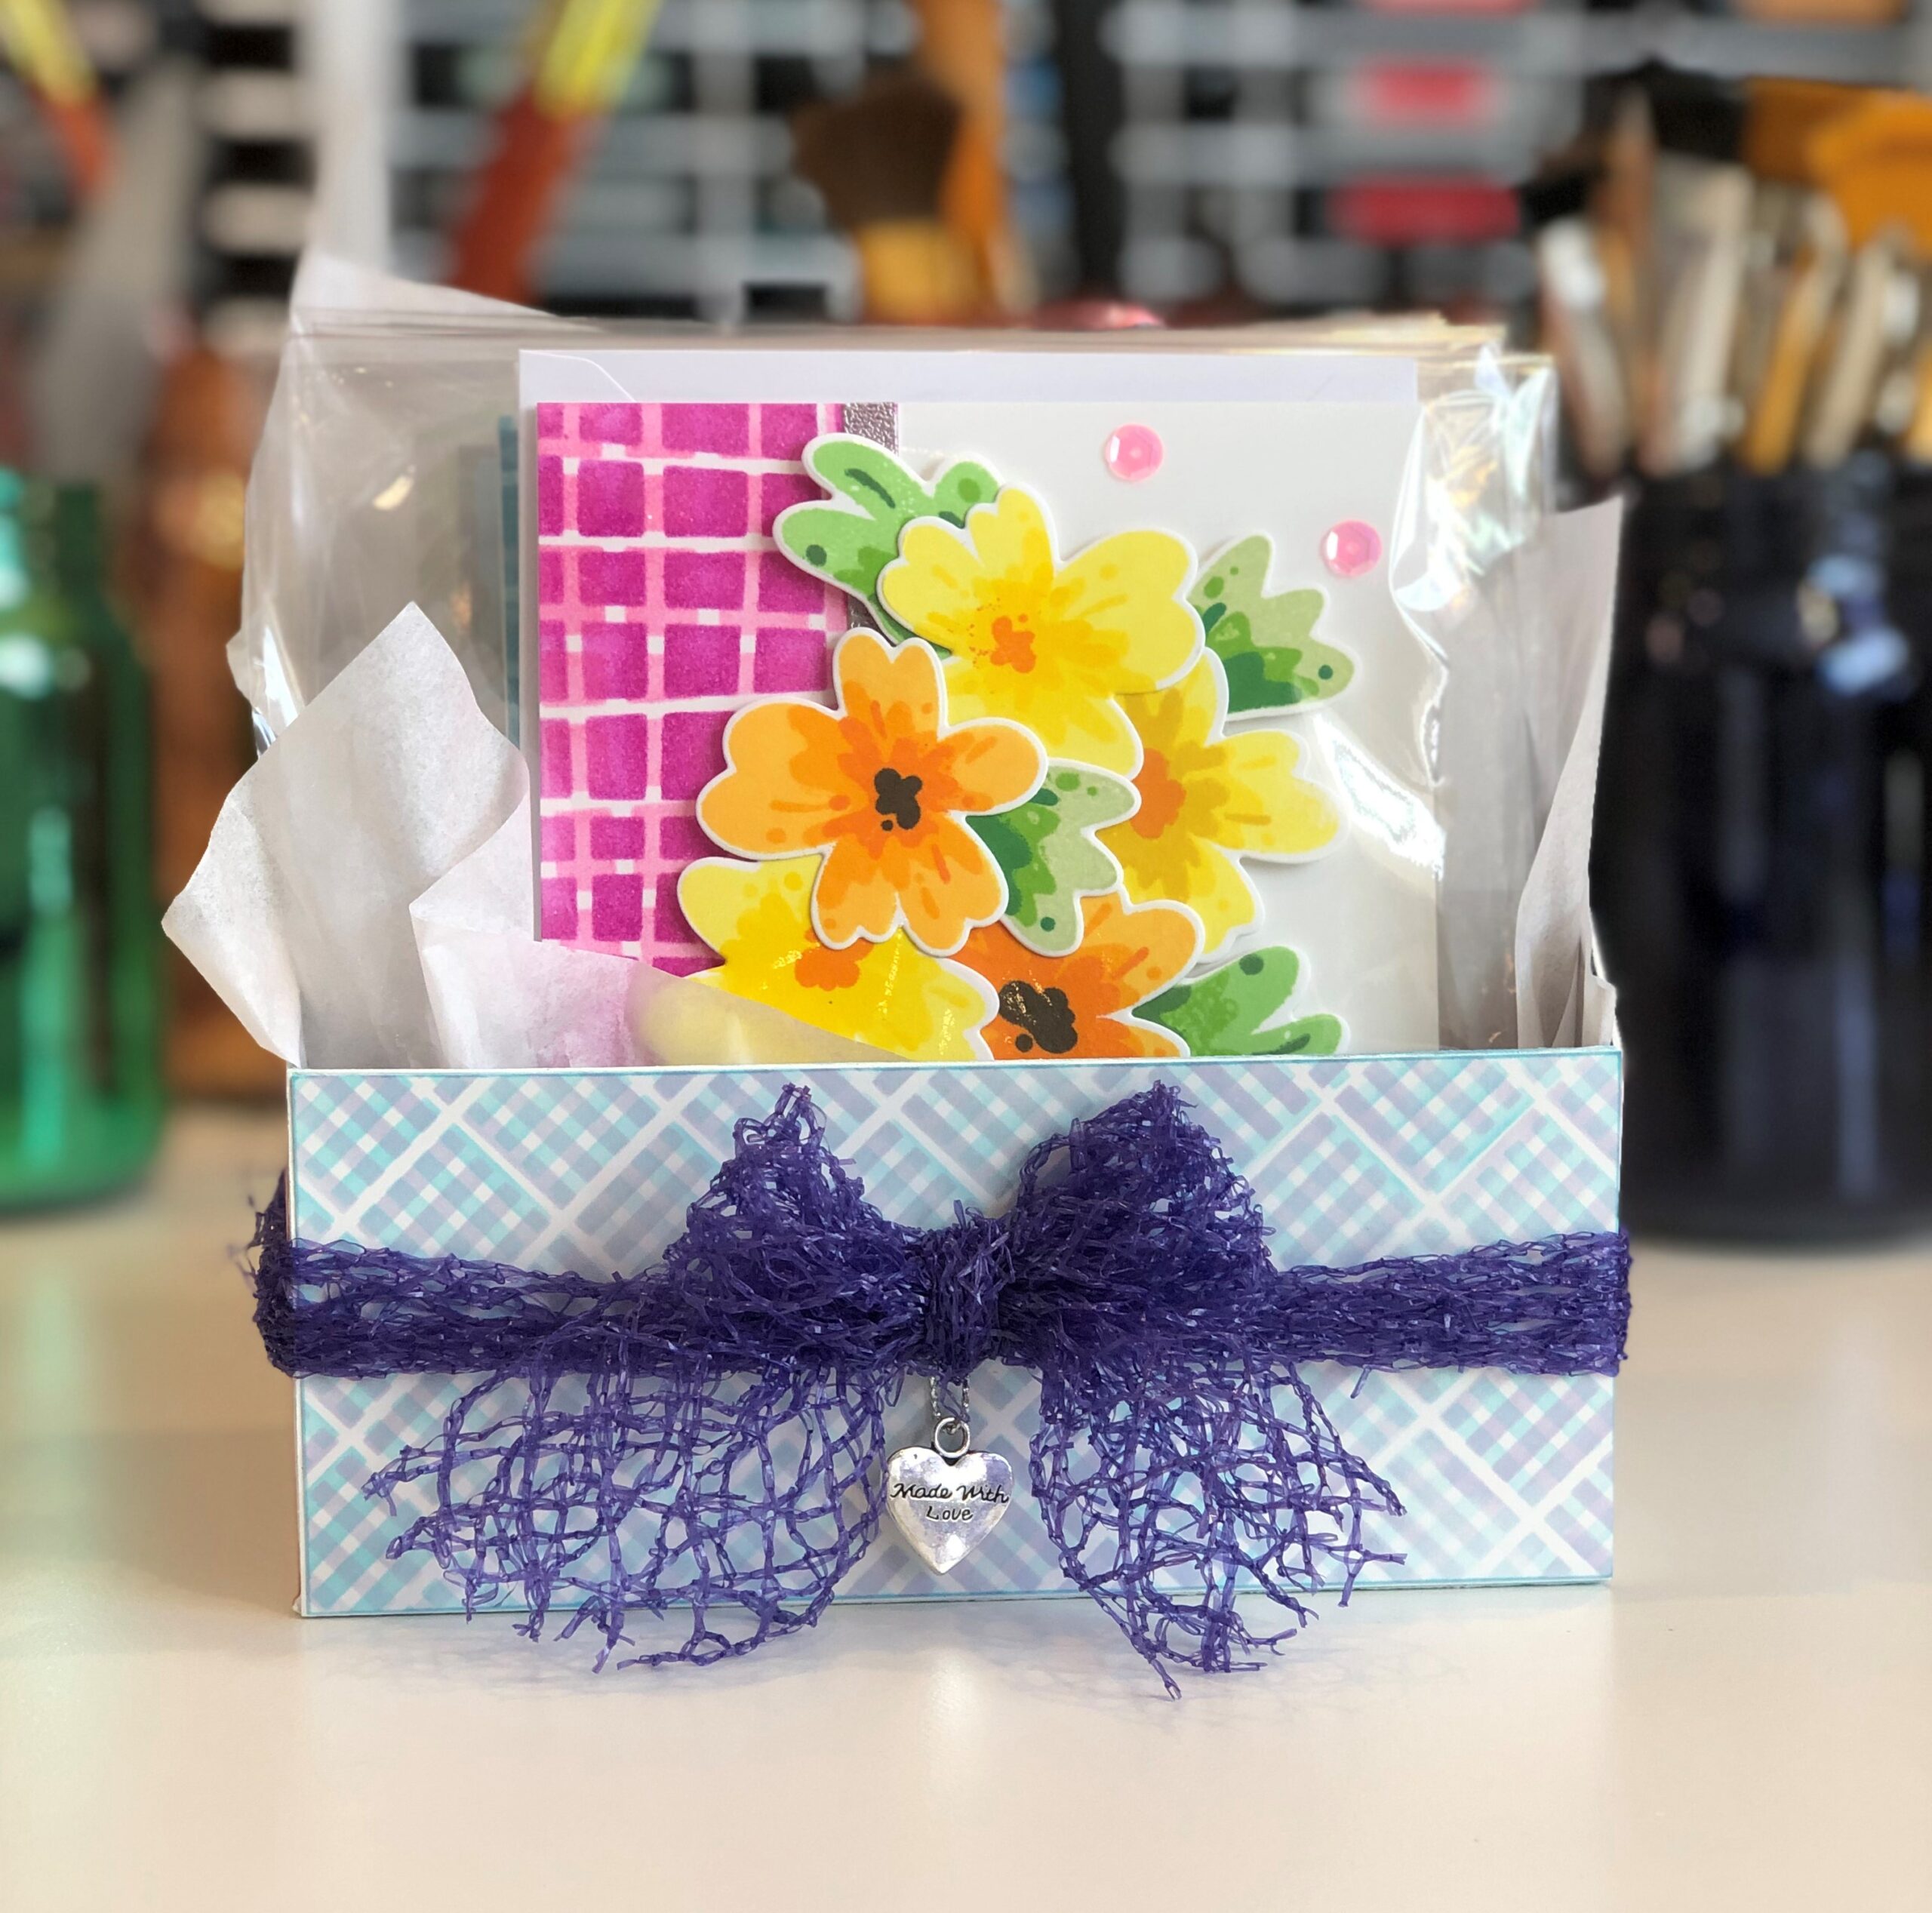
Finished Box and recycled element:
I accidentally smeared a little white paint on the inside top edge, but I later fixed it (okay…made it less noticeable 🙂 ) using a little Andromeda Crisp Dye Ink and a detail blending brush. My recycled element is the purple tie around the box. It is from produce packaging that I saved because the craft hoarder in me thought it would be quite useful someday…I guess it’s finally someday! 🙂
The whole kit and kaboodle:


You Tube video
Thank you for stopping by and have a wonderful day 🙂


Oh myyyy!!! These cards are super fantastic!! They are so different from everyday card sets and so unique. You have done an incredible job in creating both the sets and bringing the whole thing together. Well done!!
Thank you for submitting your work to the AECP assignment gallery.
Thank you Erum!