
So Shiny!
The Let It Shine class taught by Carissa Wiley was great! All of the bling and sparkle filled me with so much joy, happiness, and creativity that I made two cards. I chose the Simple Fruits card as my main one, as the Garden Rose card didn’t behave the way I was hoping, but you can still see it down below.
Simple Fruits
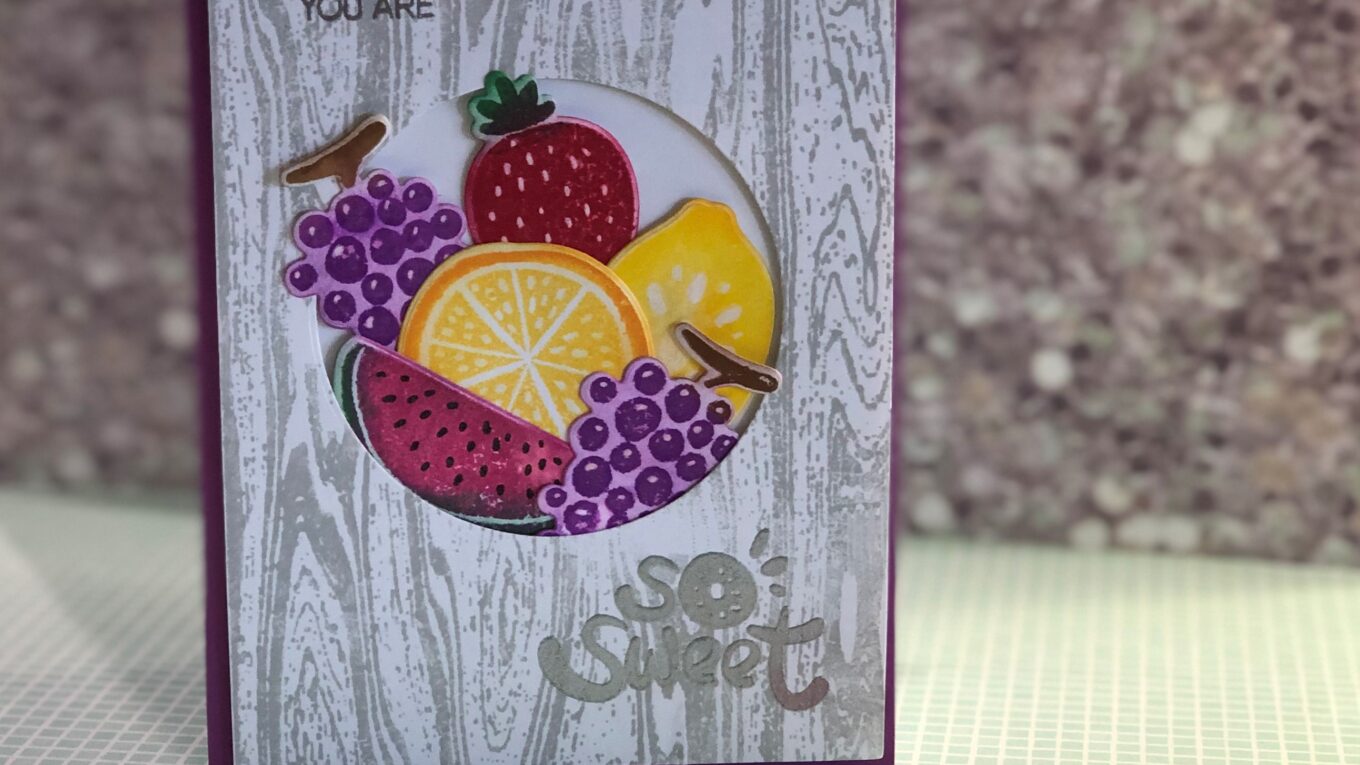
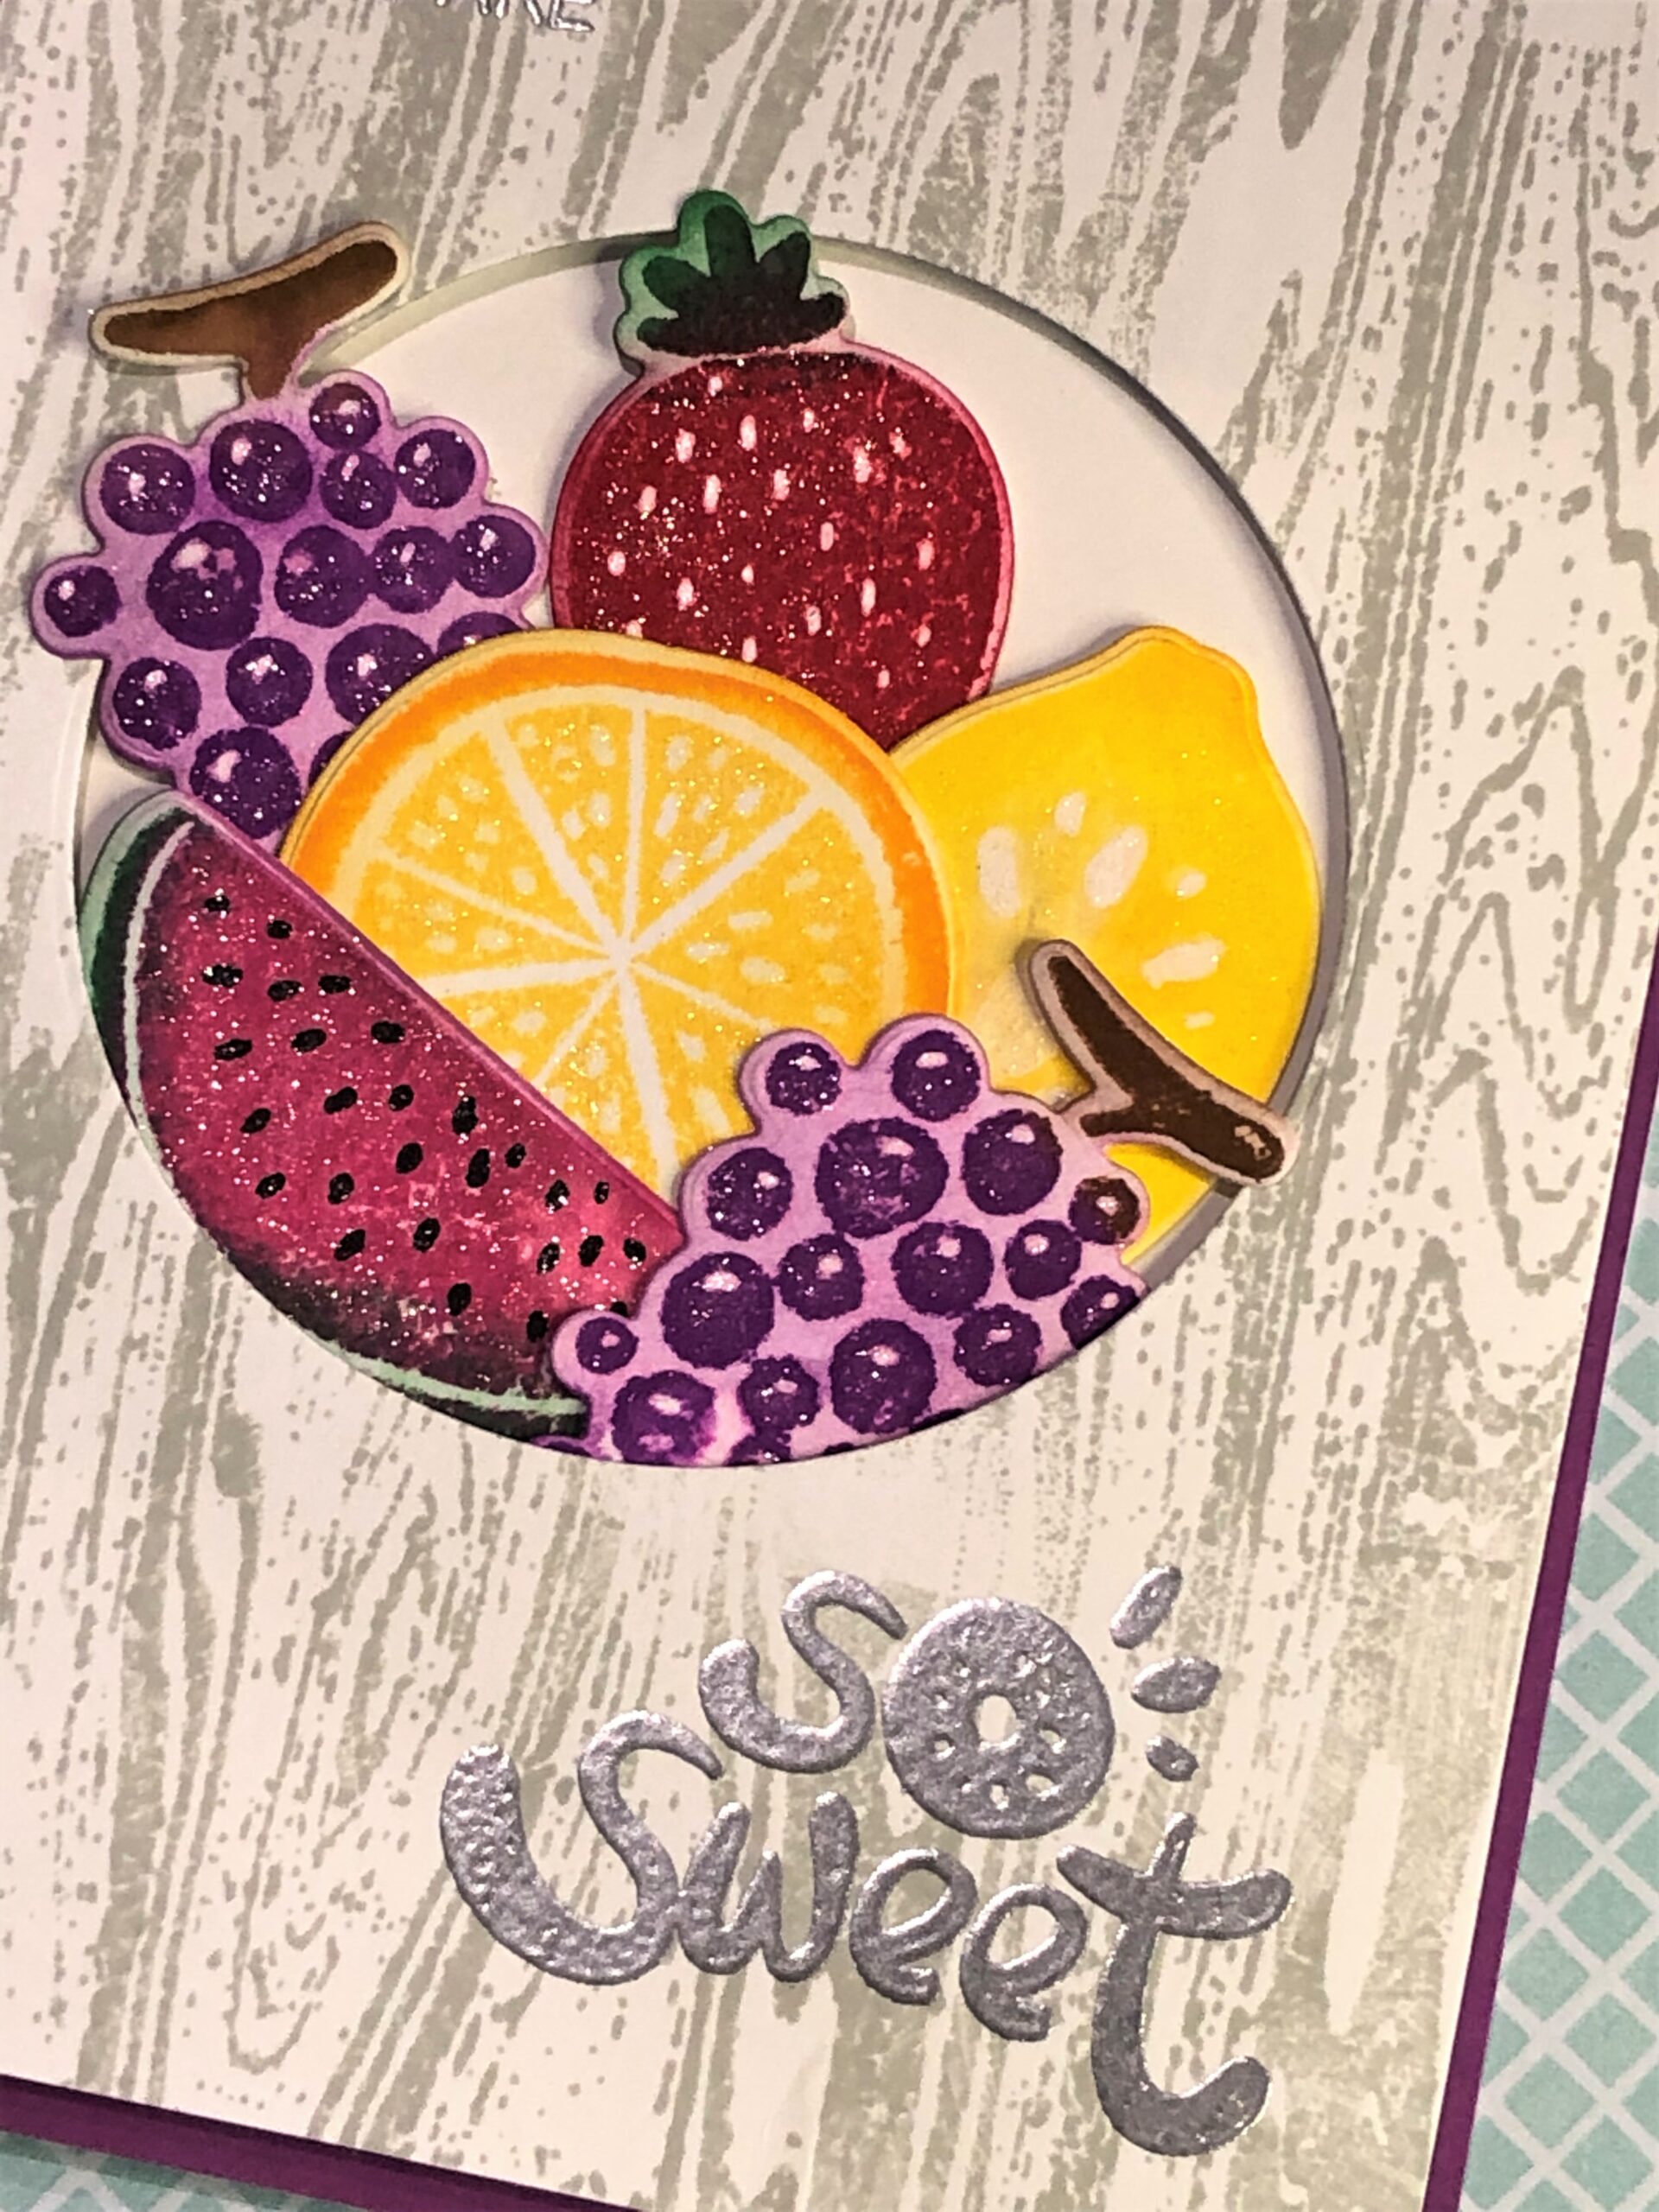
The Simple Fruits cards was very fun and sparkly…lots of Wink of Stella glitter pen! All dye inks and stamps are from Altenew. I stamped the fruits on mixed media paper using a watercolor two tone method. For example: I inked the watermelon slice with Rubellite then inked just the rind with the edge of a Just Green ink pad. I spritzed a little water on the stamp and then stamped the image on the paper. For the orange slice I used Warm Sunshine as the base and Snapdragon for the rind, spritzed with water, then stamped. The grapes used the same technique with Midnight Violet as the grapes and Espresso for the stem. The lemon is just Fresh Lemon and the strawberry uses Ruby Red and Just Green for the stem. The fruits were then die cut. I added seeds and highlights to the fruits with Dylusions Paint Pens in Black Marble and White Linen. The whole fruit was covered with Wink of Stella glitter pen to give them that yummy, juicy look.
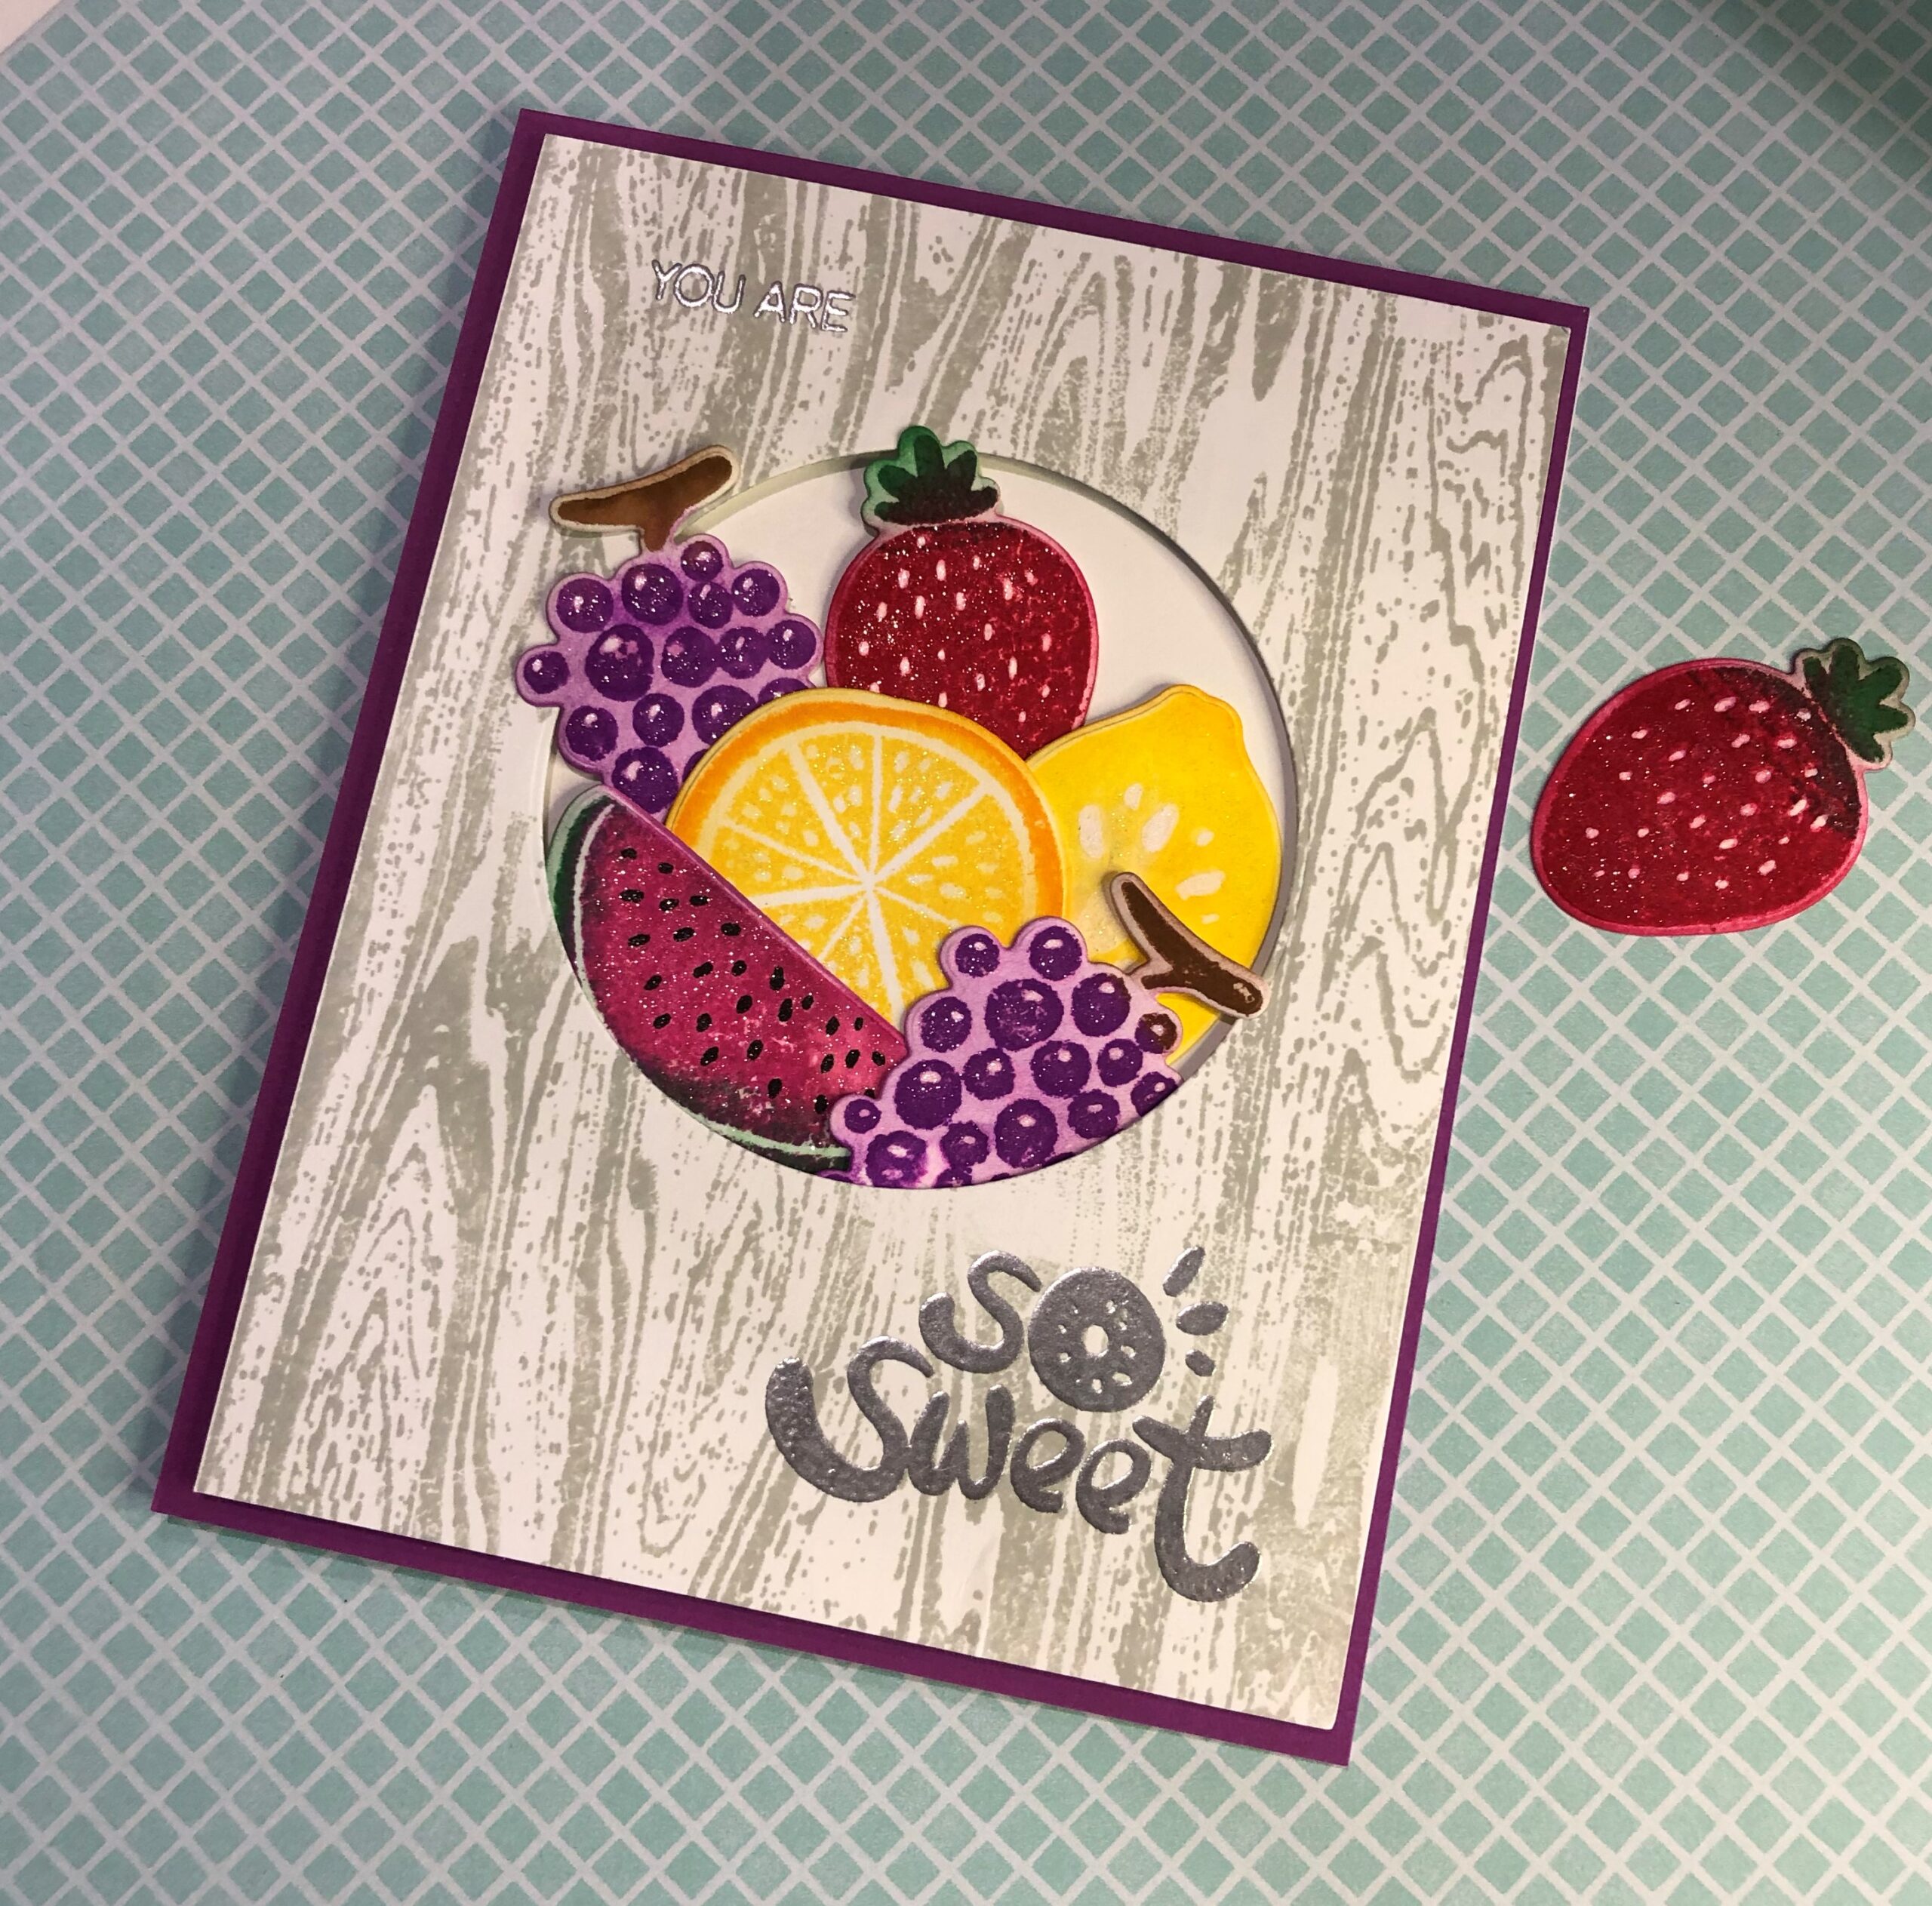

The background was stamped with the large background stamp from A Walk in the Woods by Altenew with Altenew’s Morning Frost ink. I wanted it to have a fruit basket look to it, so I die cut a circle in the middle for the fruit to fit into. I stamped the sentiments from Altenew’s Simple Fruits set with VersaMark ink then heat embossed with detail silver embossing powder.
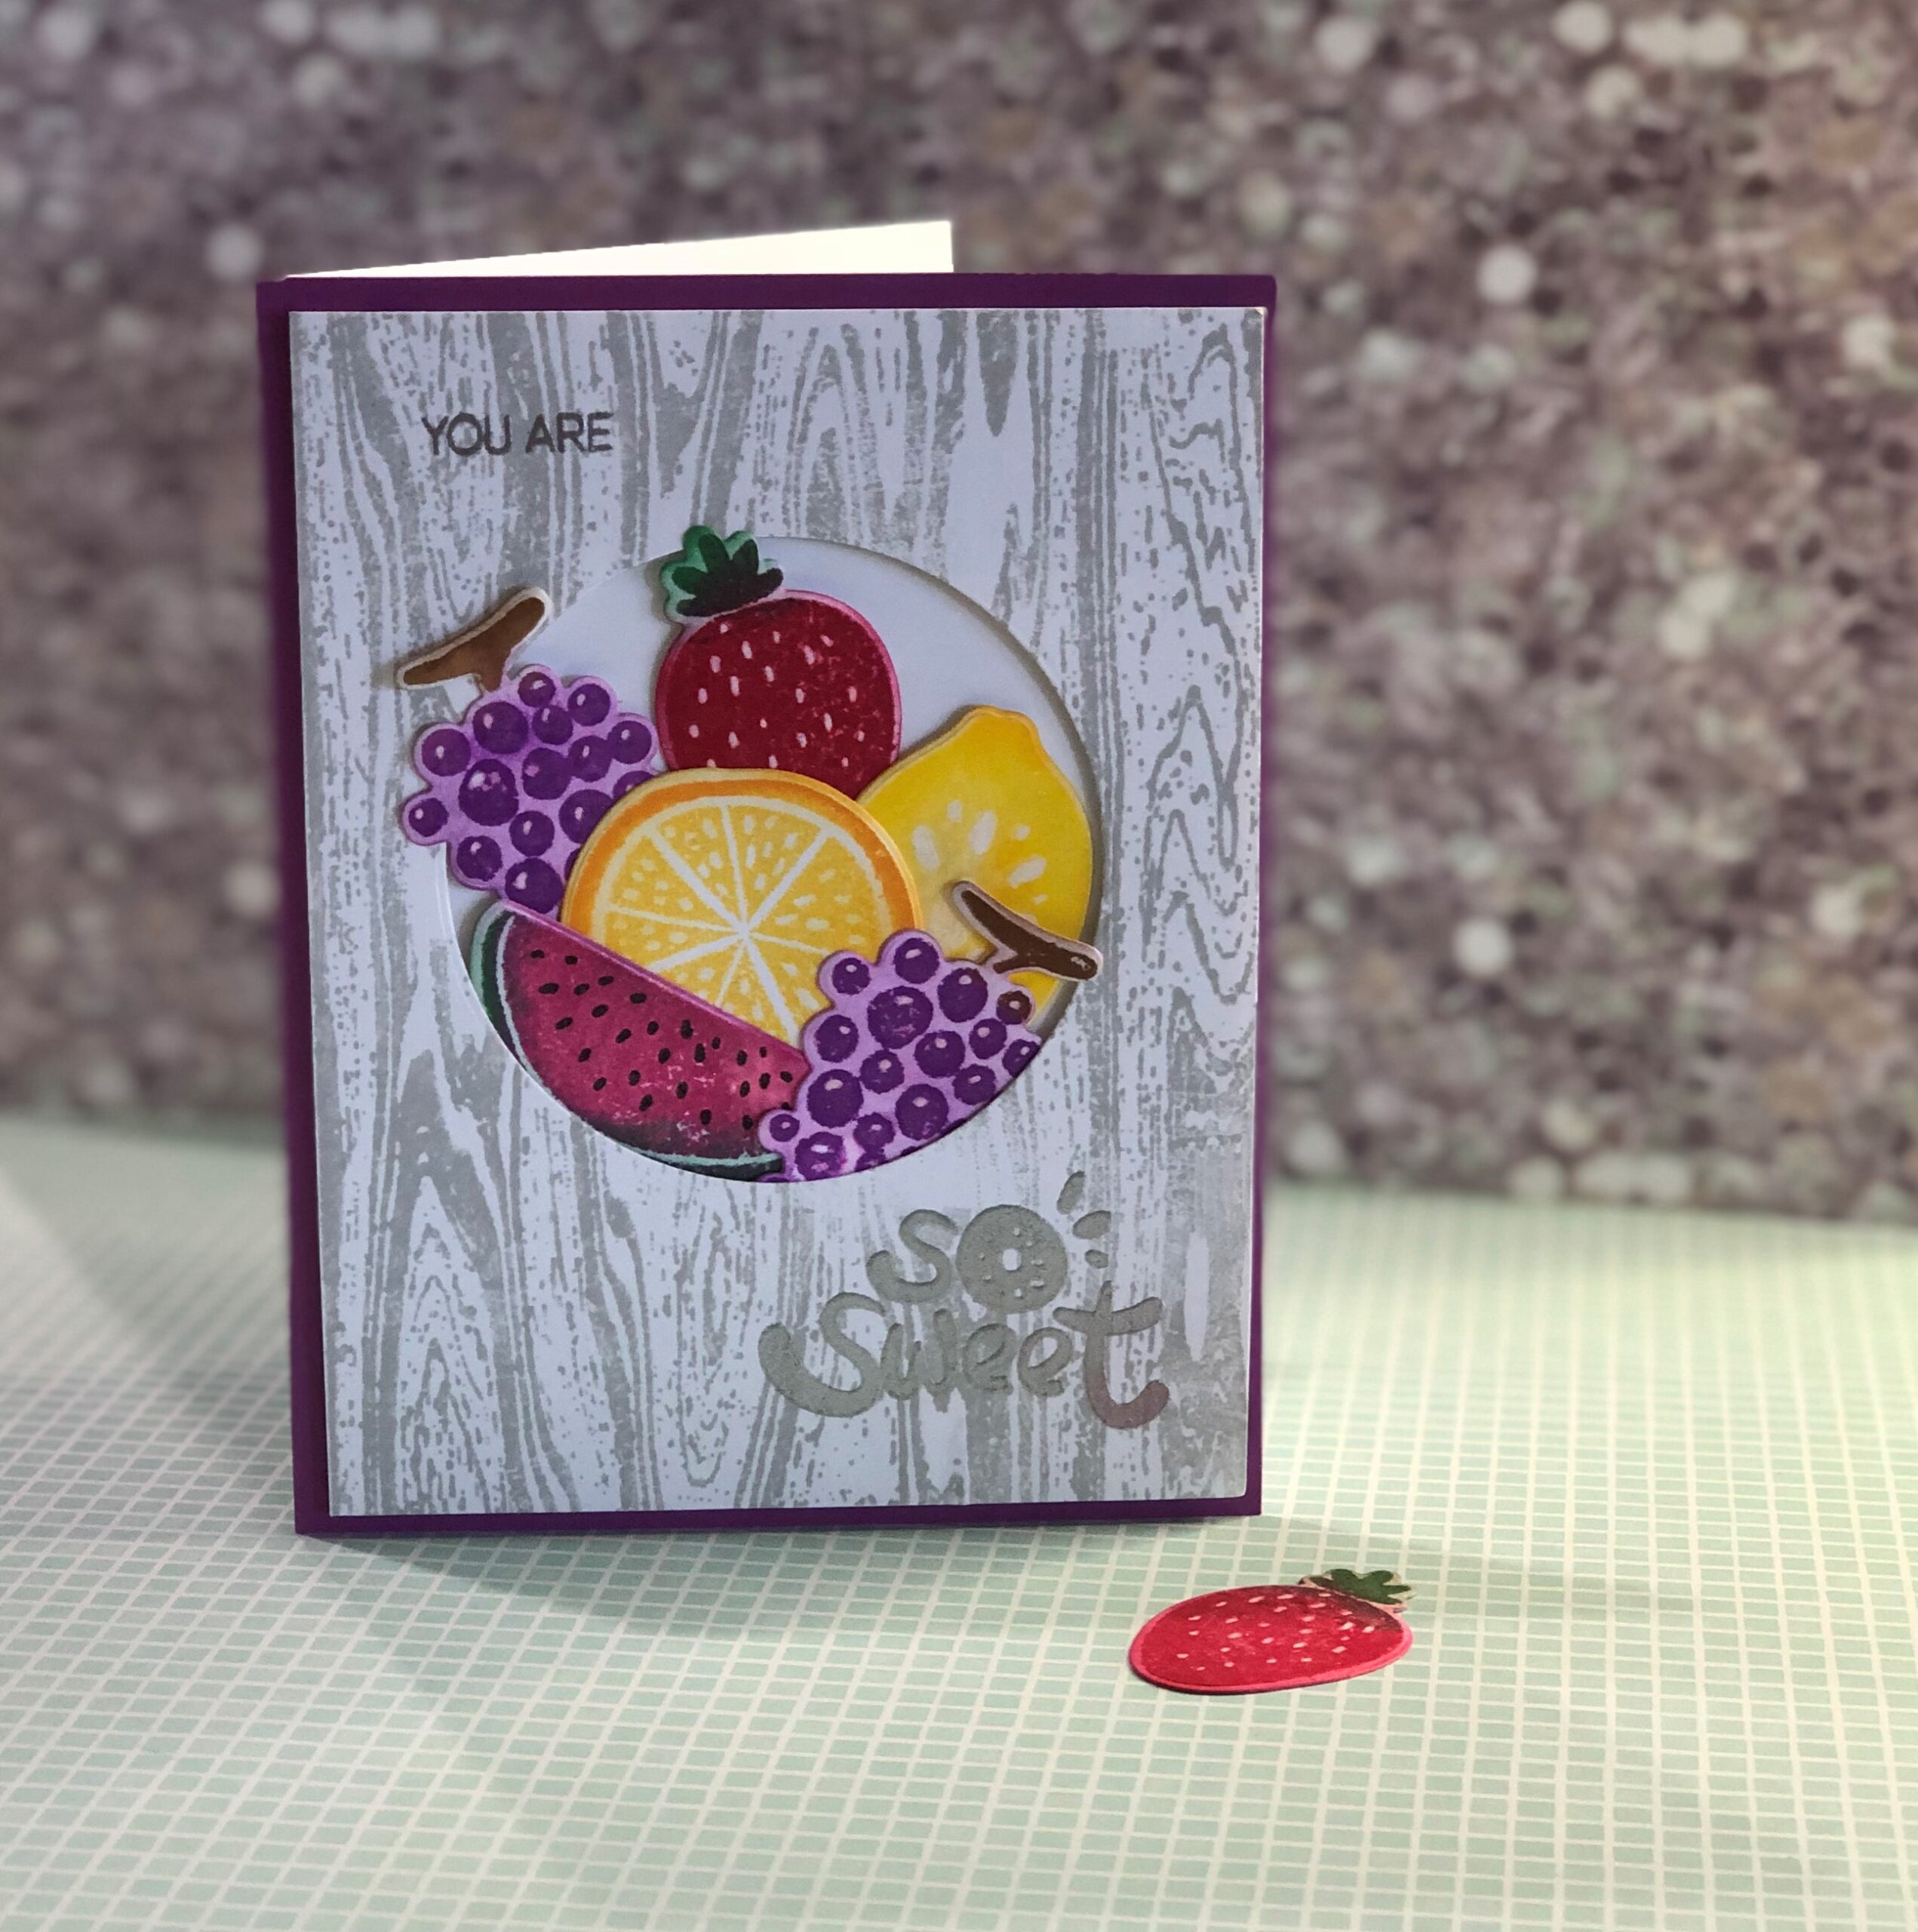
It took quite a while to arrange the fruit. I tried all kinds of arrangements until I finally settled on this one. The paper behind, that the fruit sits on, is just white…kinda boring. I tried some colored papers and even tried to make my own with ink blending and they all seem to distract from the fruit. Still think it needs something…
The image was placed on a mat of Brutus Monroe Potion paper. Then attached to a white card base.
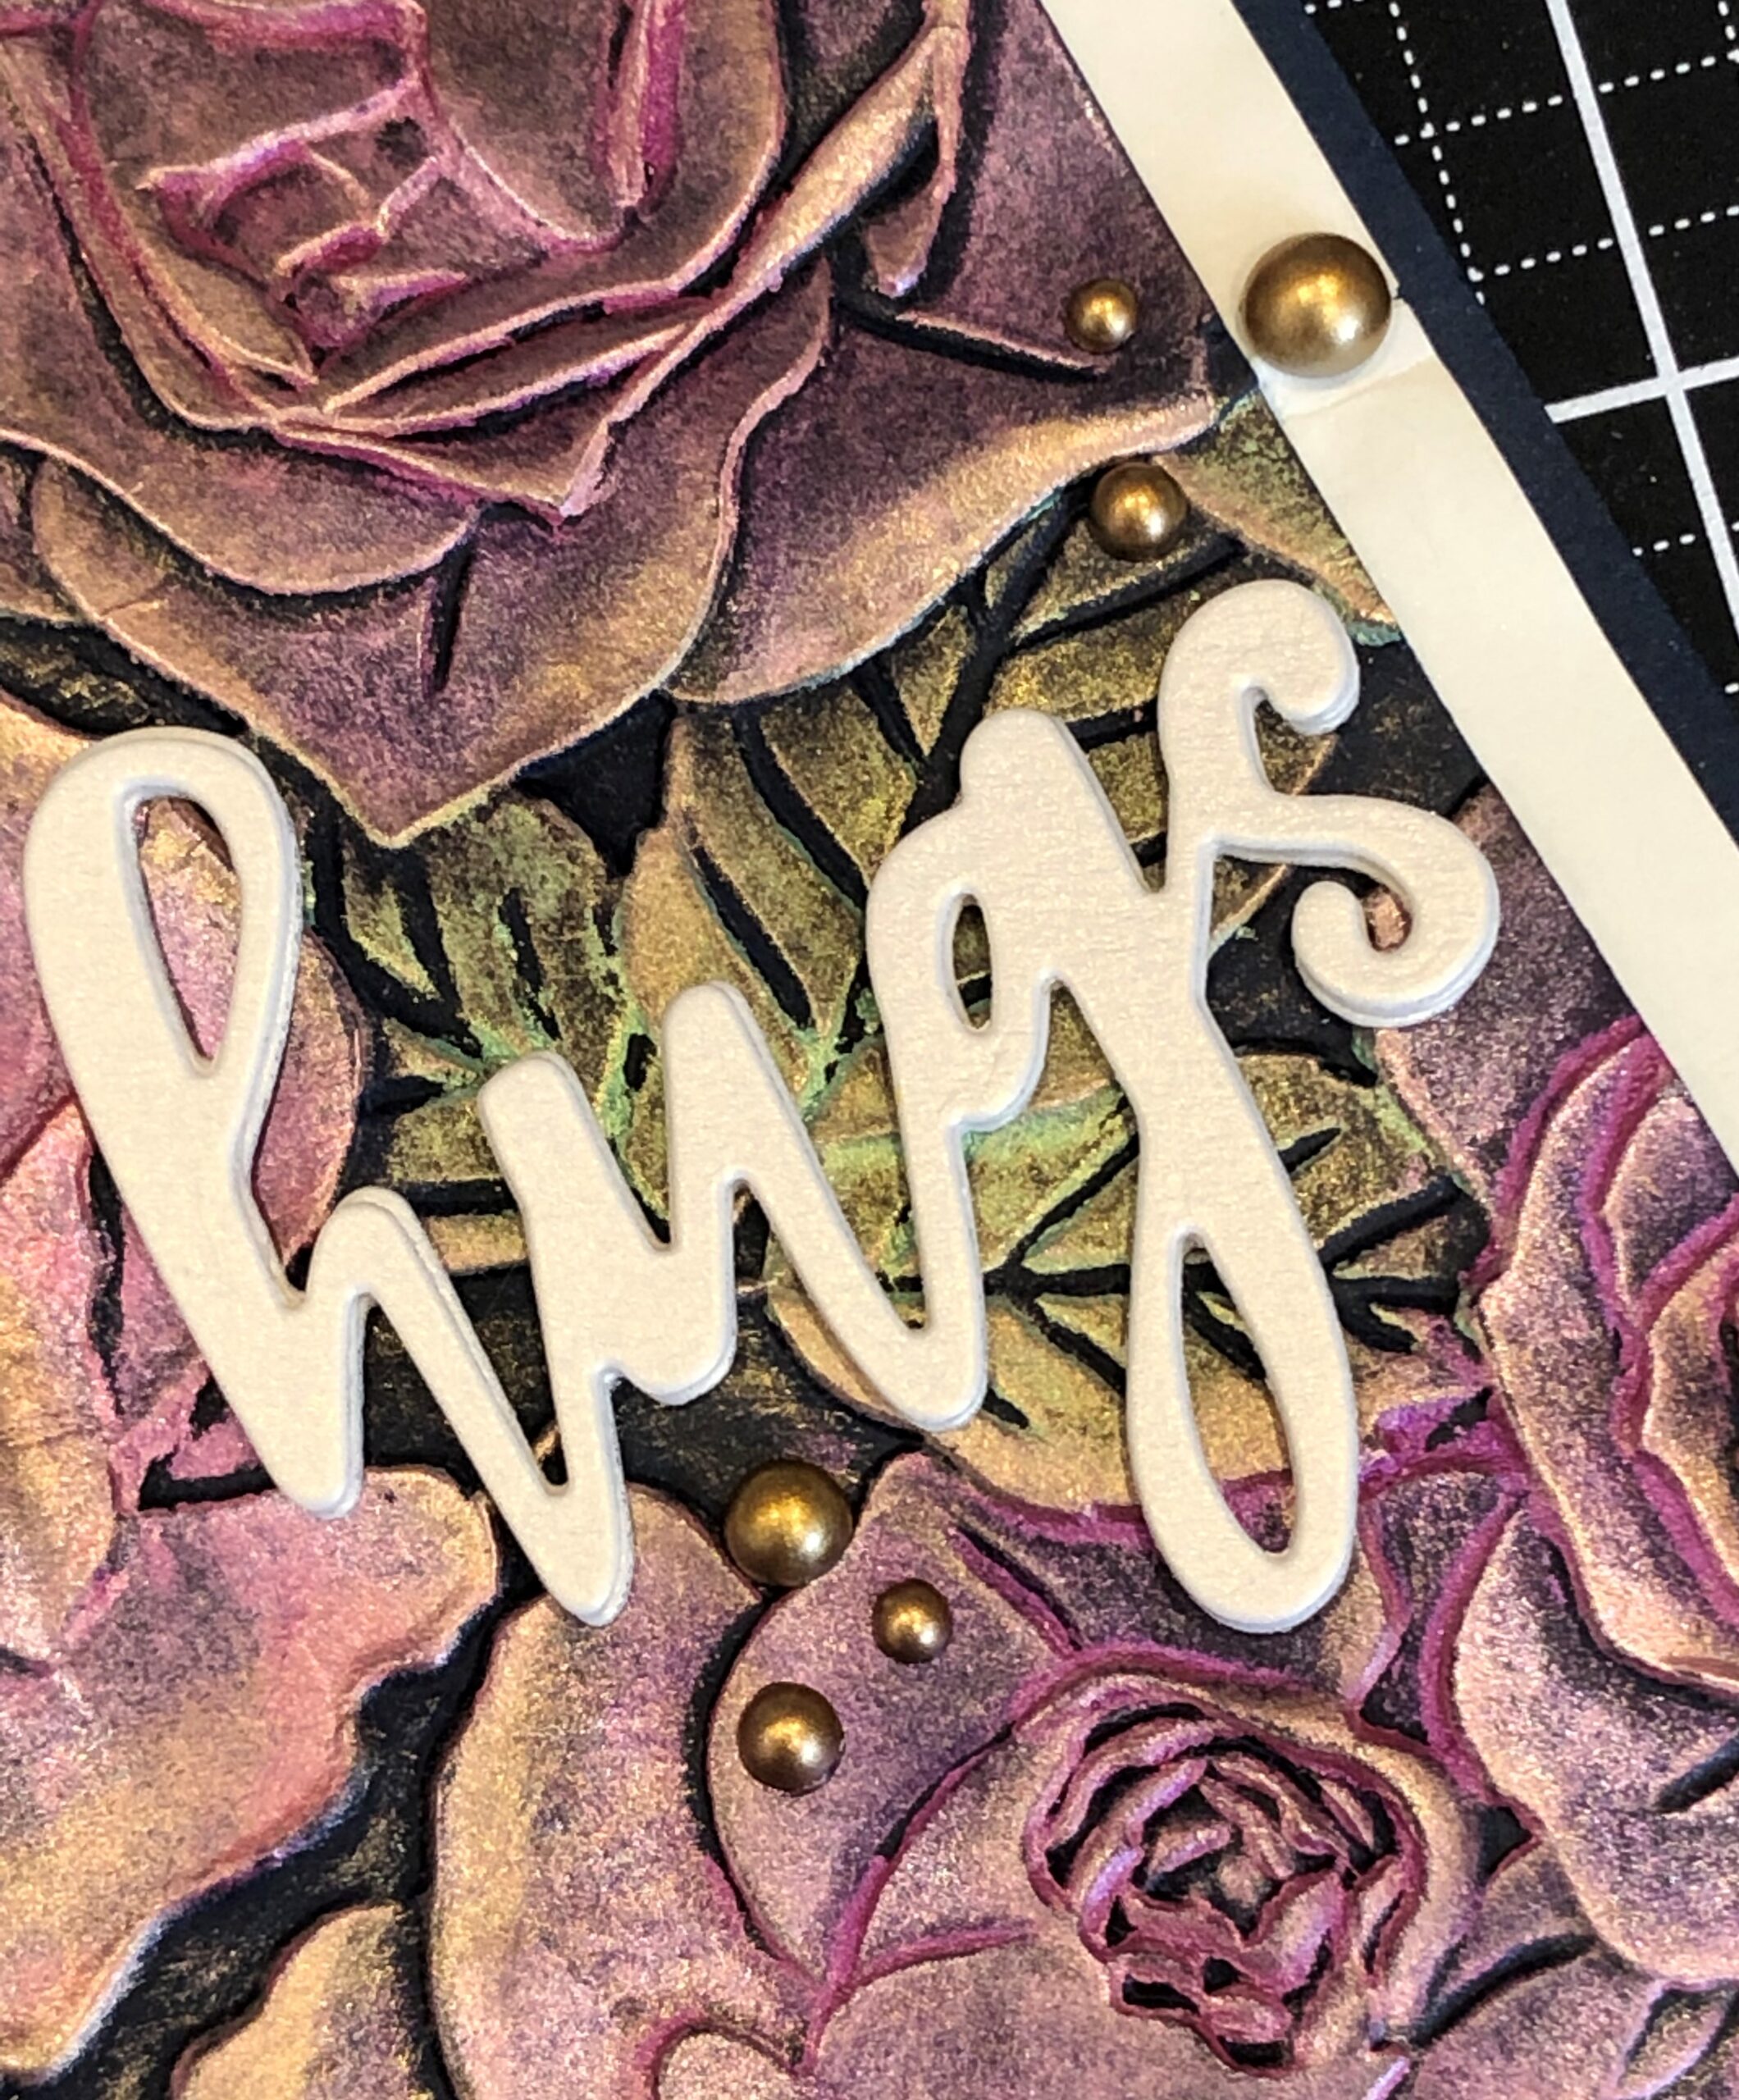
Garden Rose
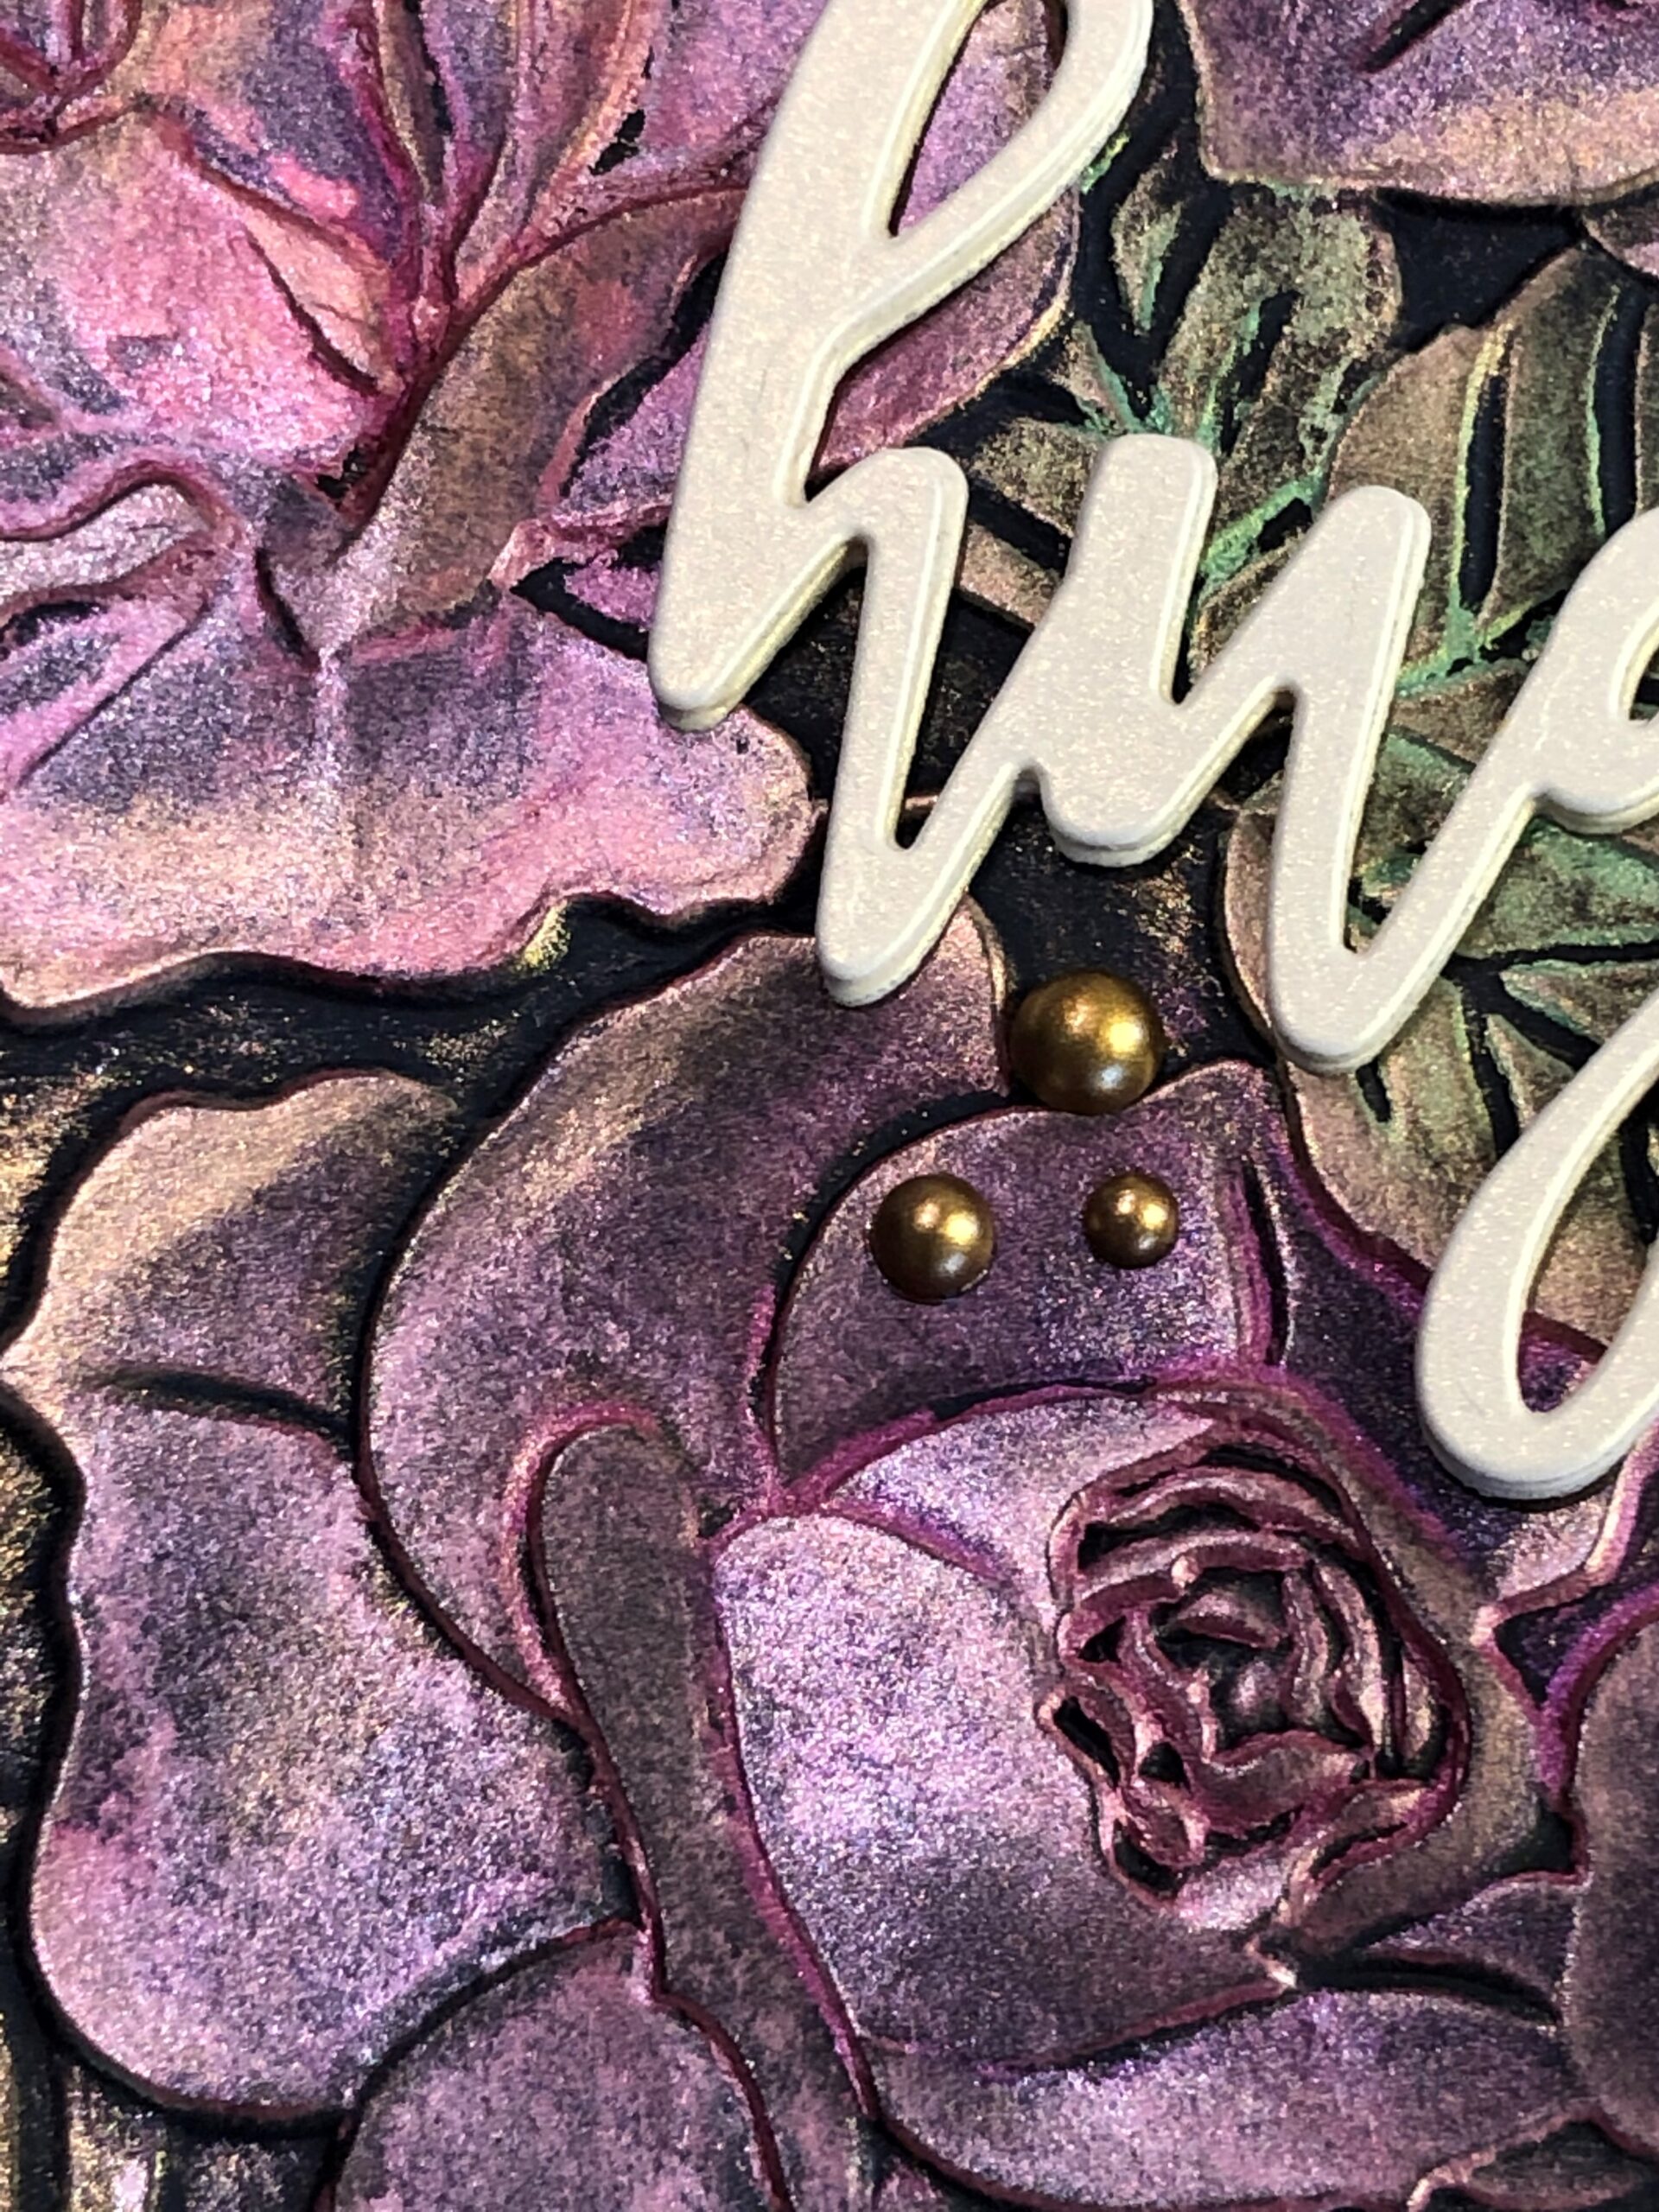
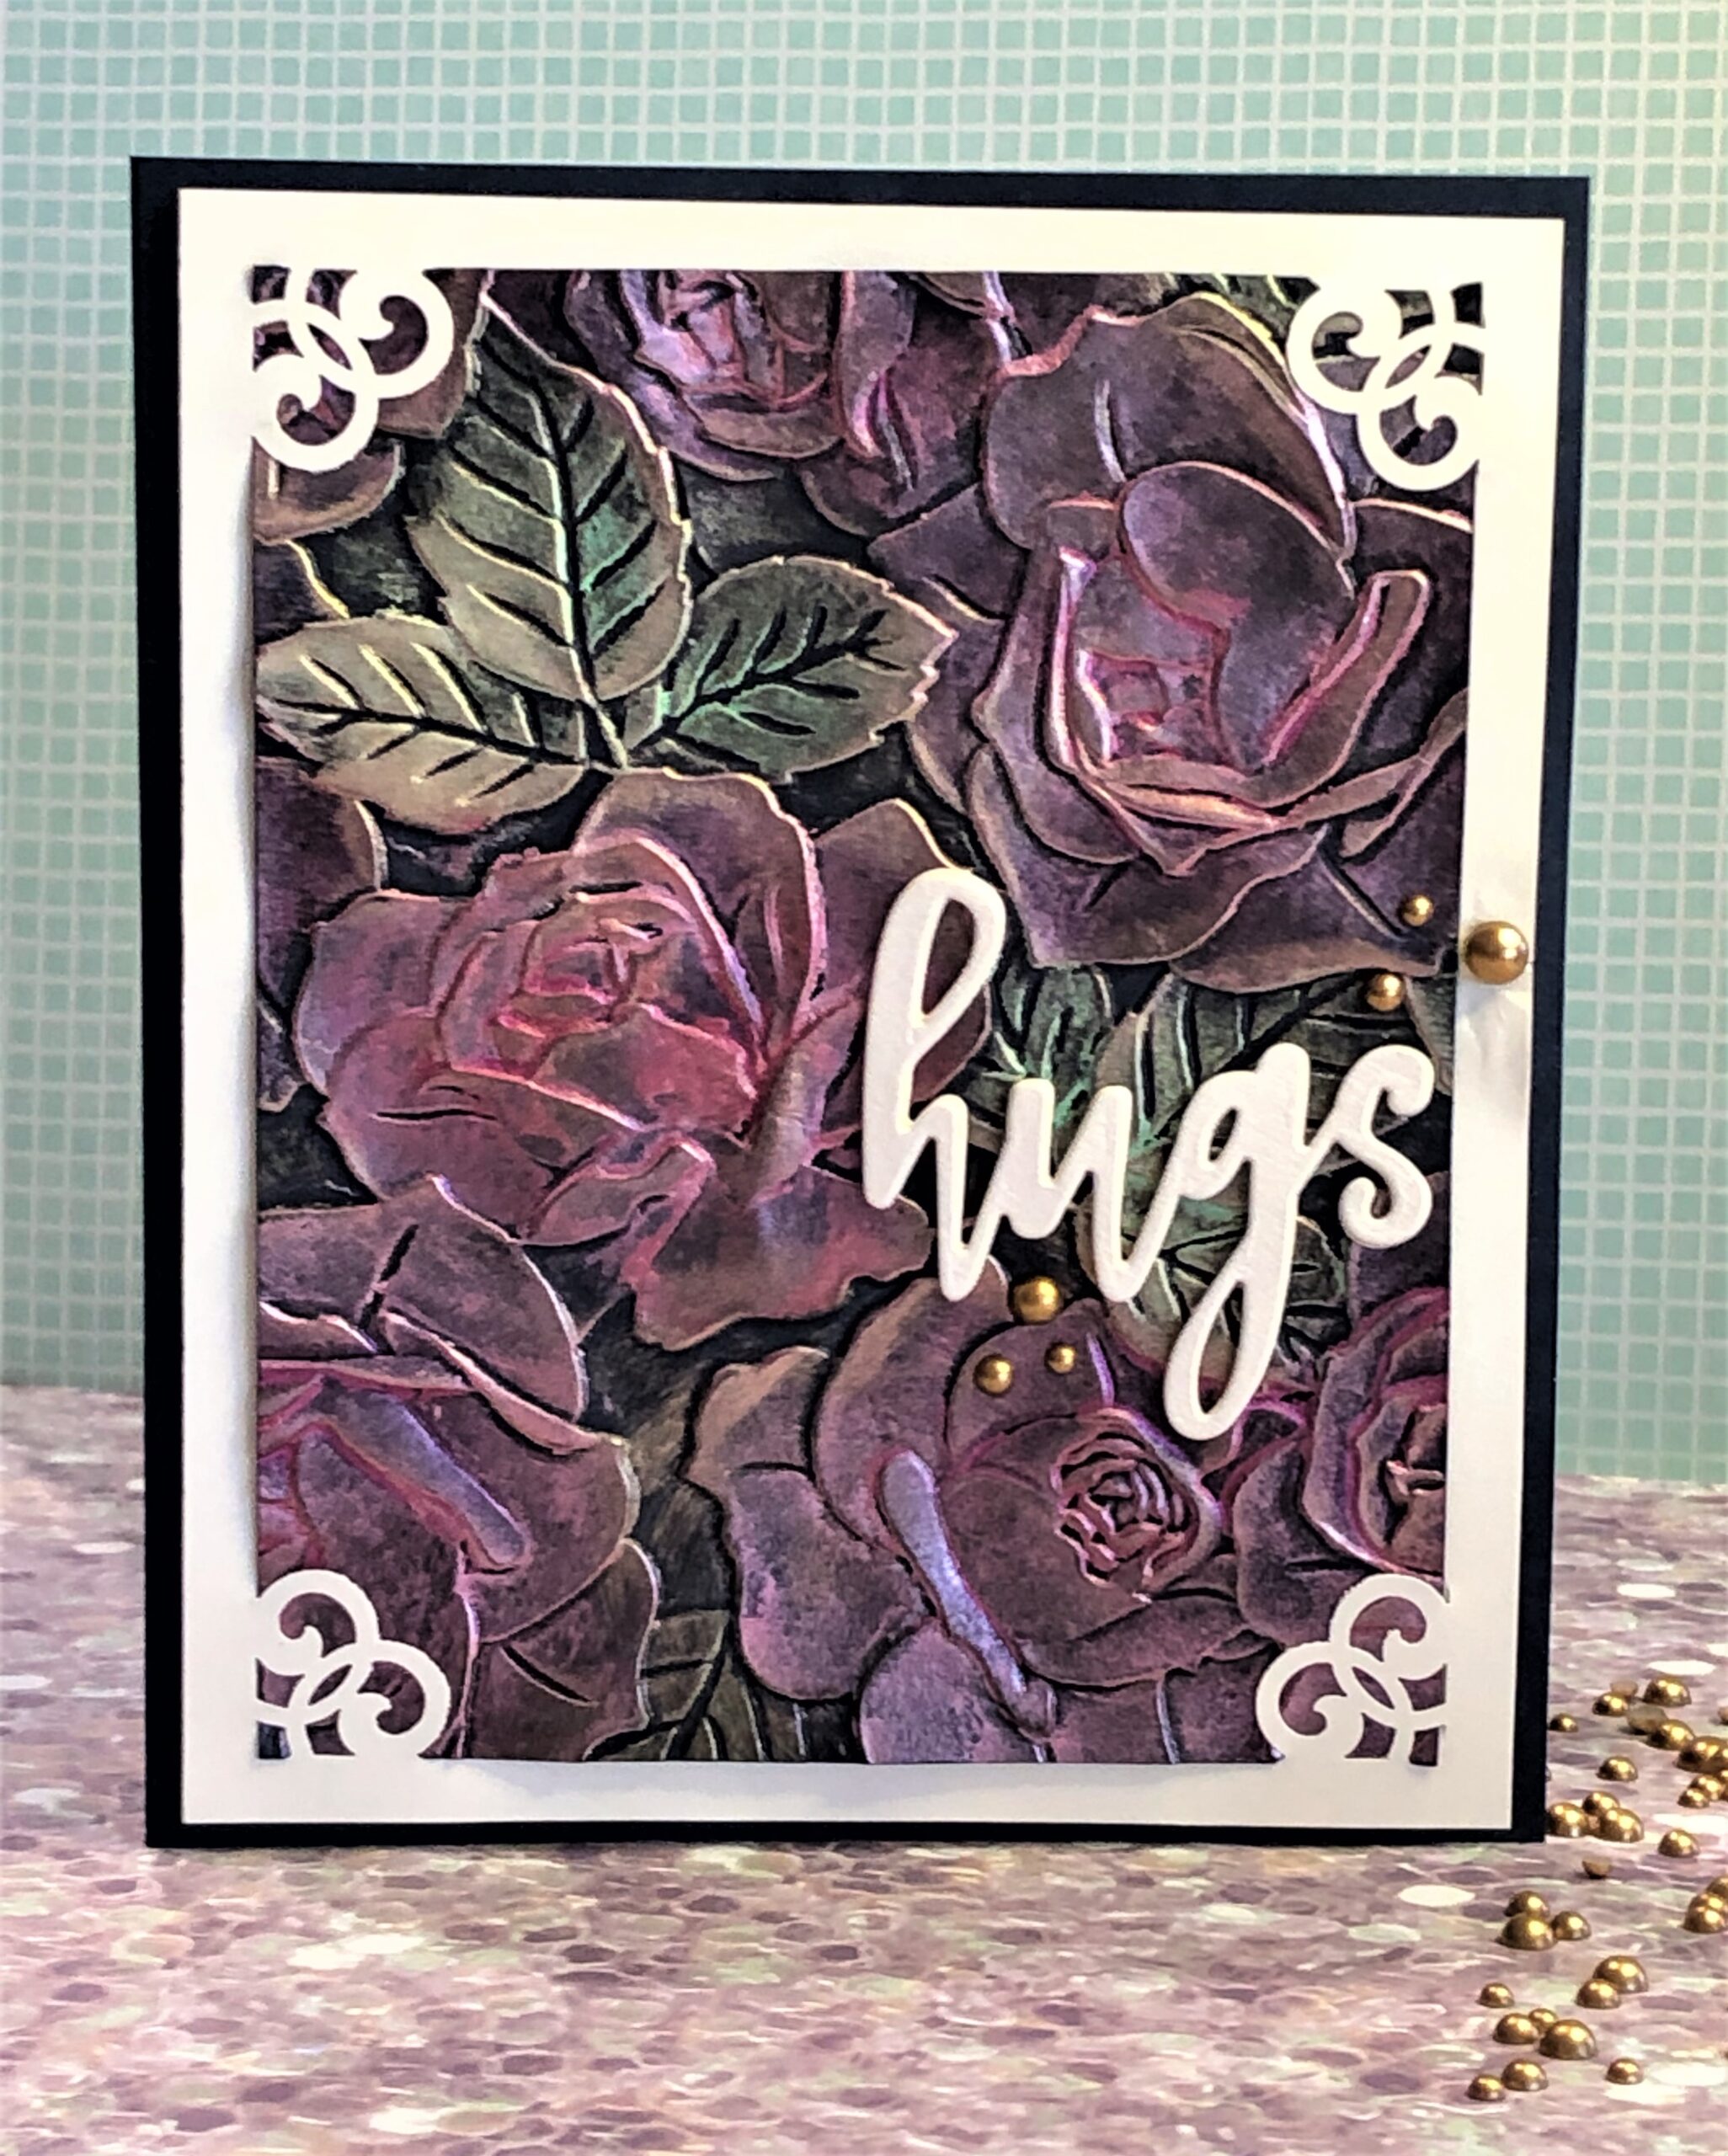
For the Garden Rose card I used the Garden Rose 3D embossing folder from Altenew. I spritzed navy blue cardstock with water then embossed with the folder. I let the paper dry before working any further with it.
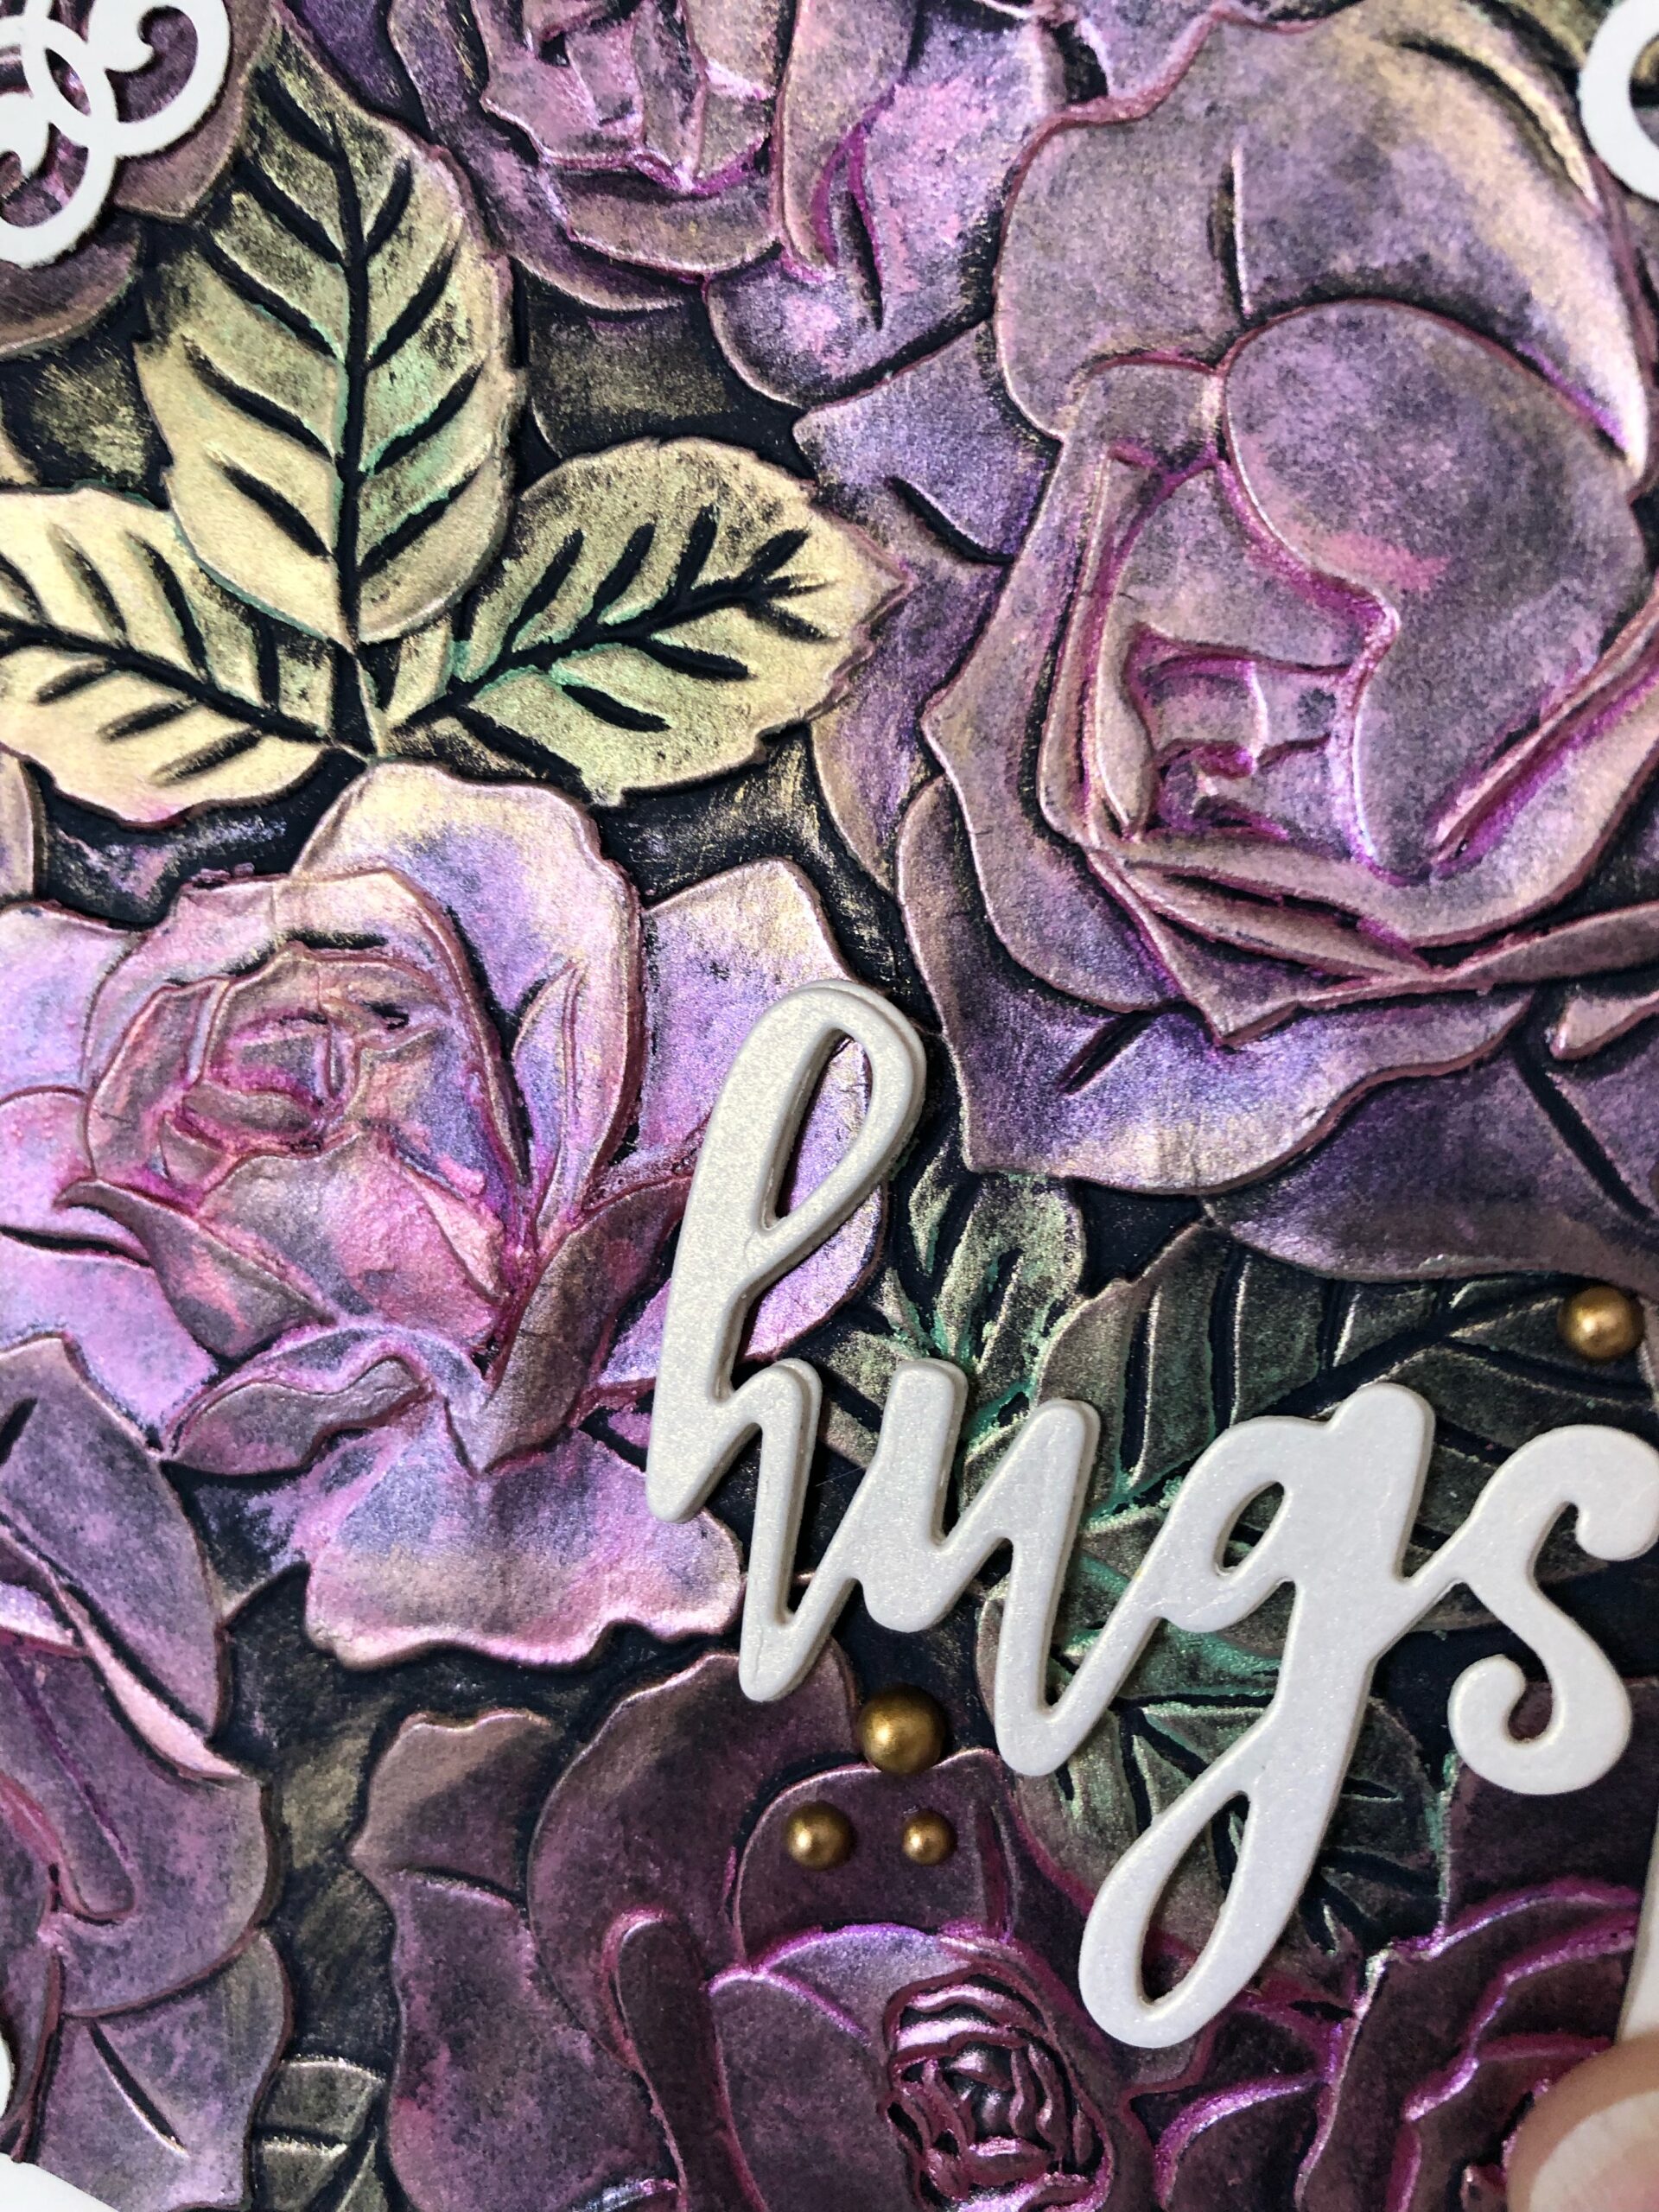
To color the roses and leaves I used Prima Marketing Art Alchemy Metallique Wax in Mint Sparkle, Indian Pink, and Sweet Rose. I also used some Cosmic Shimmer Metallic Gilding Polish in Citrus Green. These waxes are so shiny, and the Art Alchemy waxes smell really good 🙂
I use my fingers to apply the wax. I feel I get better control that way, plus it’s fun to get your fingers all colorful and messy 🙂 Reminds me of making mud pies…I made a lot of mud sculptures as a kid…I loved it…my parents, not so much 🙂
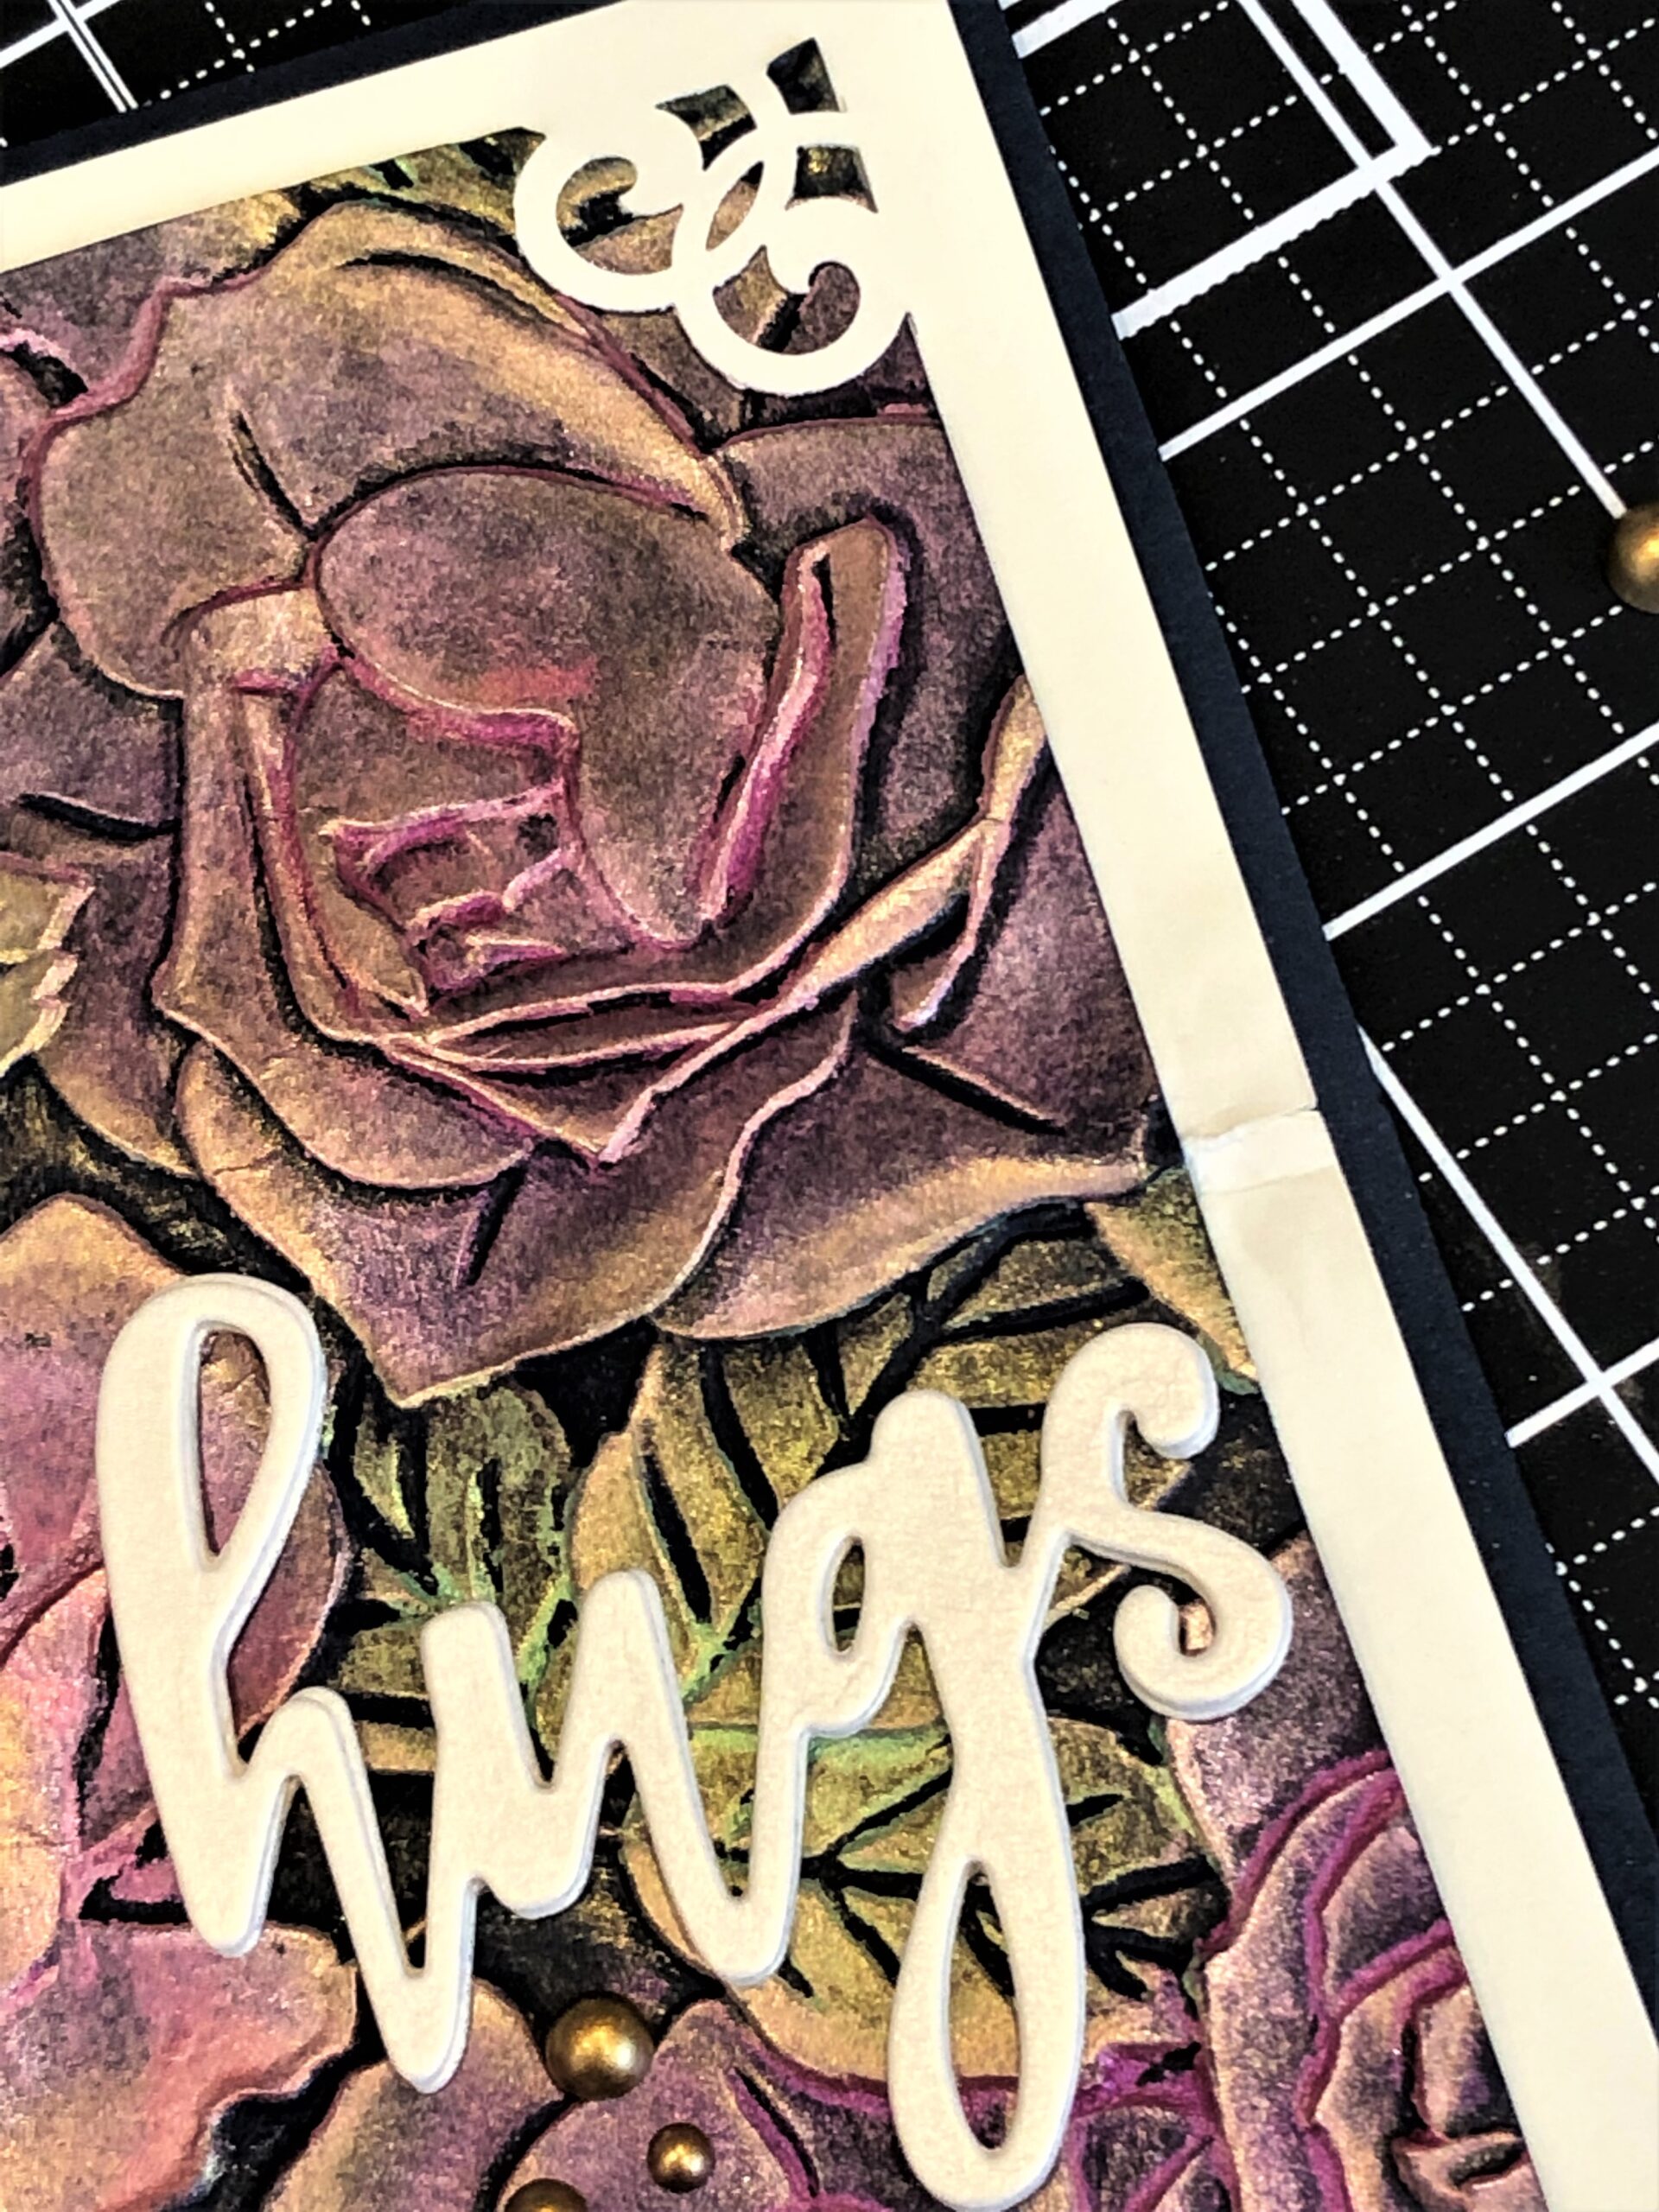
After the waxing was done I trimmed the panel down. I used a corner punch from EK Success on Stampin’Up Very Vanilla cardstock for the mat. I think this corner punch looks like a fancy trellis so it works really well with the roses. I made the saying by die cutting the ‘hugs’ from Altenew’s Hello and Hugs set from pearlescent paper several times and gluing them together for height.
I used liquid glue to adhere the focal piece to the mat as you need to be able to move it around and fit the corners into the cut outs. I then used foam tape strips to attach this piece to a card made from navy cardstock. This is were my problems started. There was a lot of buckling; probably due to water being spritzed on the paper, then the deep embossing, then wax being applied, then the liquid glue, then shoving the corners into the cutouts…so much trauma for such a little piece of paper 😮 Also I think the use of just foam tape strips didn’t provide the support it needed. As you can see in my photos, the edge of the vanilla mat tore. I tried to disguise it with some jewels, but it still shows…although the jewels add a lovely touch 🙂
Even though it is slightly flawed, I really like this card. It was a joy to make… the waxes are so fun to play with, and Altenew’s 3D embossing folders have amazing detail and beauty. I have a lot of flawed cards laying around. Usually from new techniques that I am trying out..they don’t always work out that great the first time. But I really do enjoy trying new things and hopefully with practice they start to come out better.
Have a great day and thanks for stopping by 🙂


Absolutely gorgeous!! WoW! Thank you so much for submitting your wonderful work to the AECP assignment gallery.
Thank you Erum!