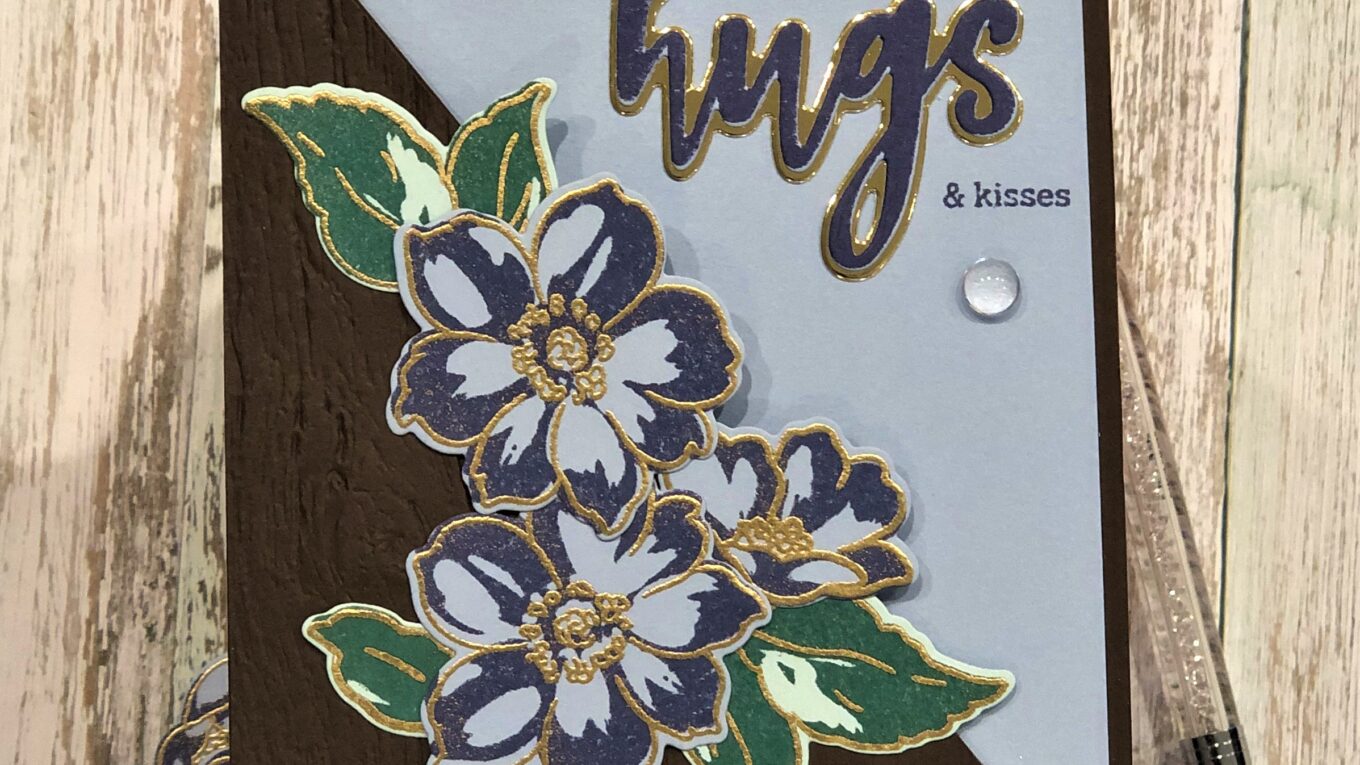
Triangles Need Love Too!
I loved this course! Therese Calvird had some amazing techniques for spicing up any card in her “With A Twist” class. I drew inspiration from a few of the lessons for my card, but if I could have combined them all I would have!
The Supplies
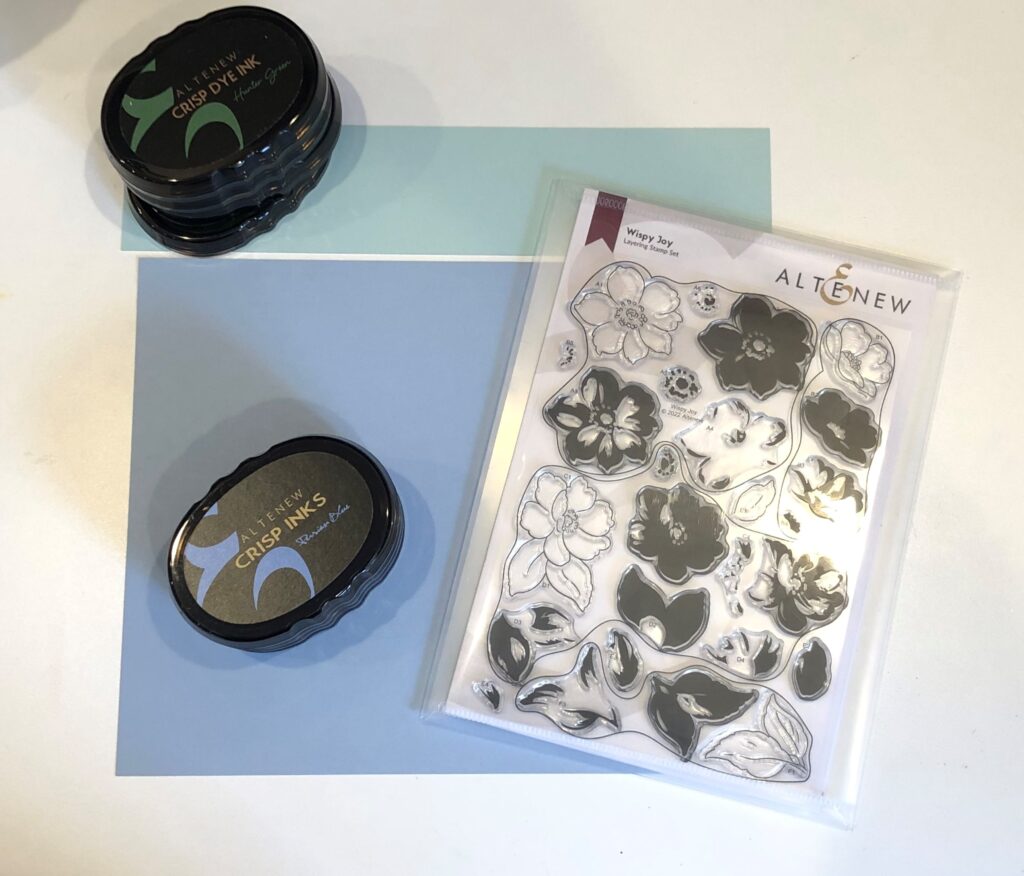
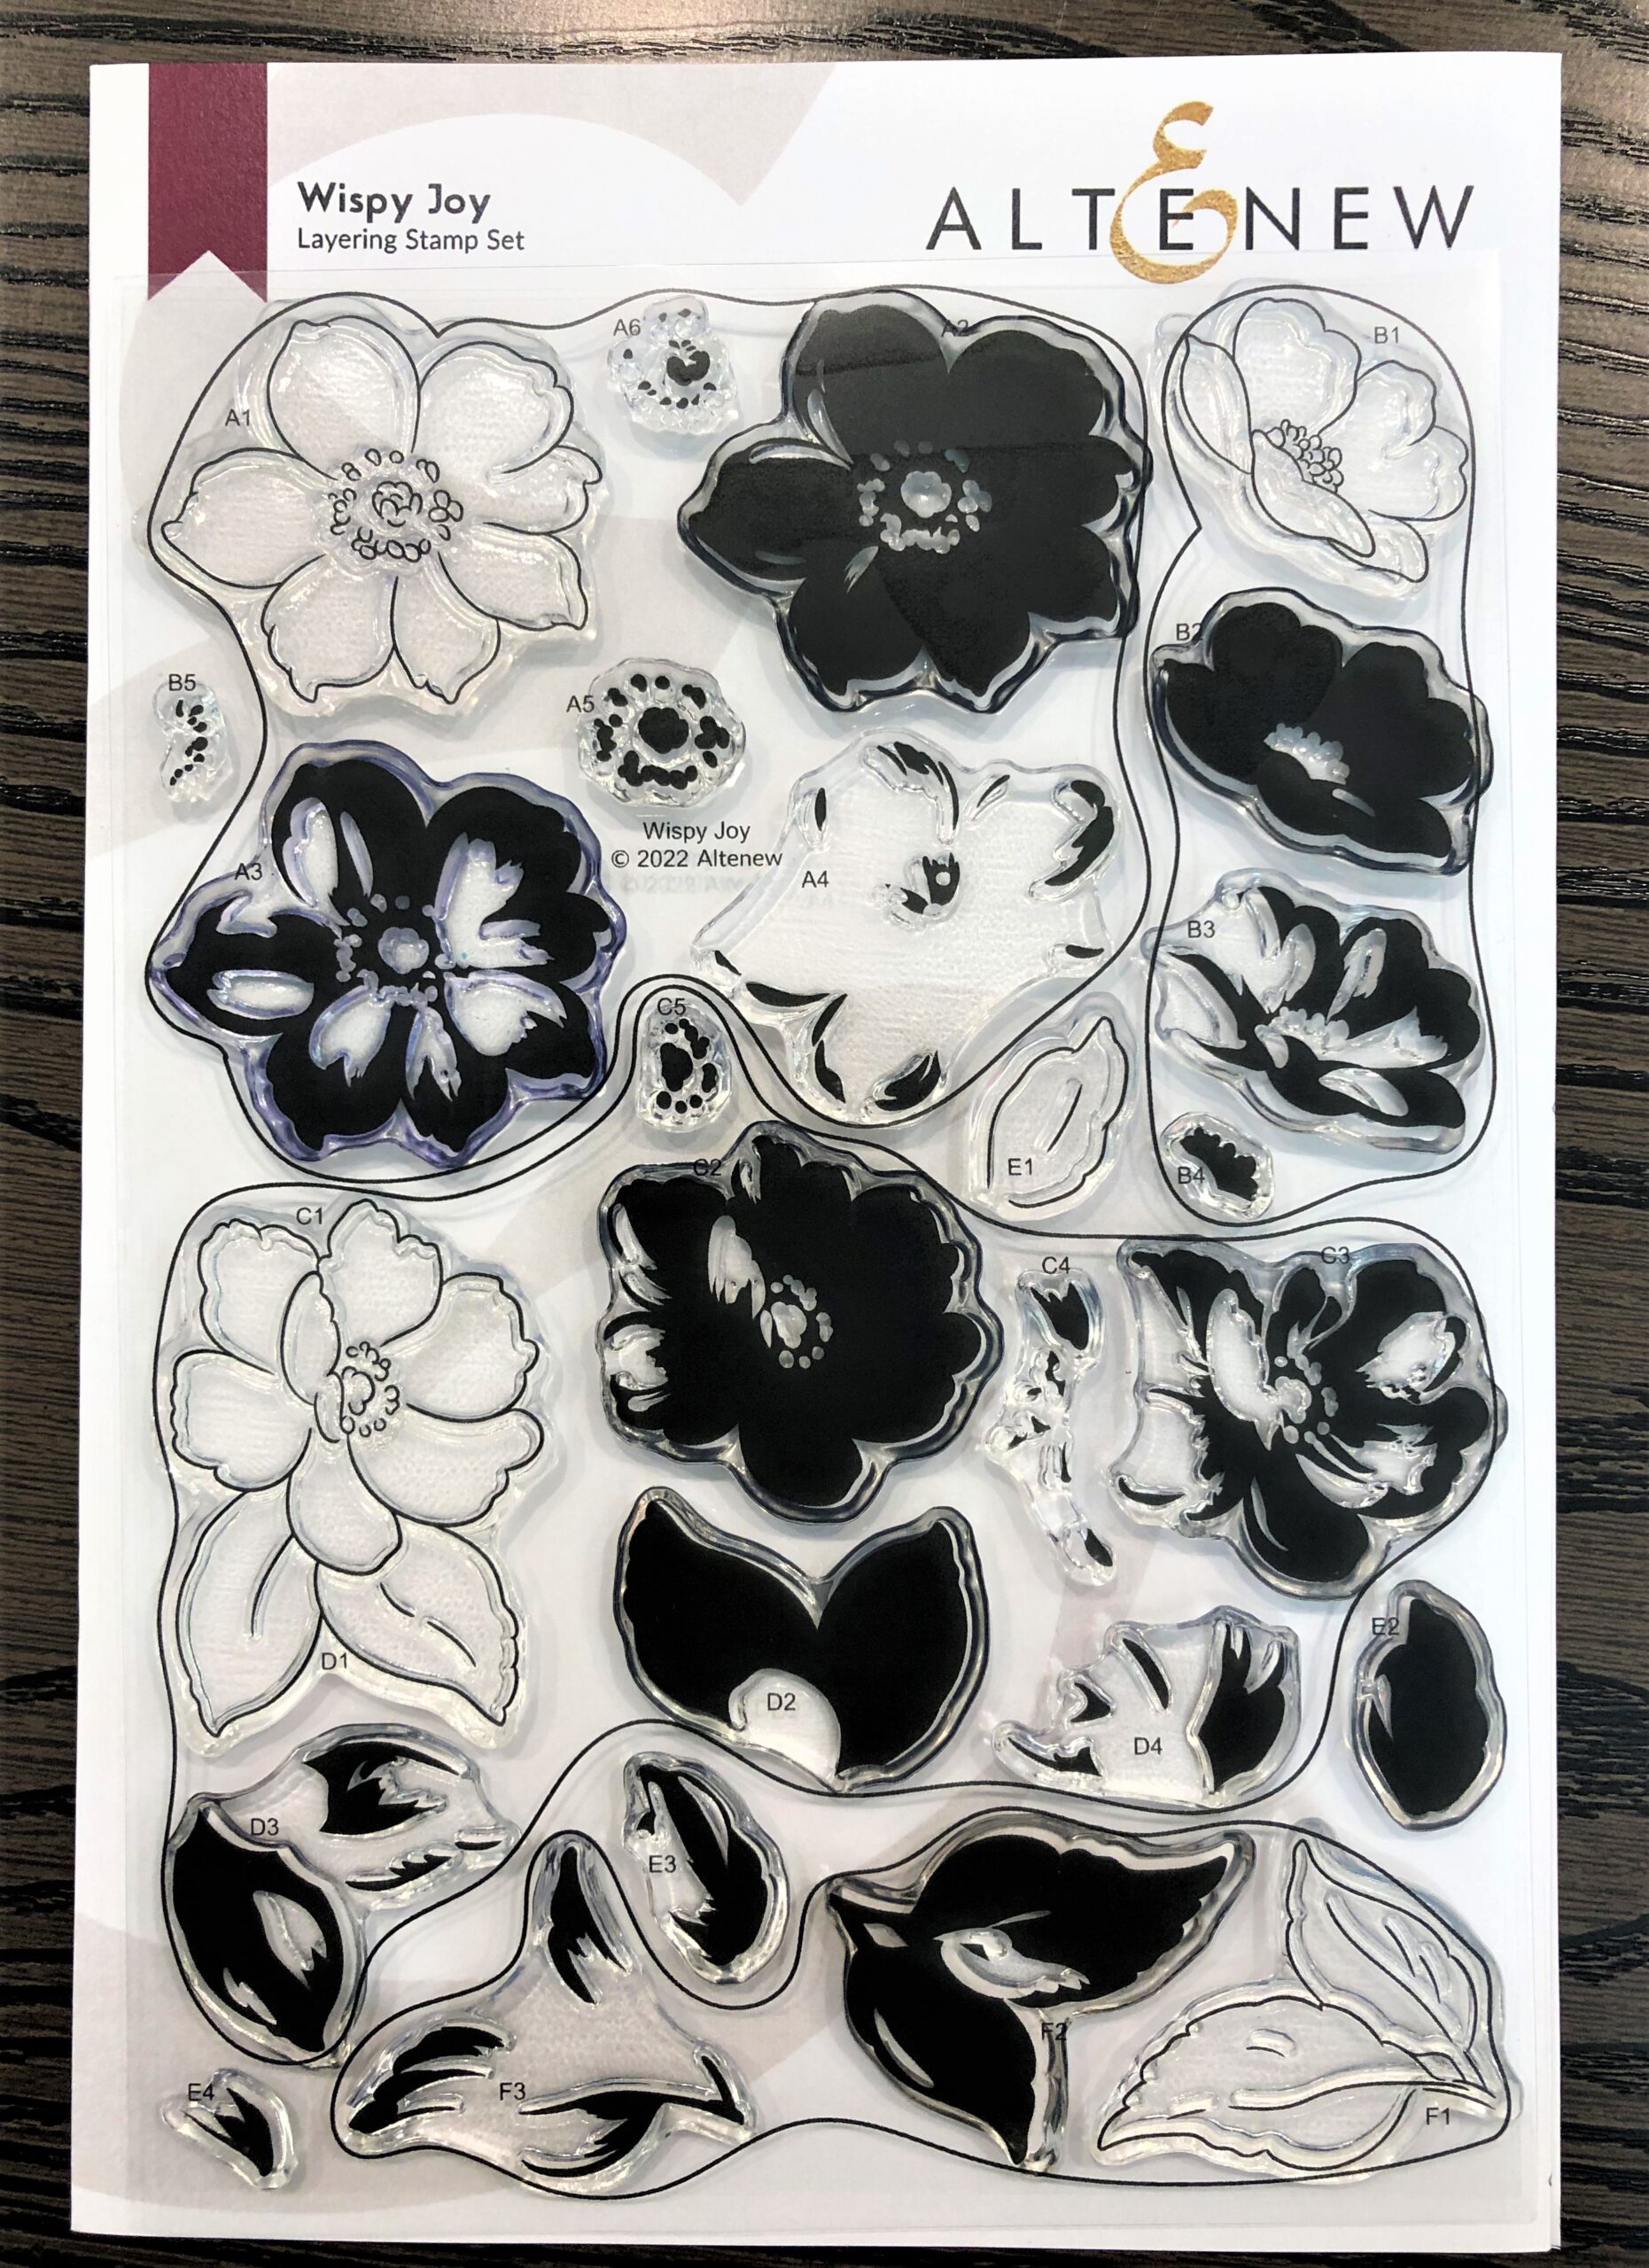
- Altenew Wispy Joy Stamp and Die Set
- Altenew Hello and Hugs Stamp and Die Set
- Altenew Fresh Dye Ink in Indigo Skies and Forest Fern
- Stampn’Up Cardstock in Early Espresso, Seaside Spray, and Soft Sky
- Gold Mirror Cardstock
- VersaMark ink
- Gina K. Designs Detail Gold Embossing Powder
- Tim Holtz Alterations Lumber embossing folder by Sizzix
- Brutus Monroe Clear Acrylic Bubbles
All About That Base
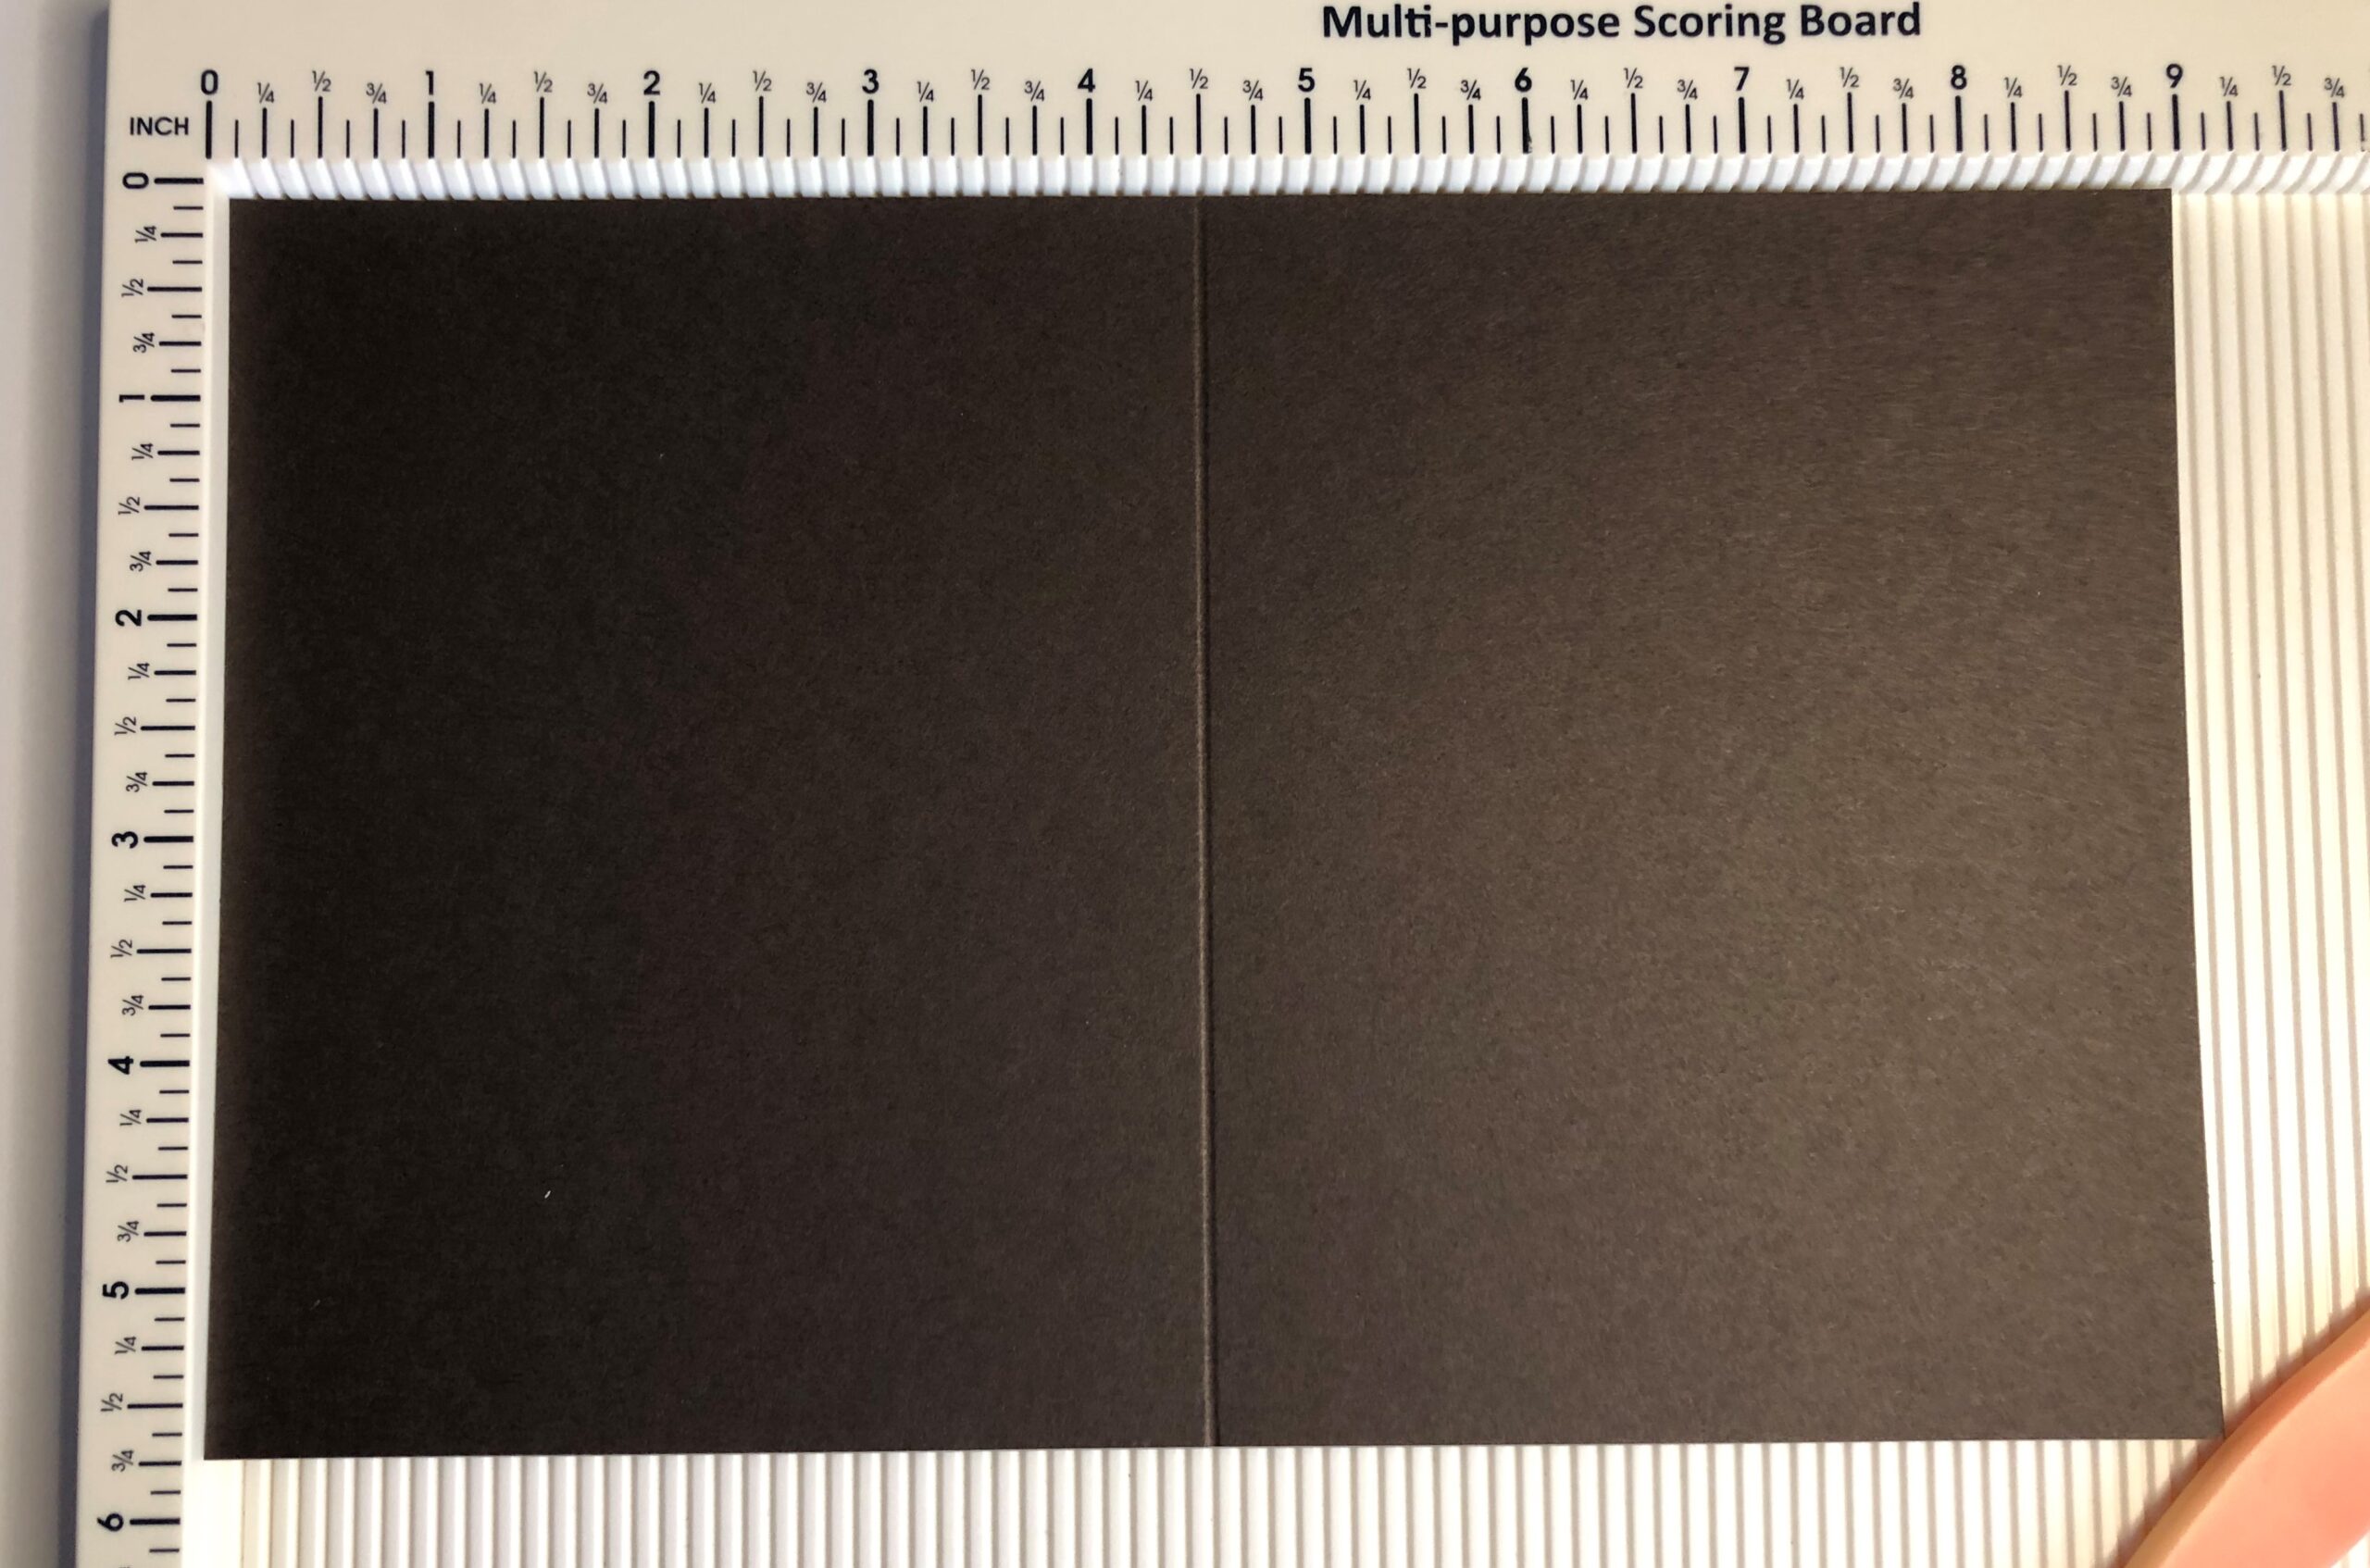
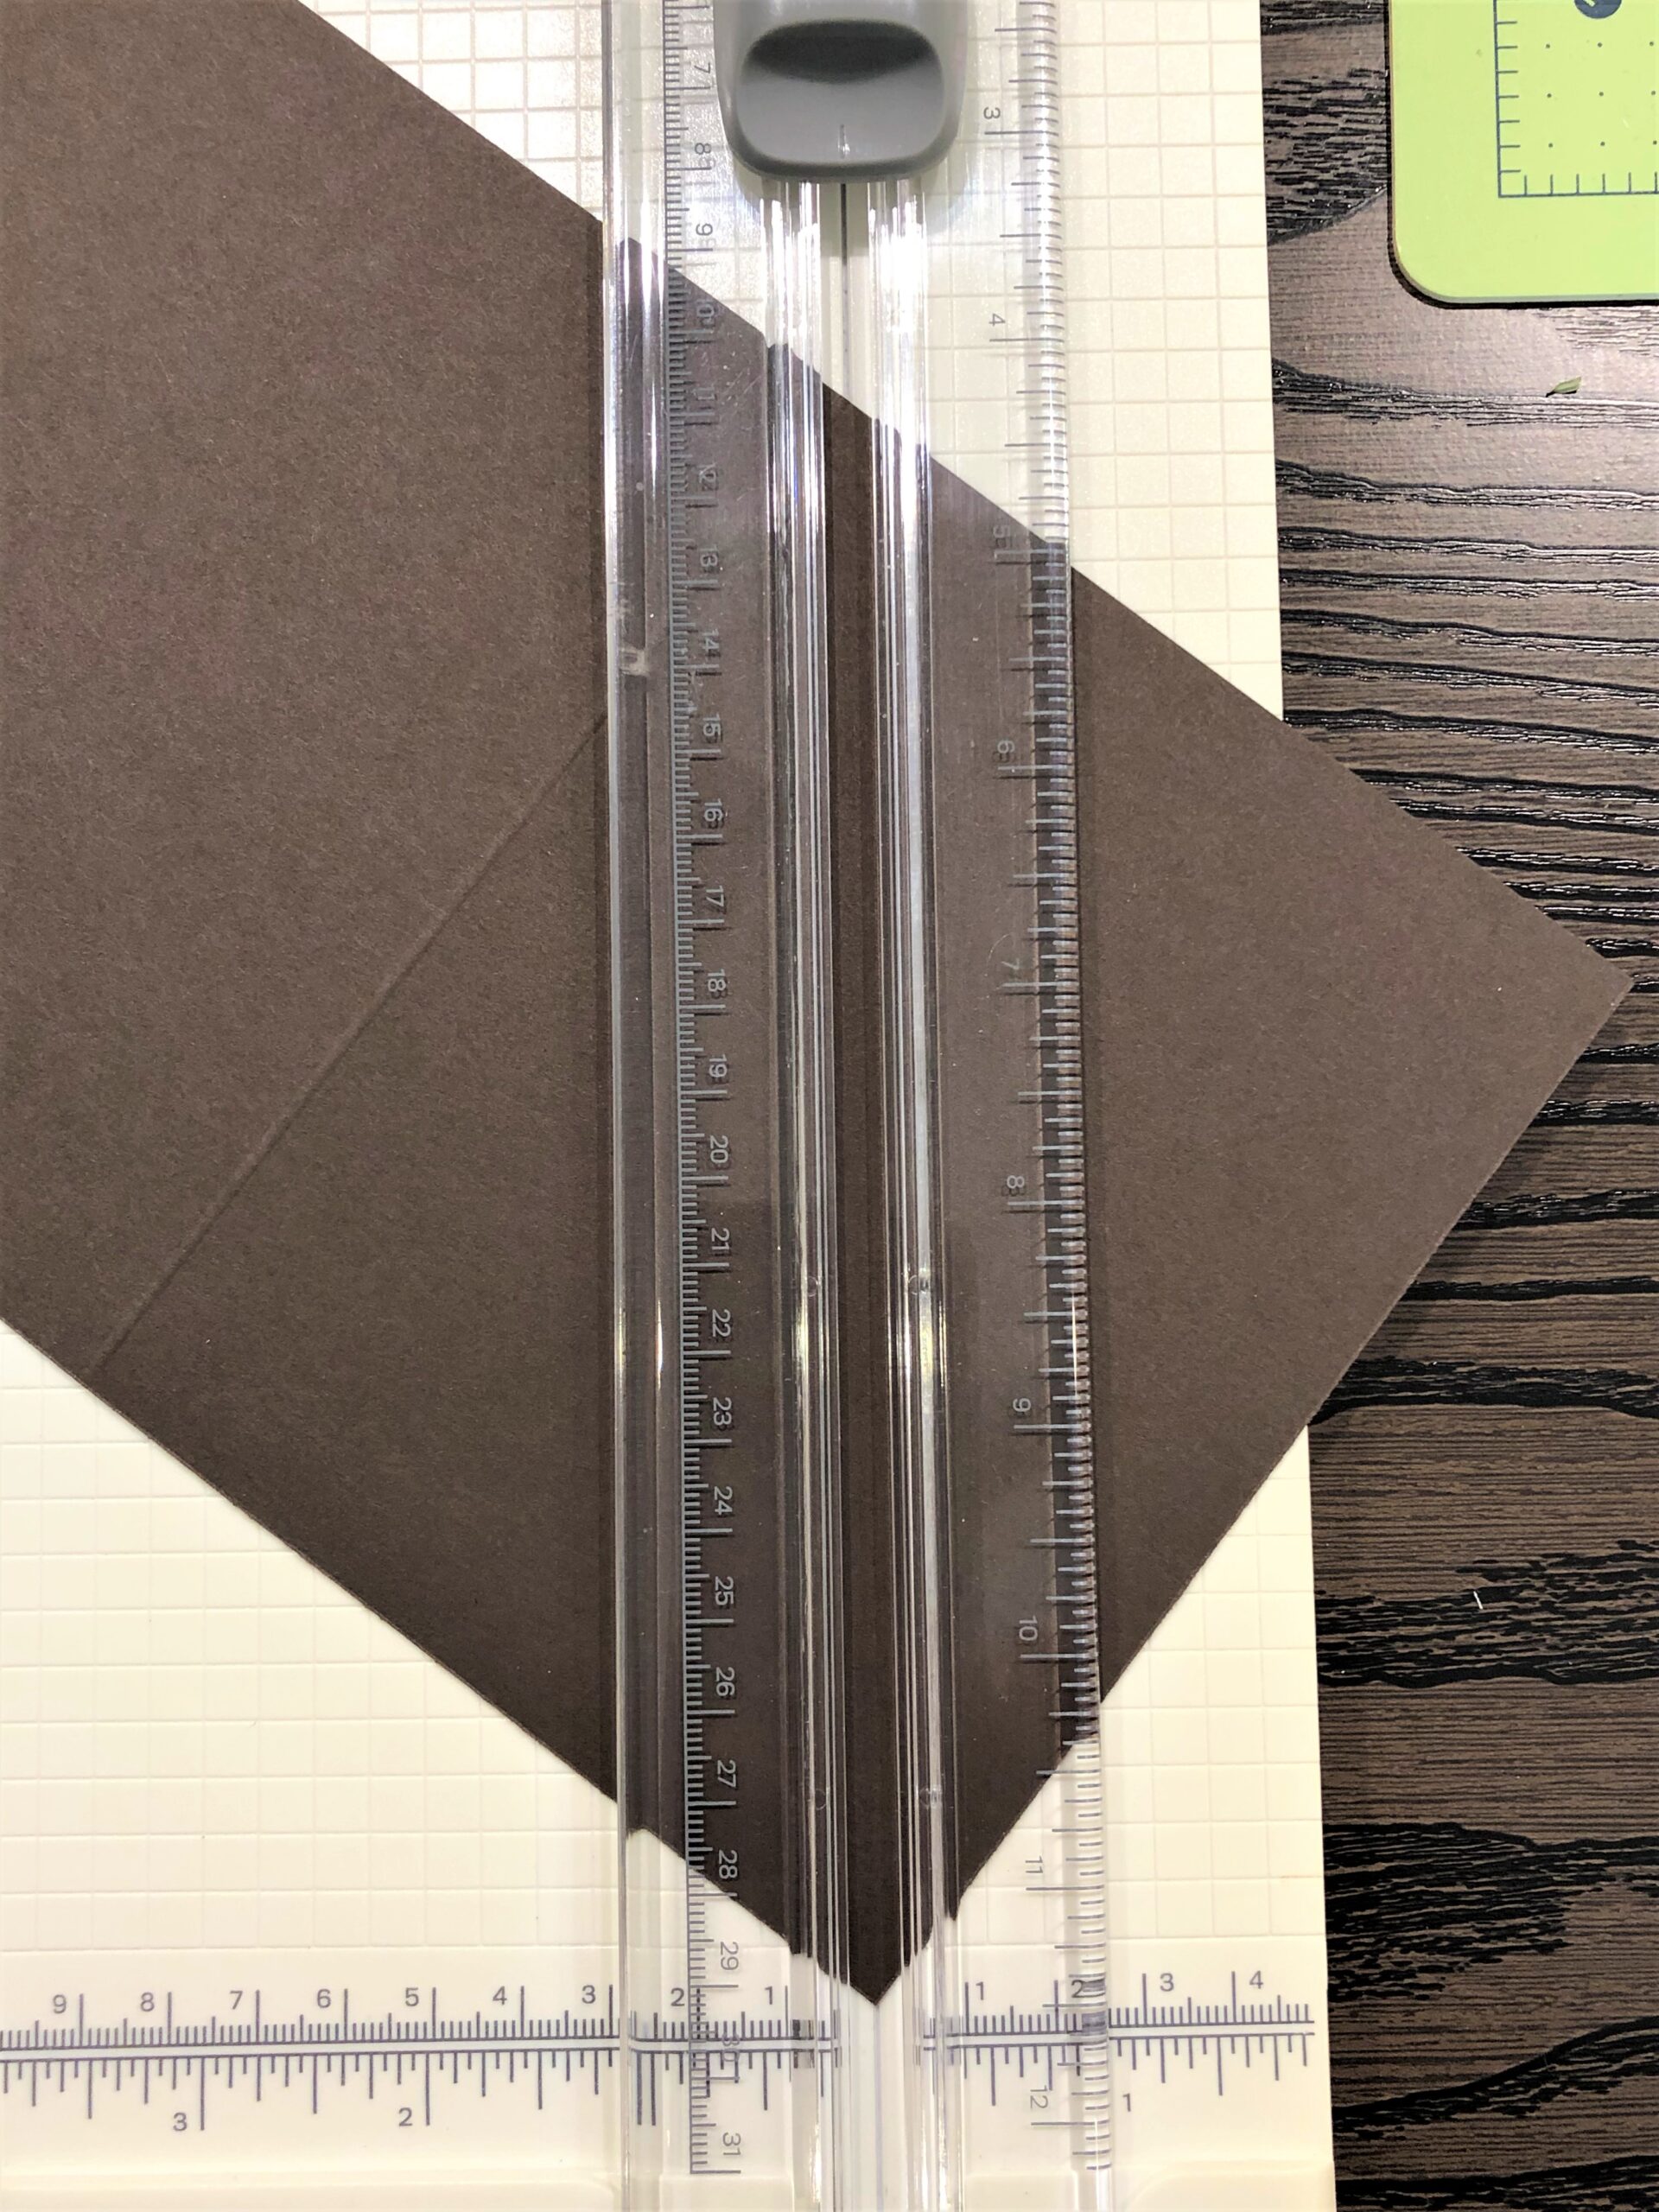
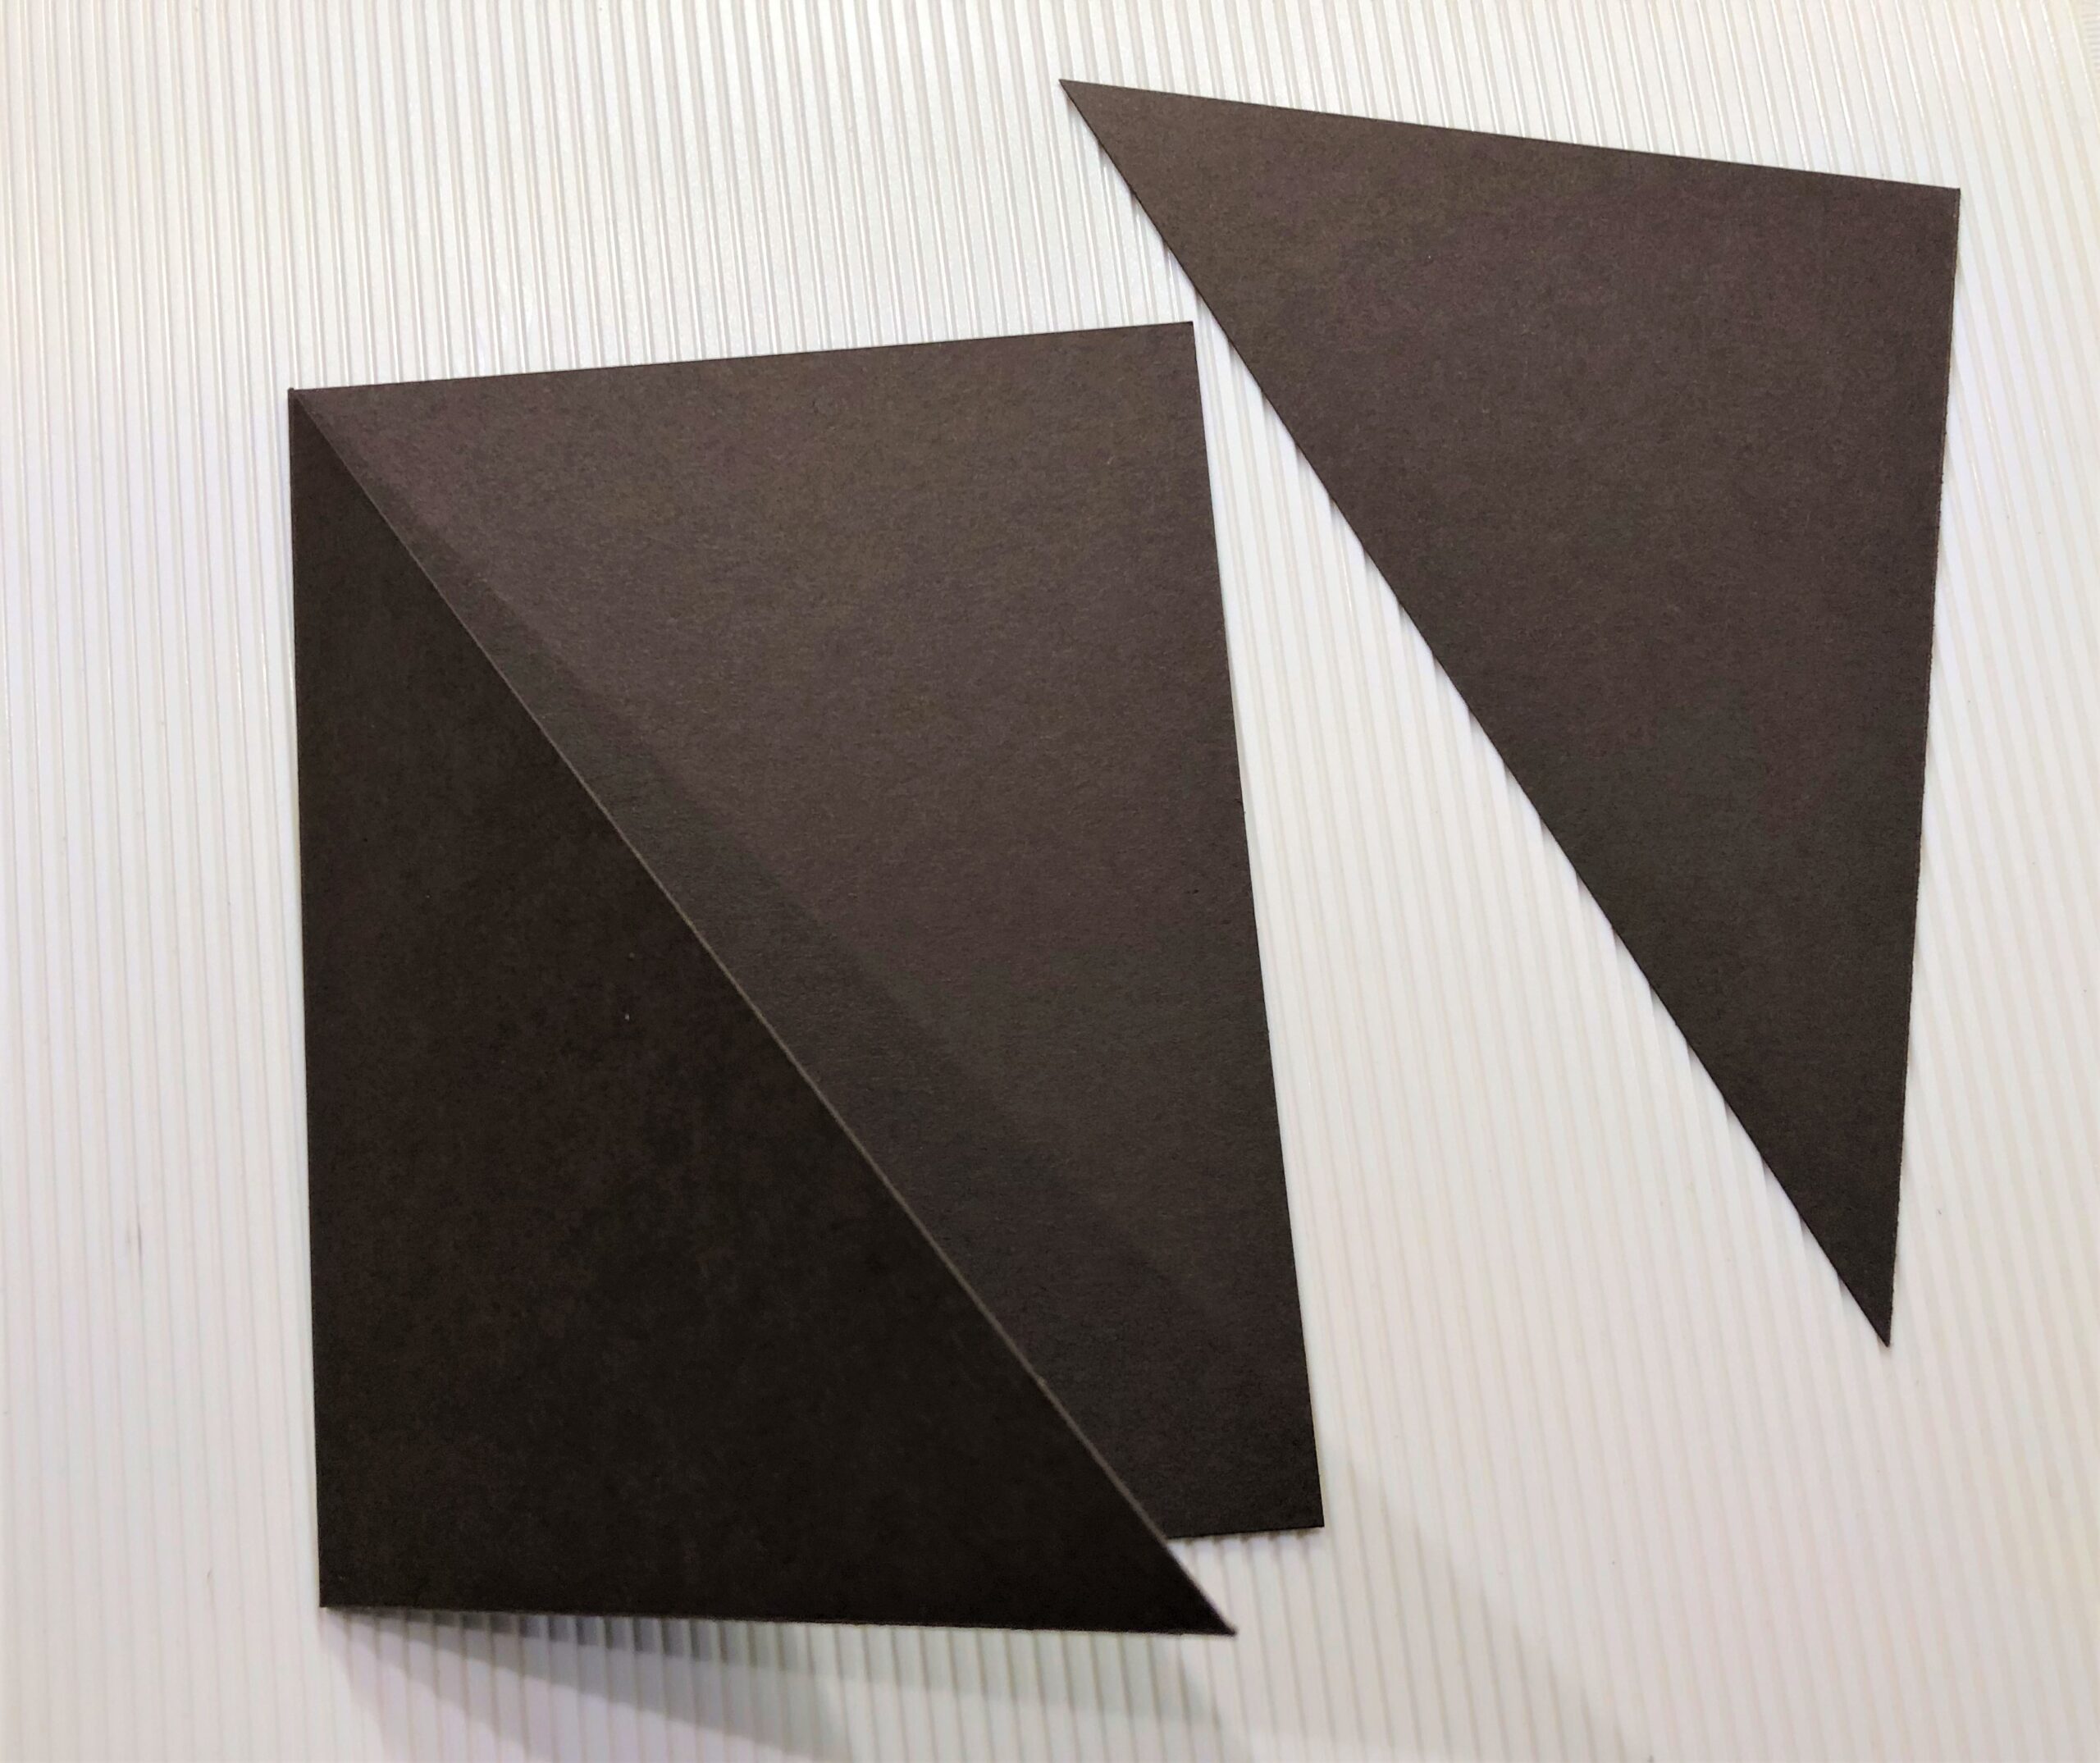
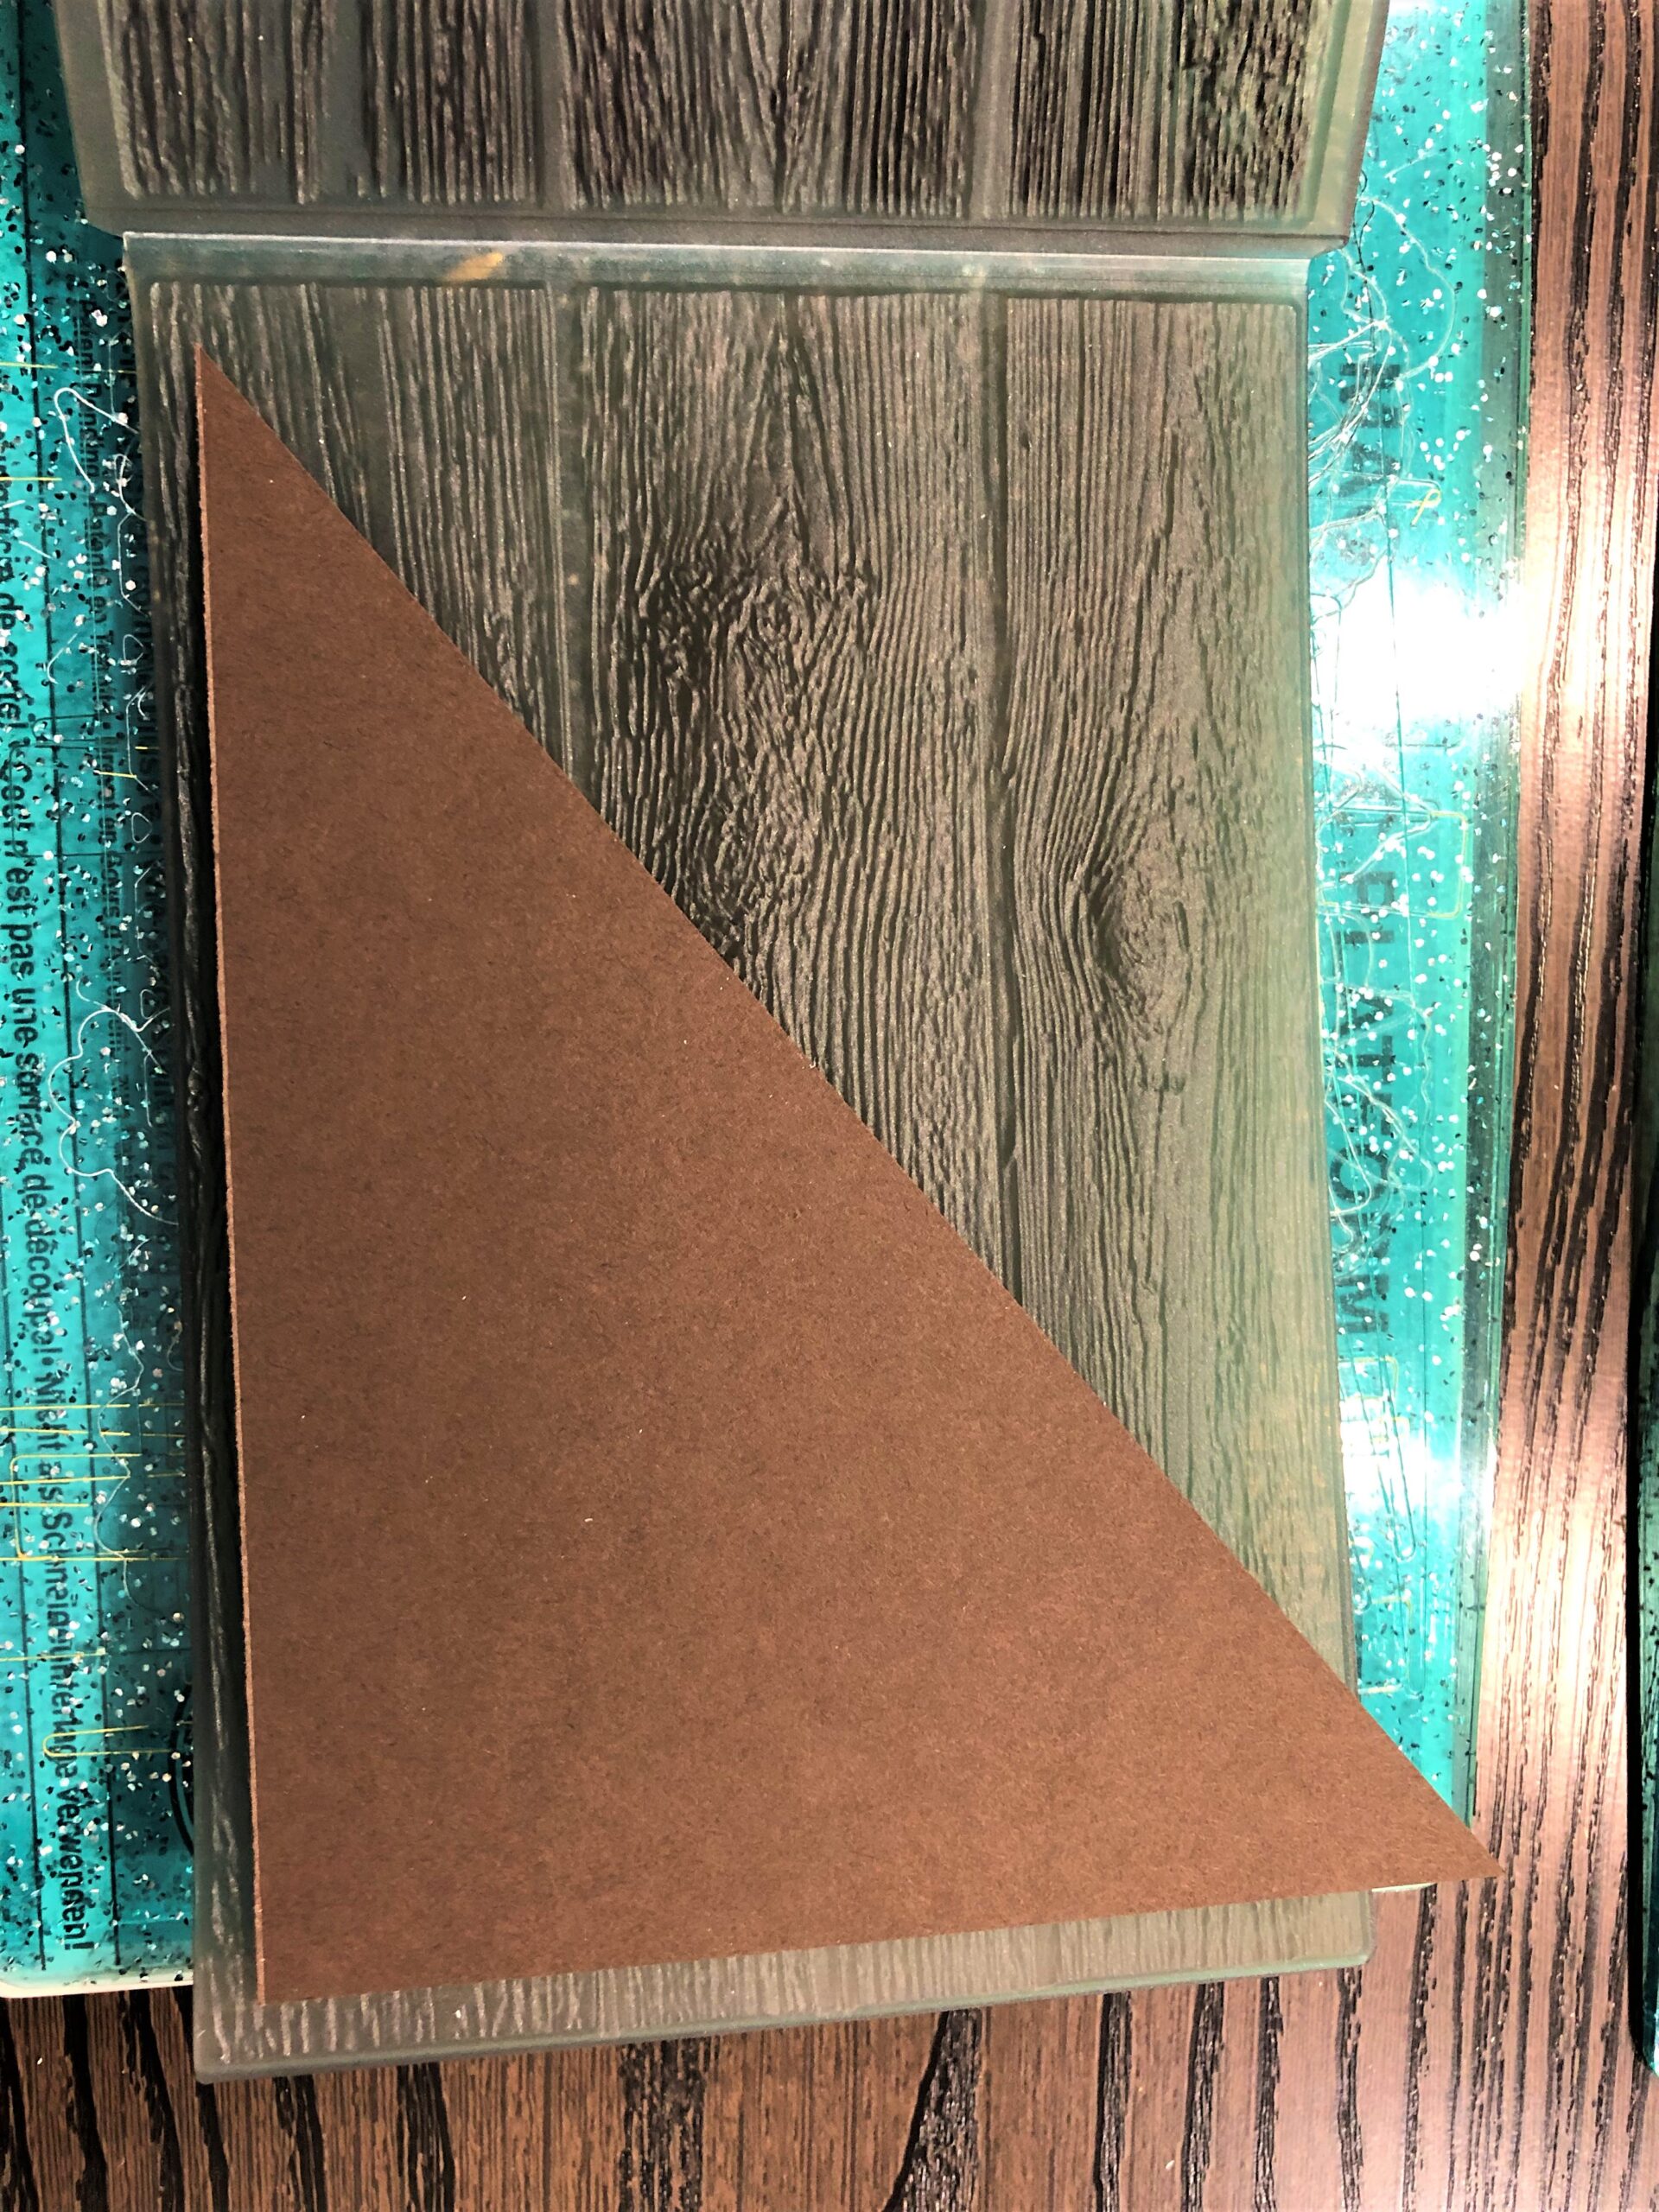
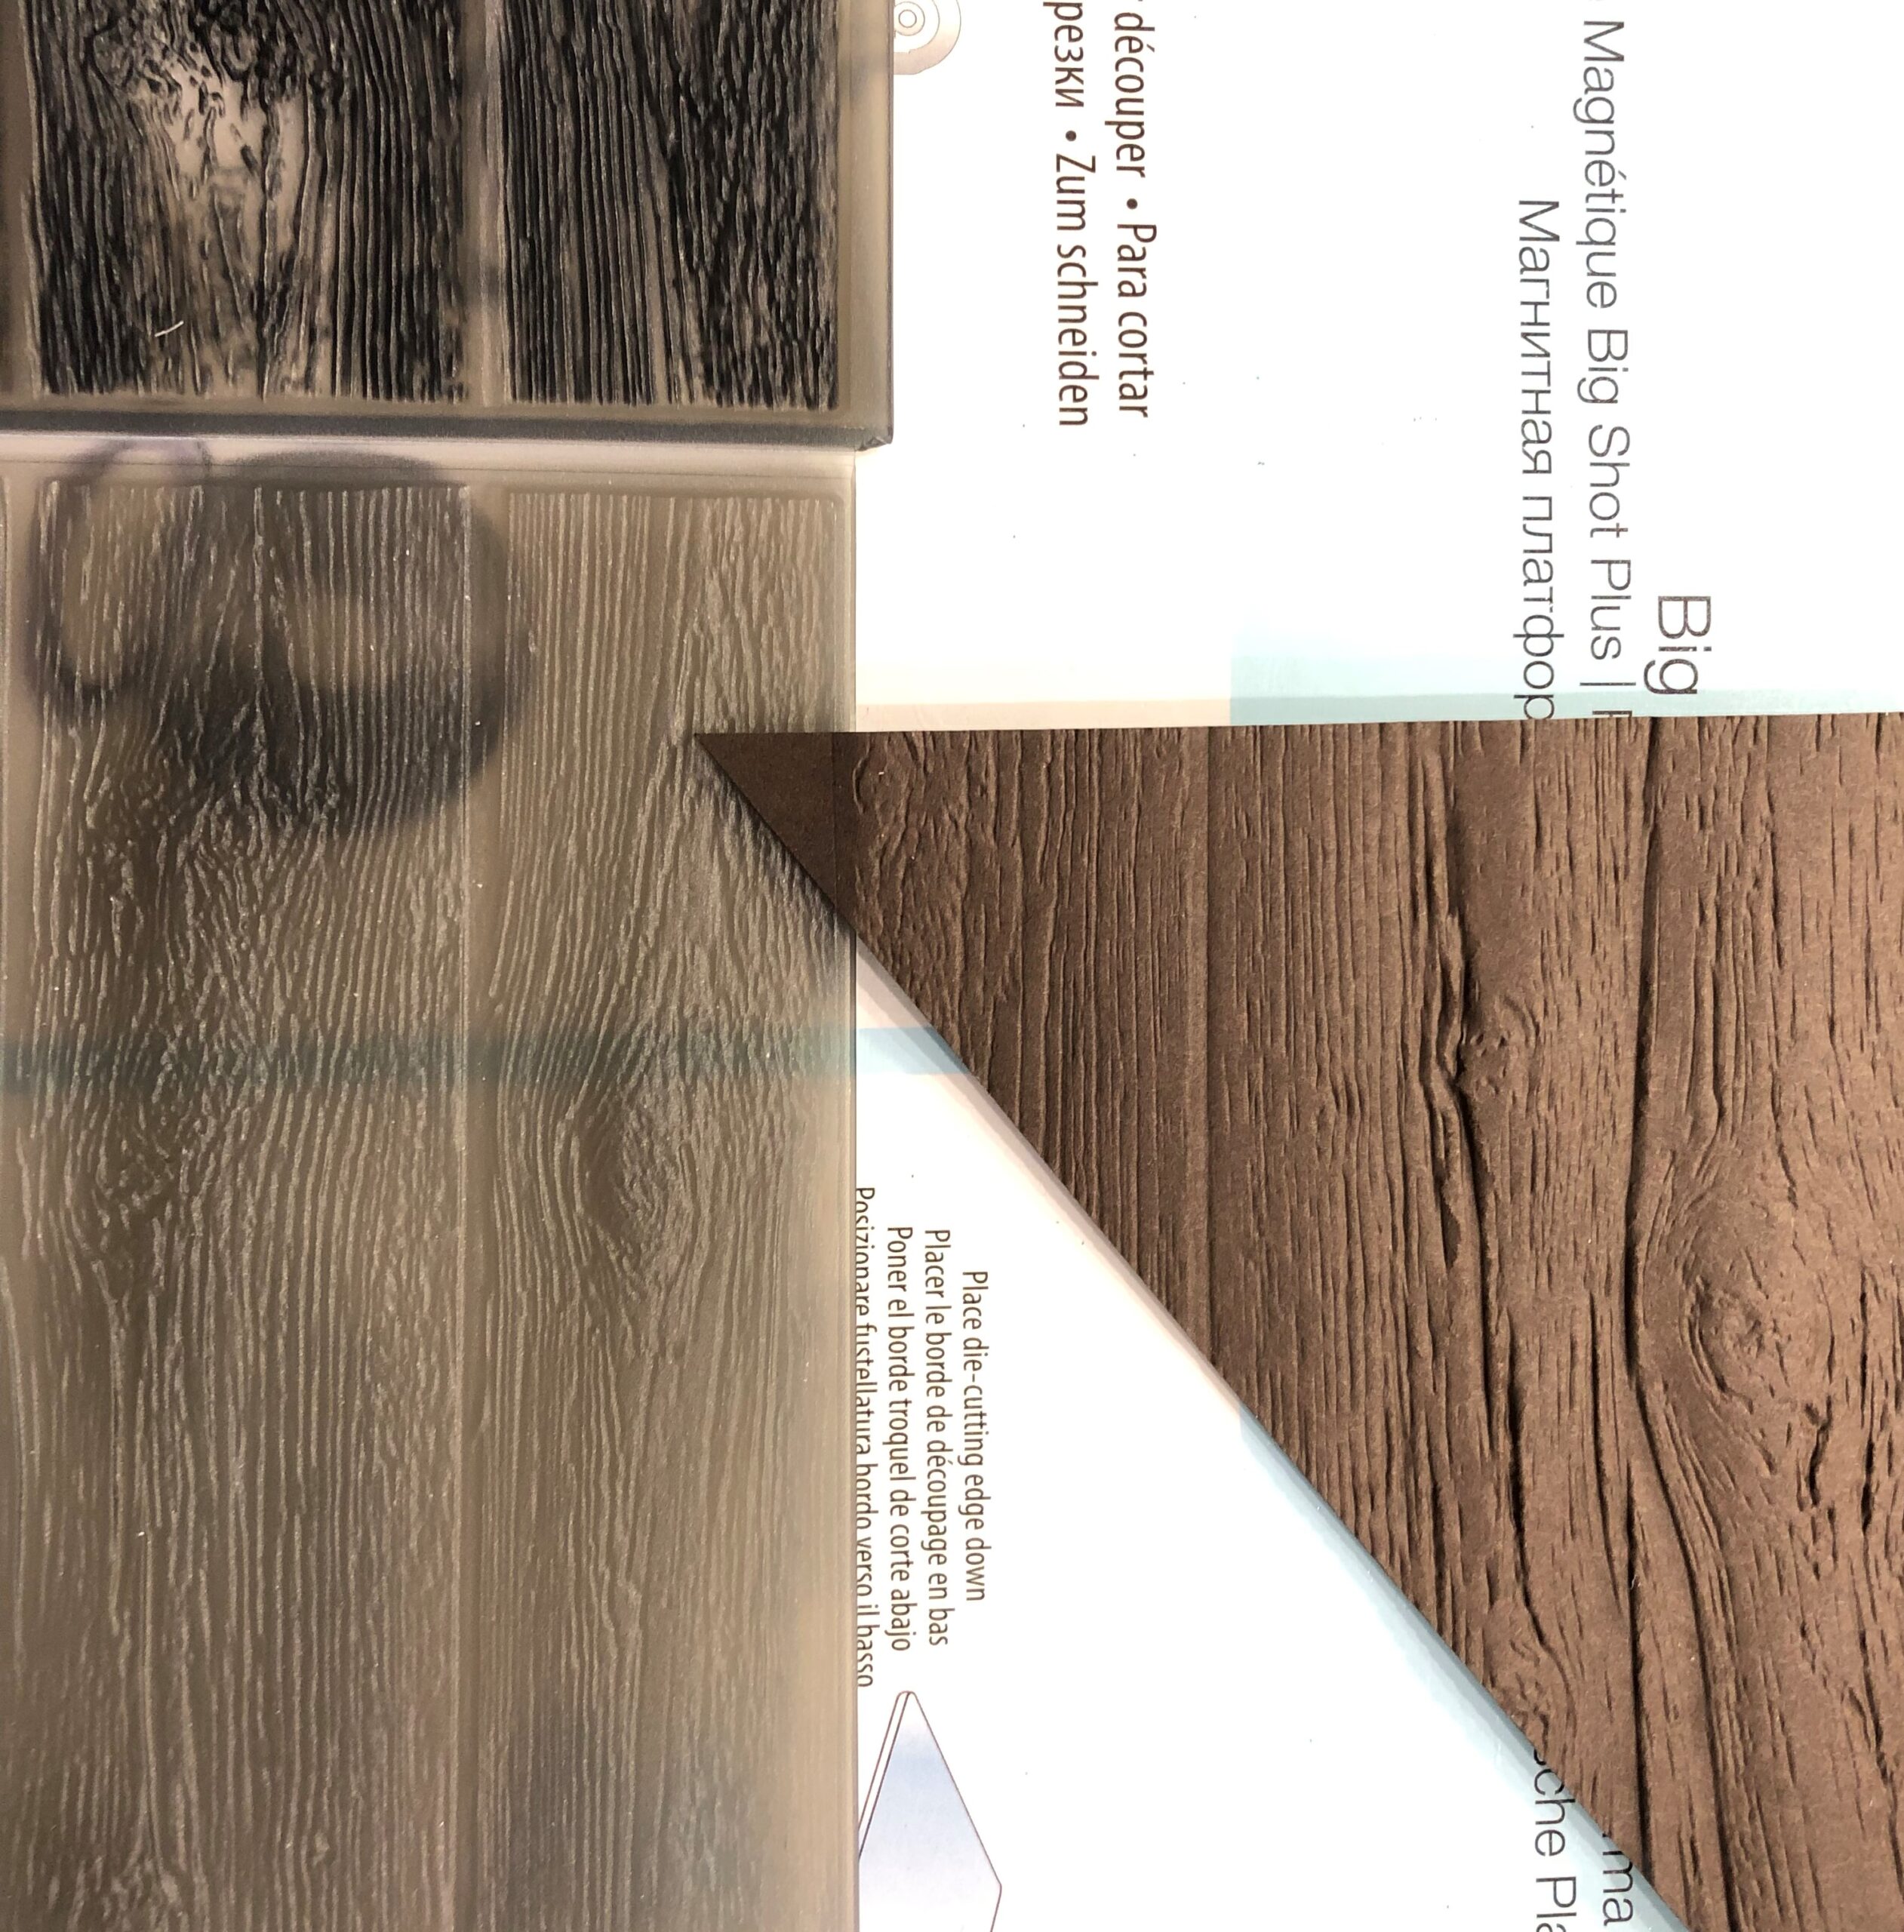
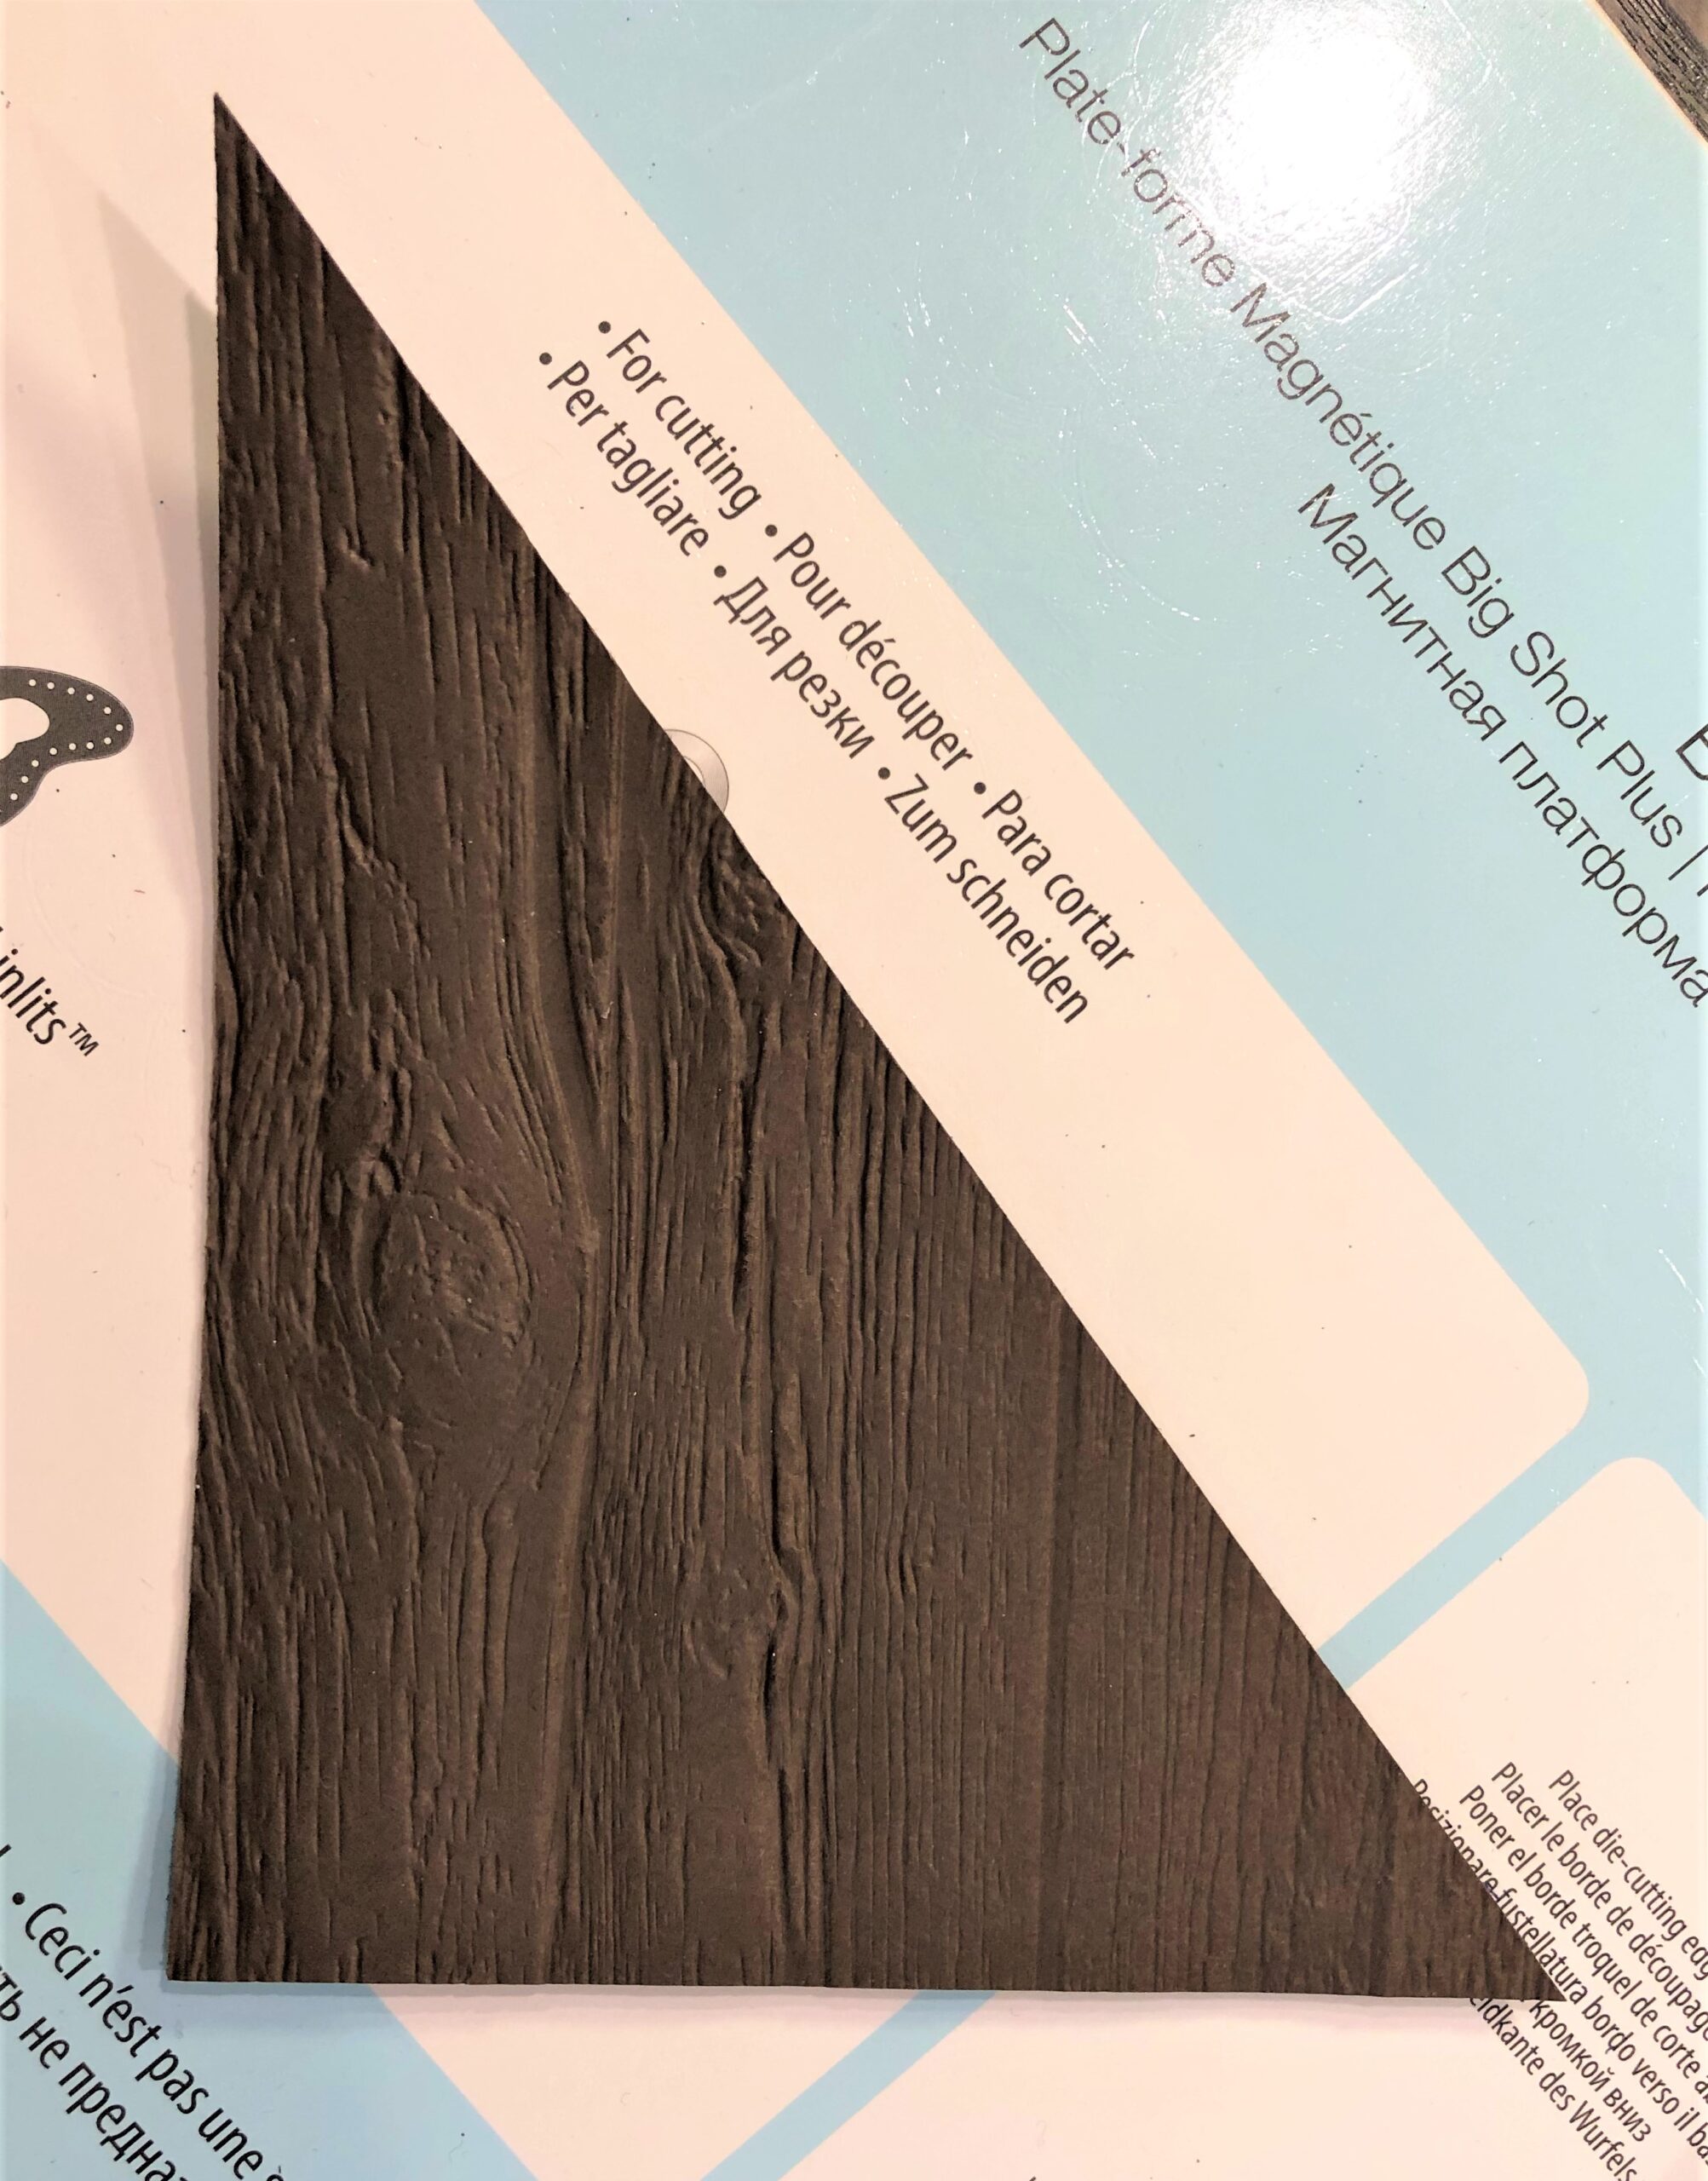
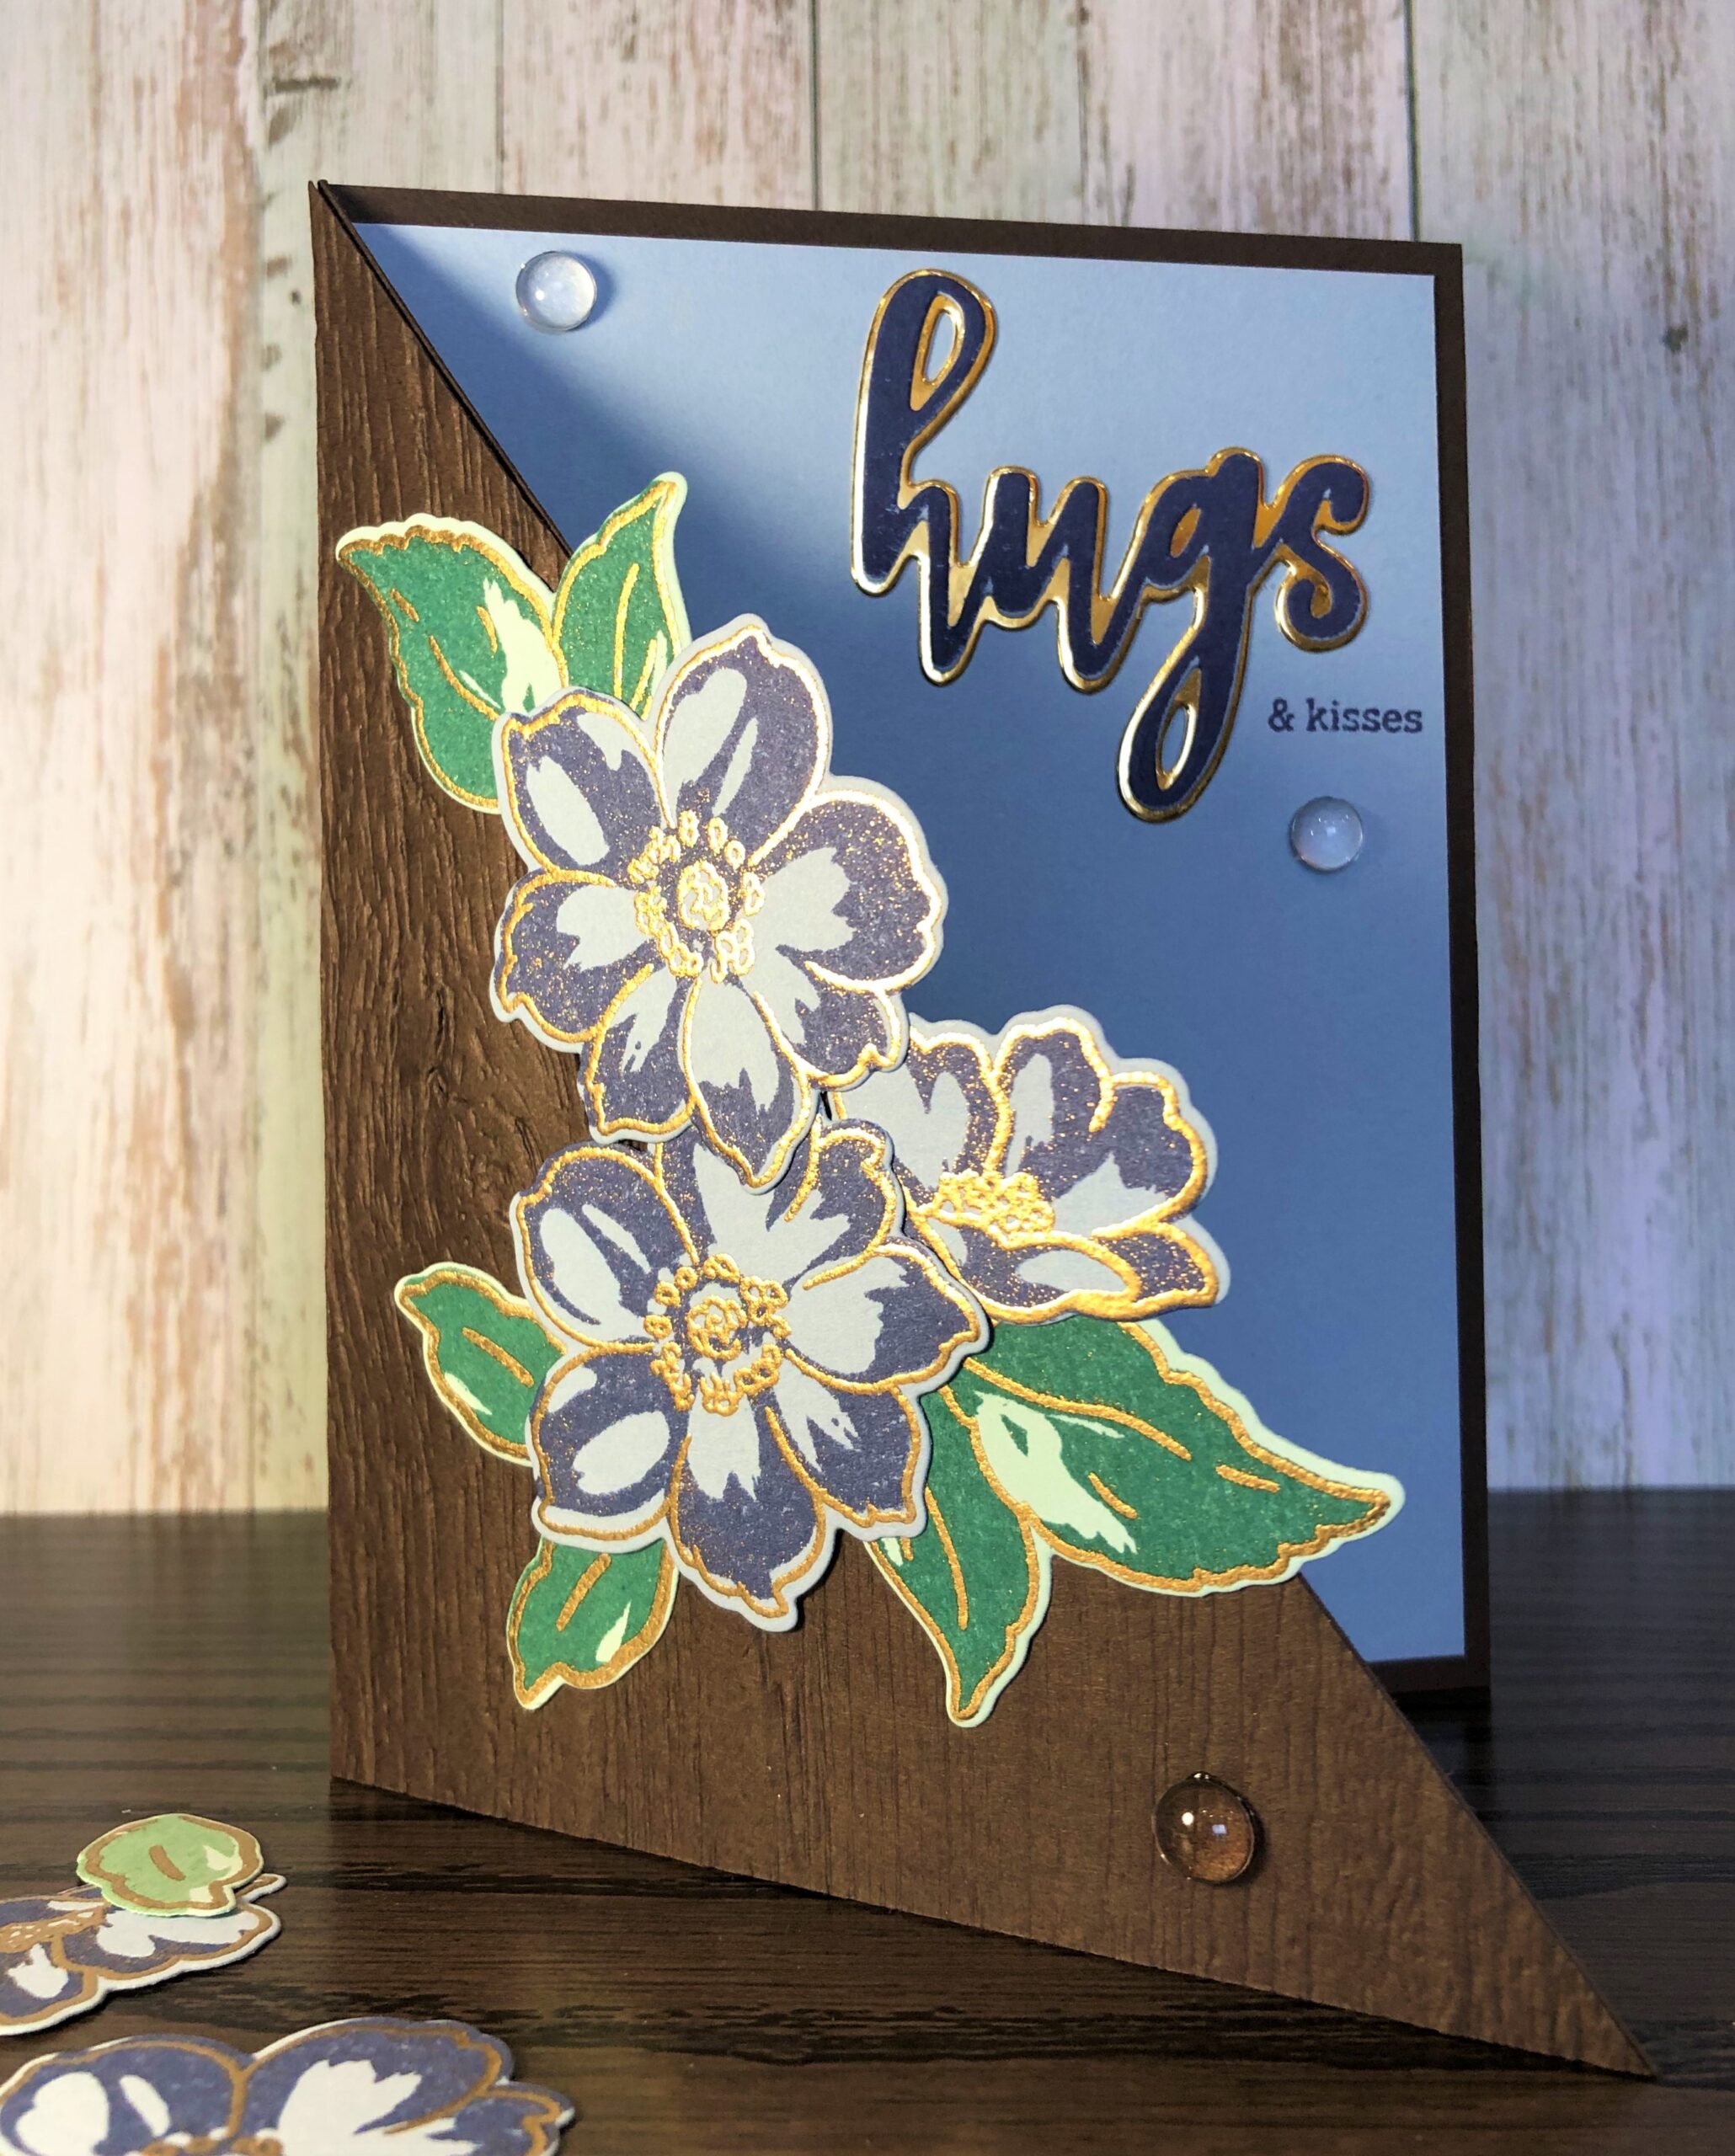
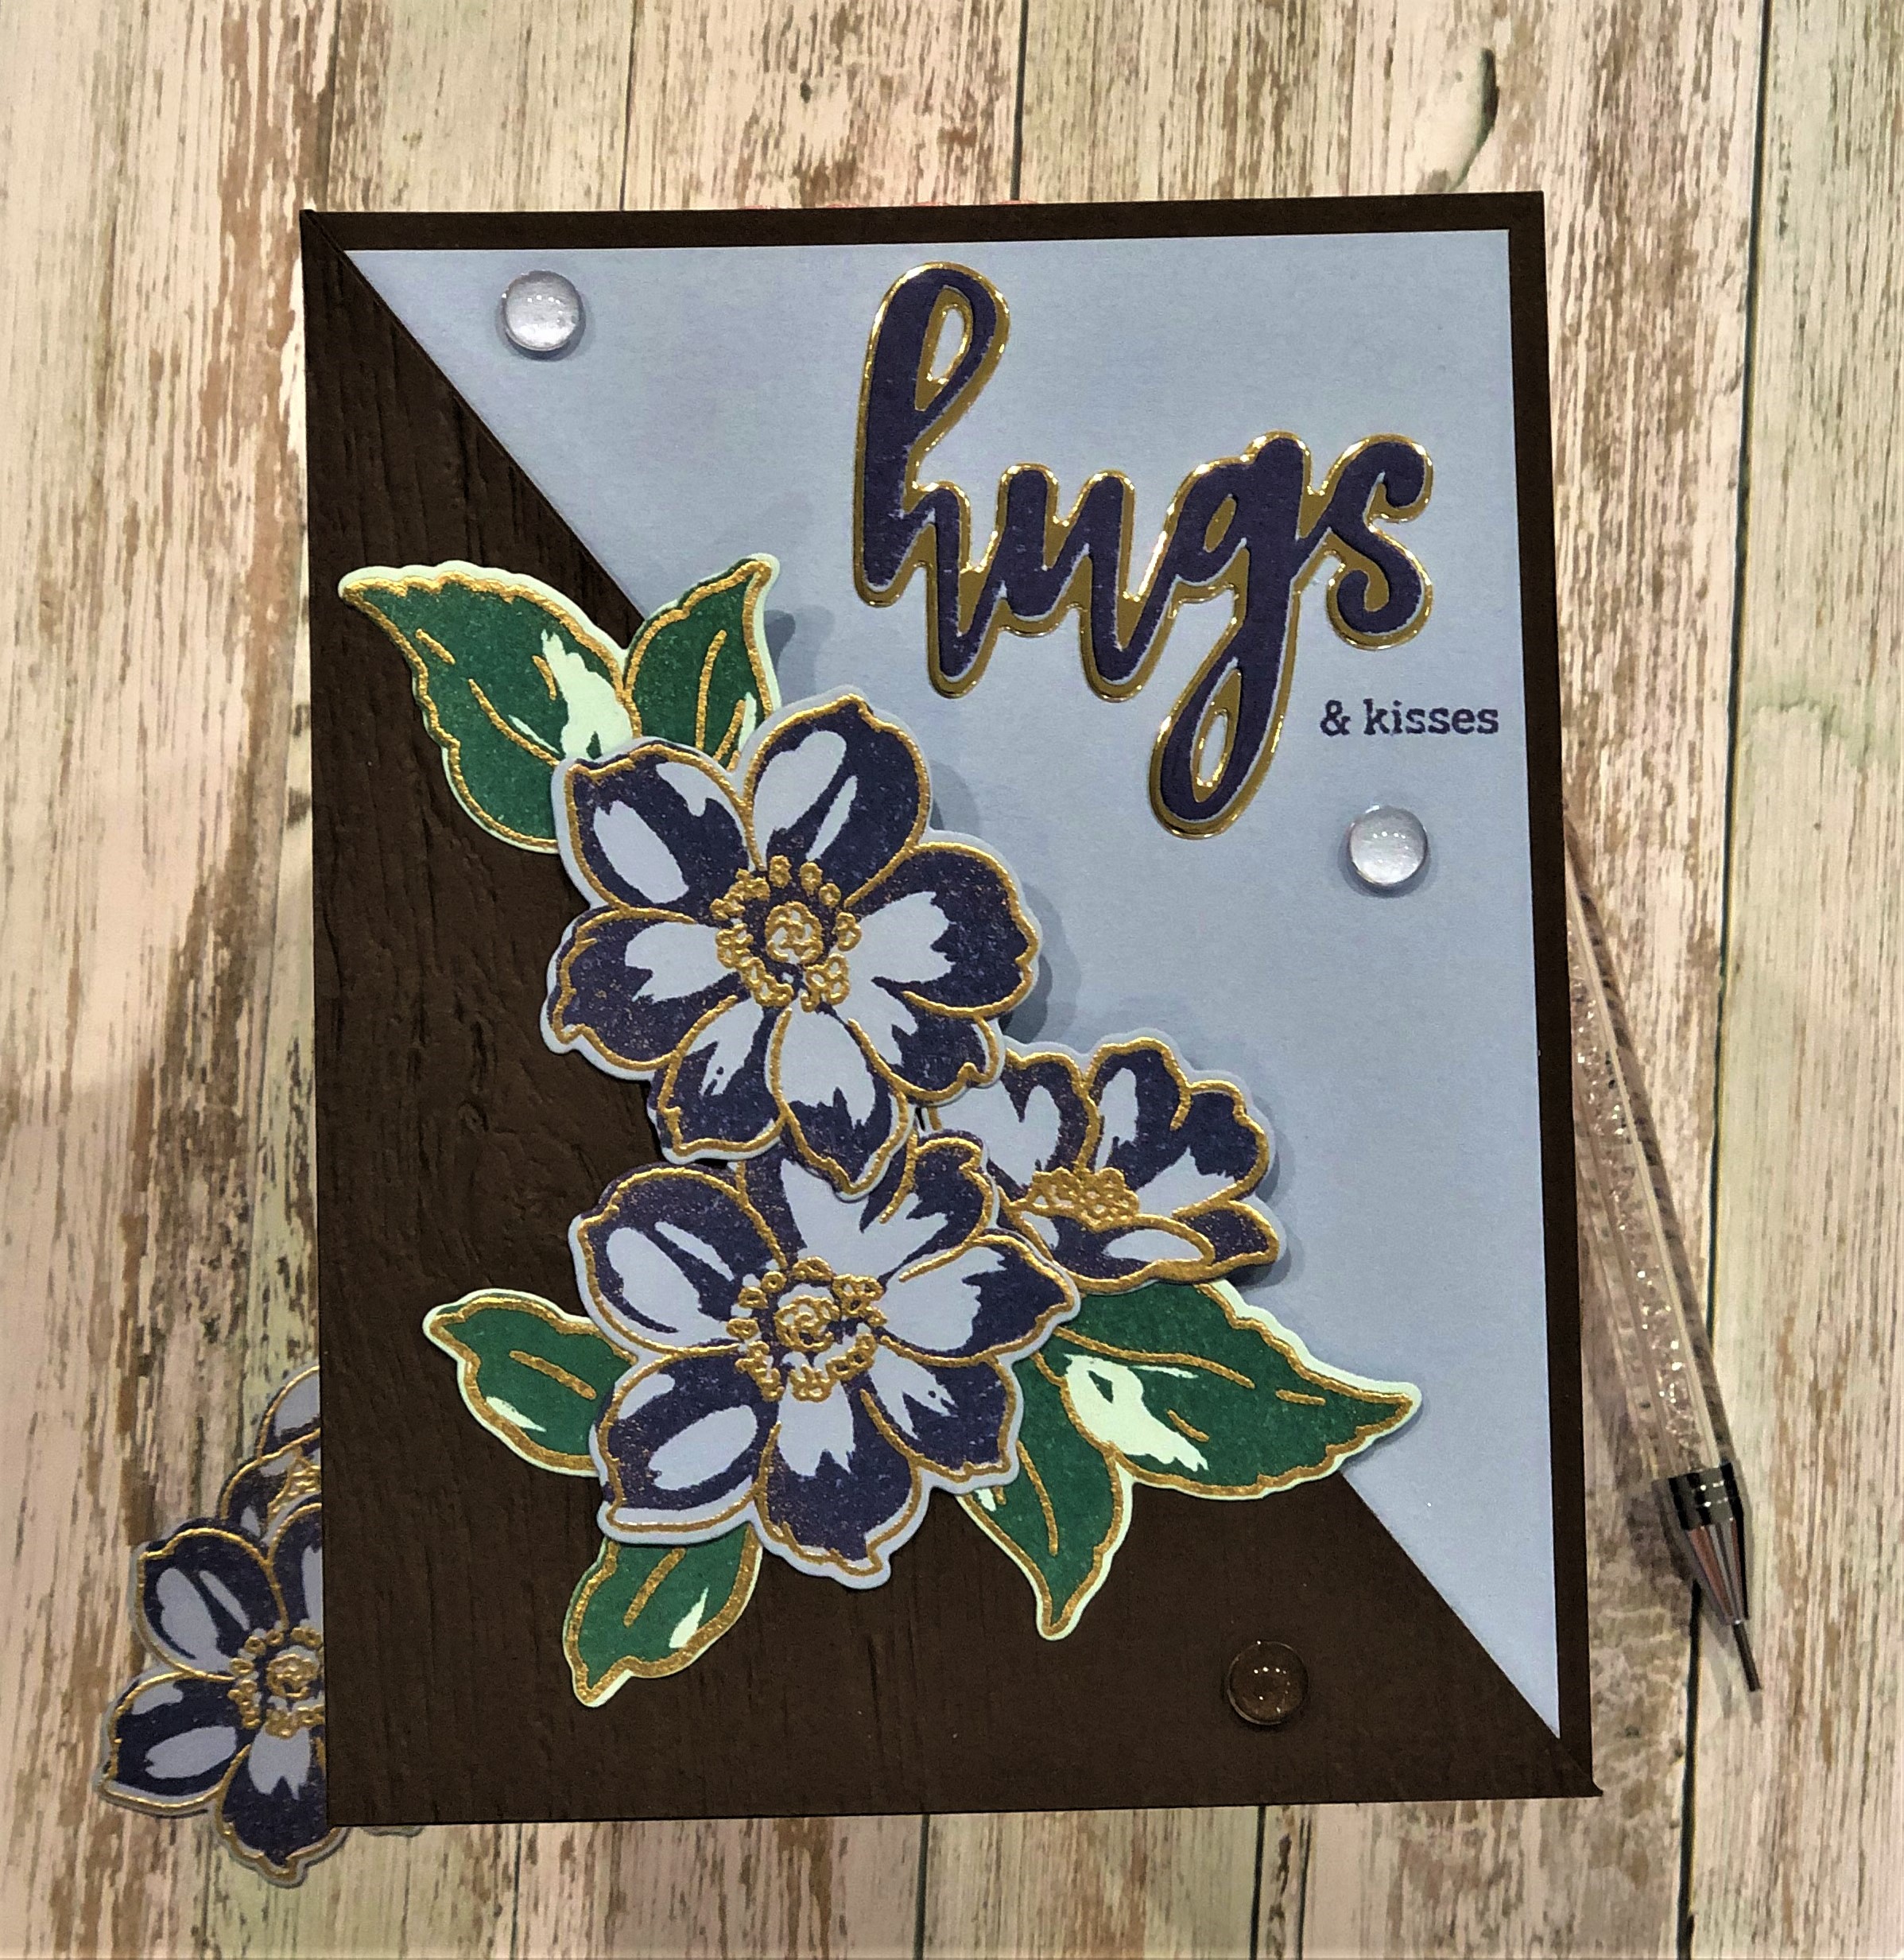
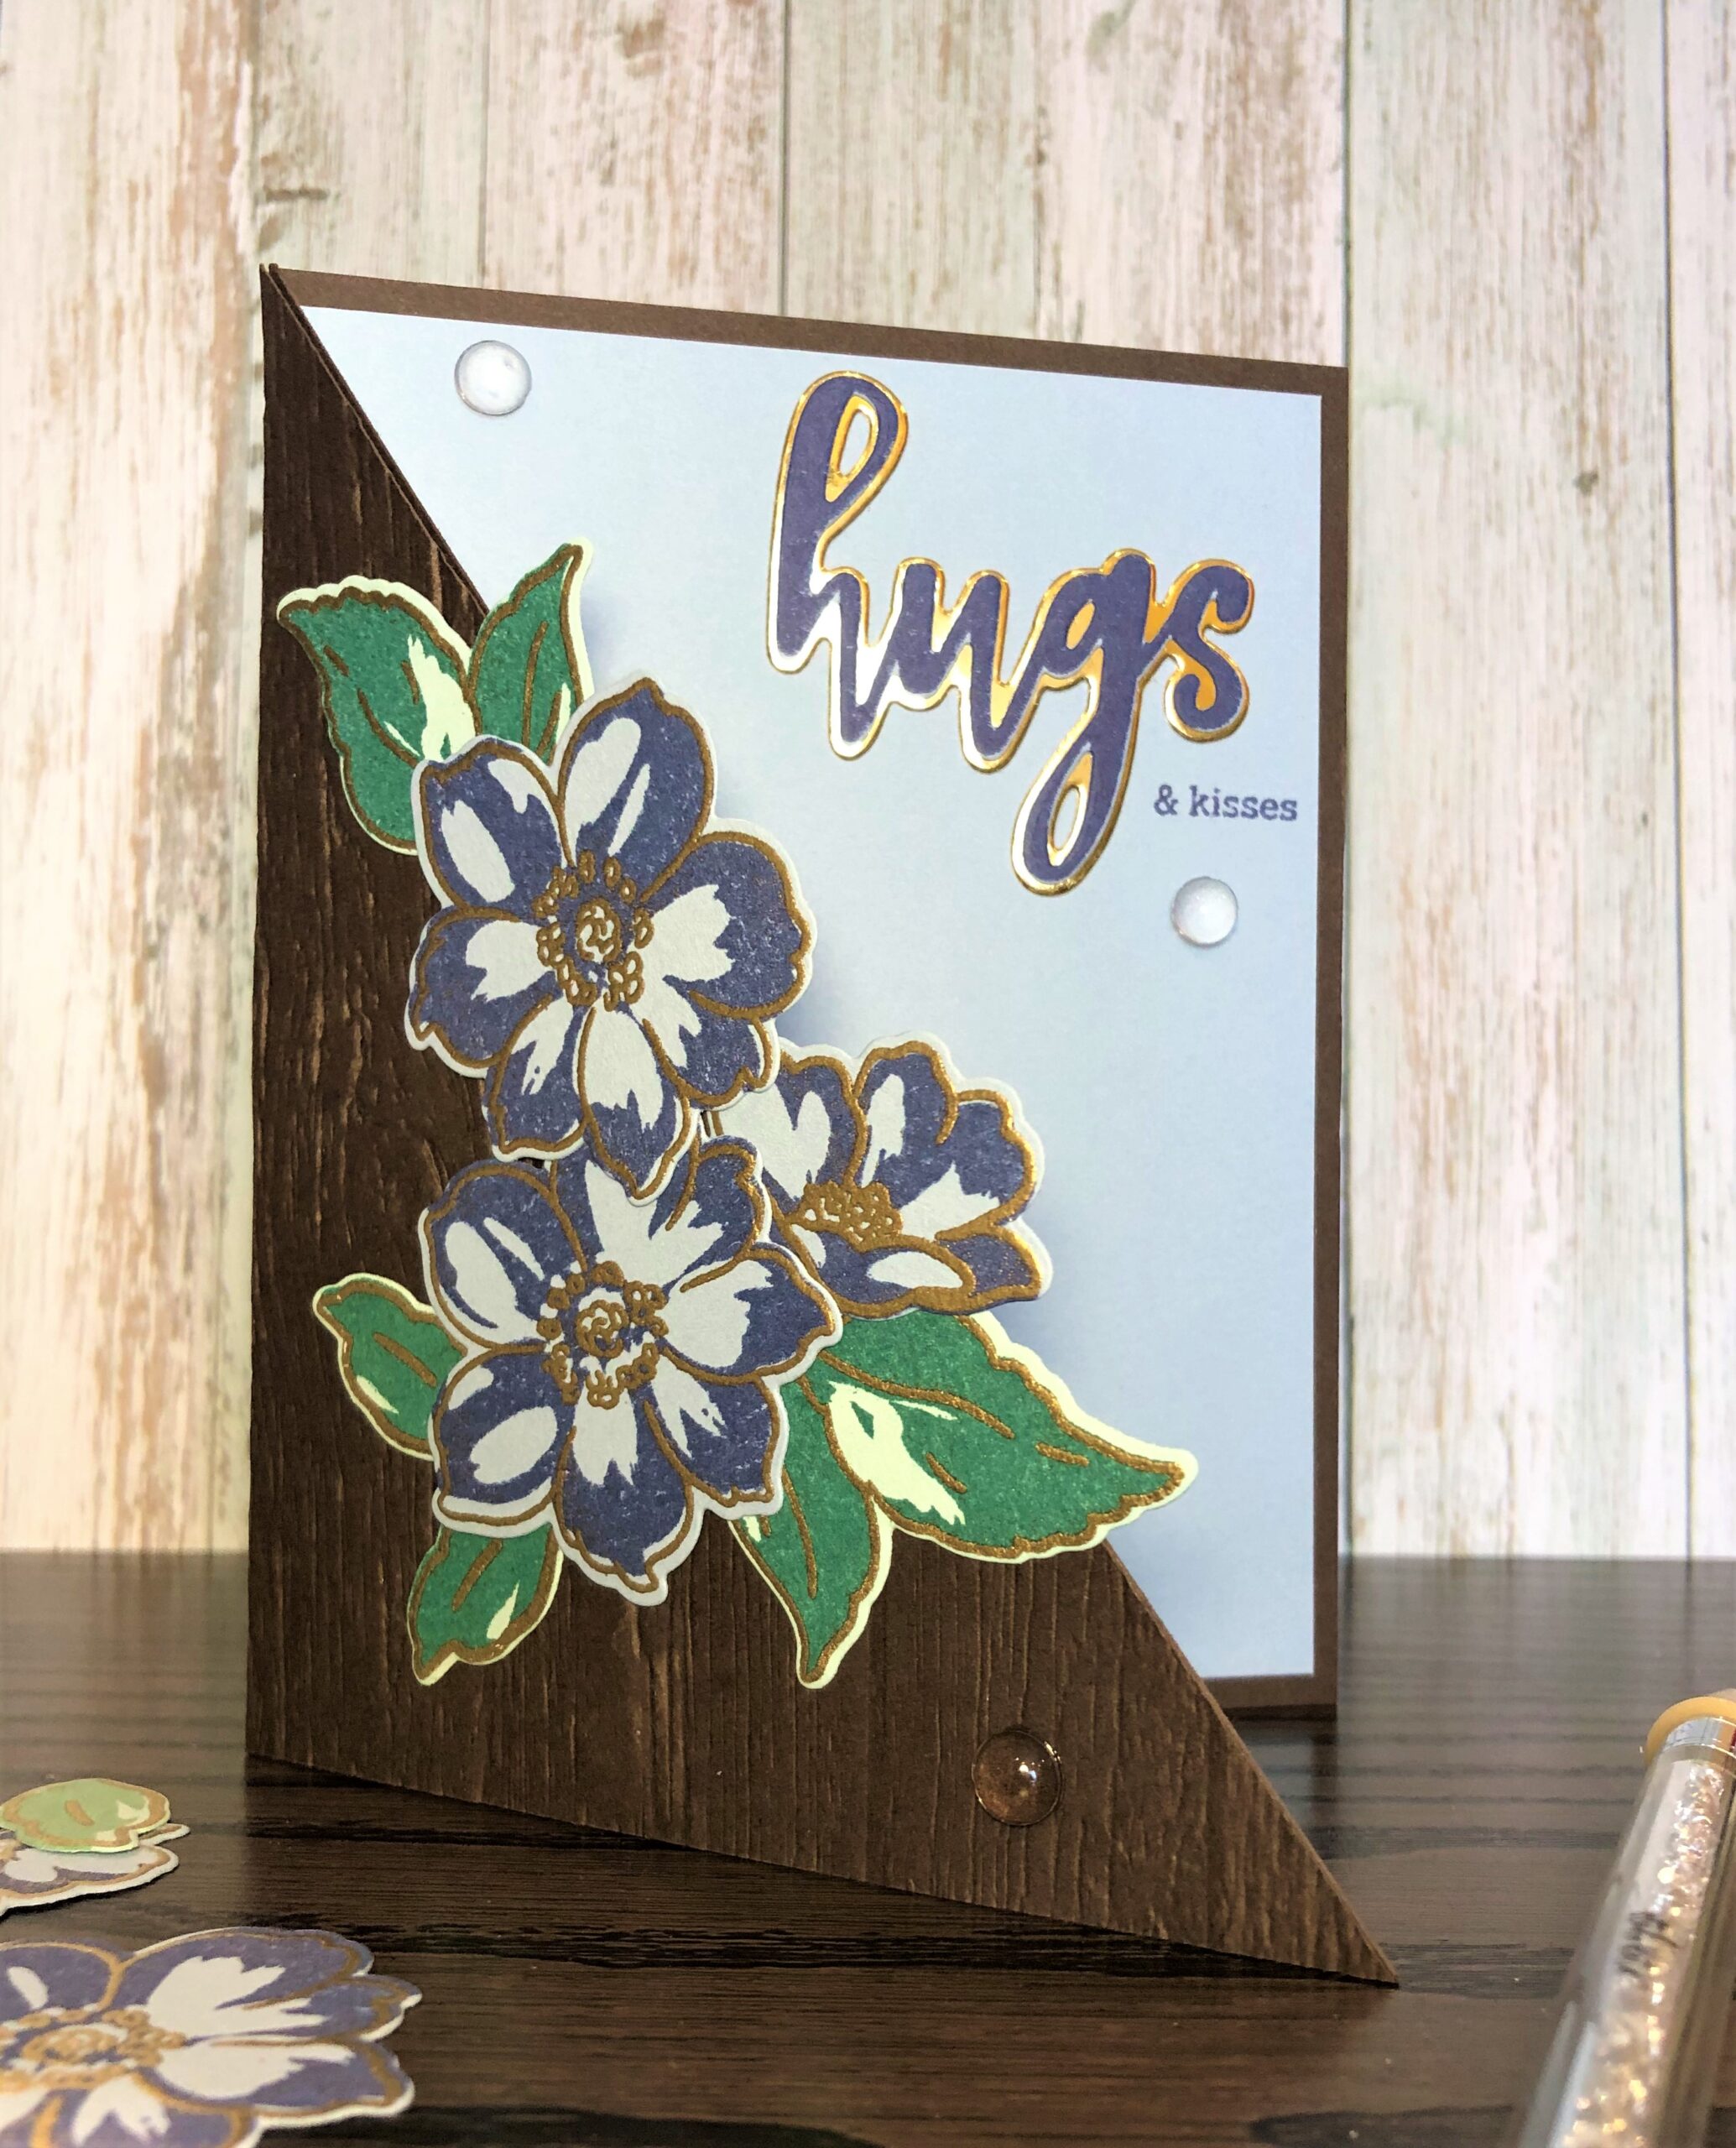
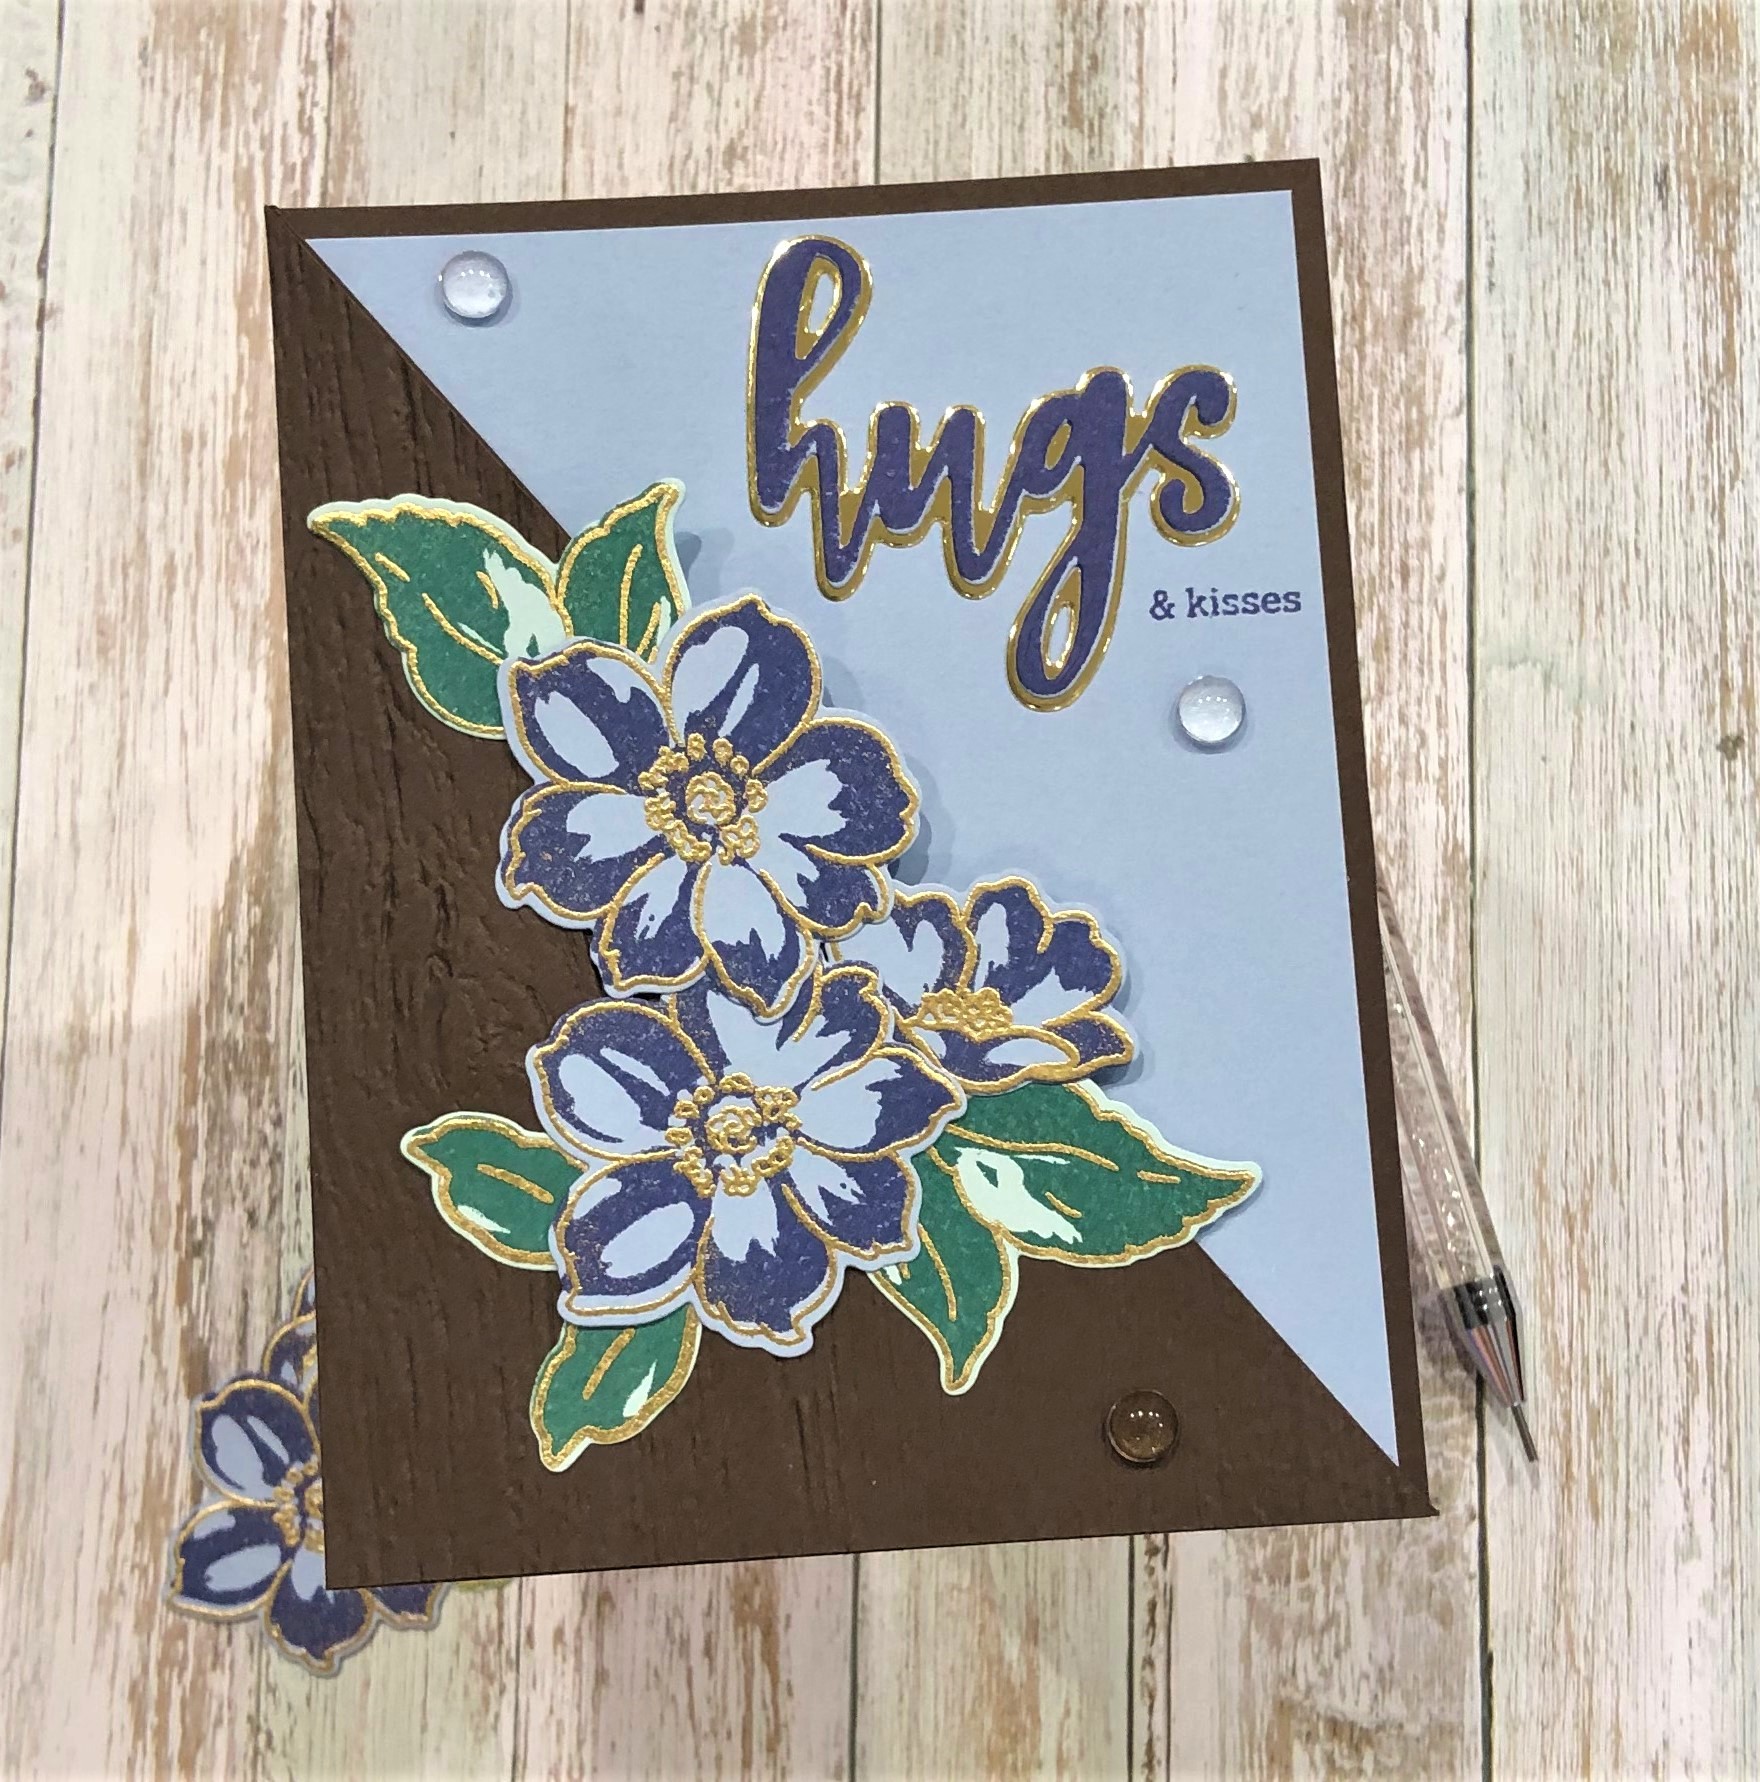
For my card base, I cut a piece of Stampn’Up Early Espresso card stock to 9″ by 5.75″ and scored it at 4.50″. I put the front of the card base in my paper trimmer at an angle from the top of the score line to the bottom right corner to make the triangle cut-out. Using the left over triangle piece and the lumber embossing folder, I made the background for the front portion of the card. The embossing folder didn’t fit the entire triangle so I had to emboss the little edge separately, and thankfully it all fit on my Big Shot Plus platform. I added a piece of Seaside Spray cardstock cut to 4.25″ by 5.50″ to the inside of the card and adhered the embossed triangle to the front flap.
Color It Up
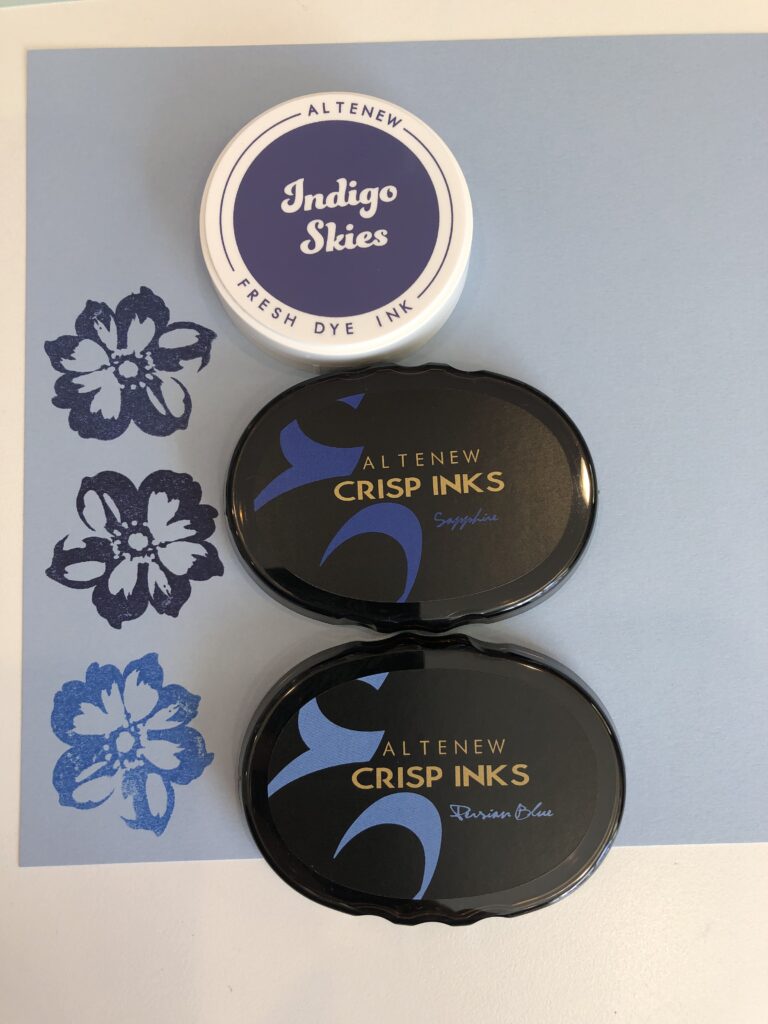
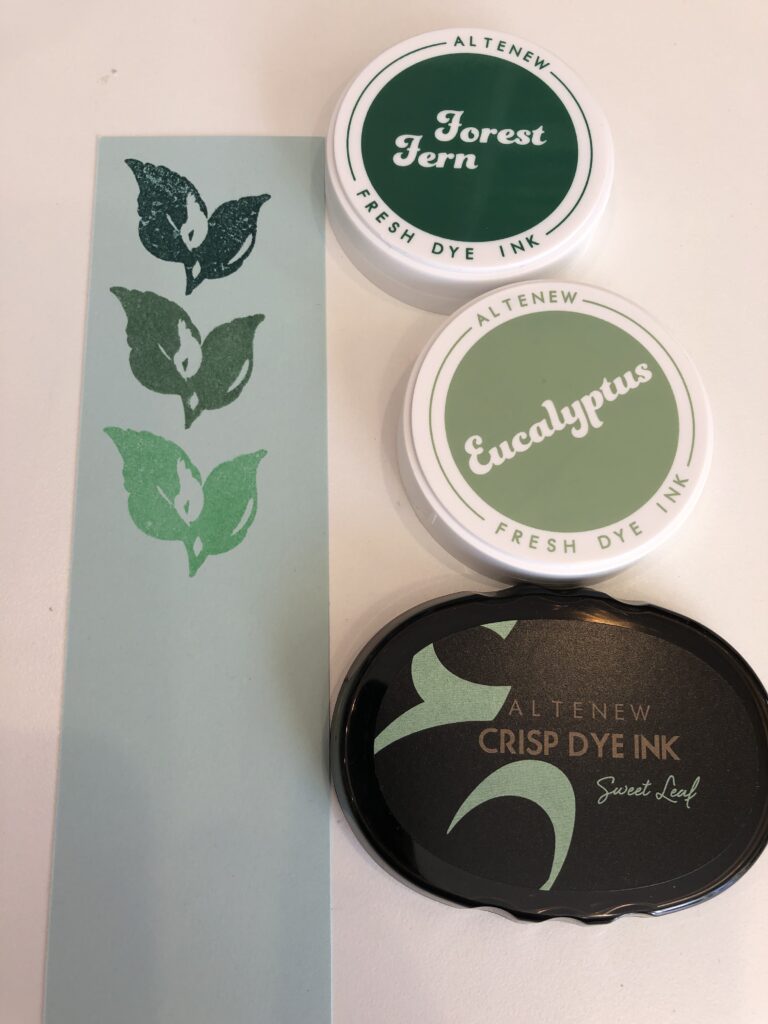
I knew right from the start I wanted to go with a brown and blue theme for this card. It’s one of those odd combos that I just adore, pink and brown is another one 🙂 . I chose Stampn’Up’s cardstock in Early Espresso for the base, Seaside Spray for the flowers, and Soft Sky for the leaves, and then I had to choose which inks to use. I started by getting scraps of the cardstock and testing different Altenew inks on them, until I found what looked best to me. In the end I picked Altenew Fresh Dye Ink in Indigo Skies and Forest Fern.
Put It Together
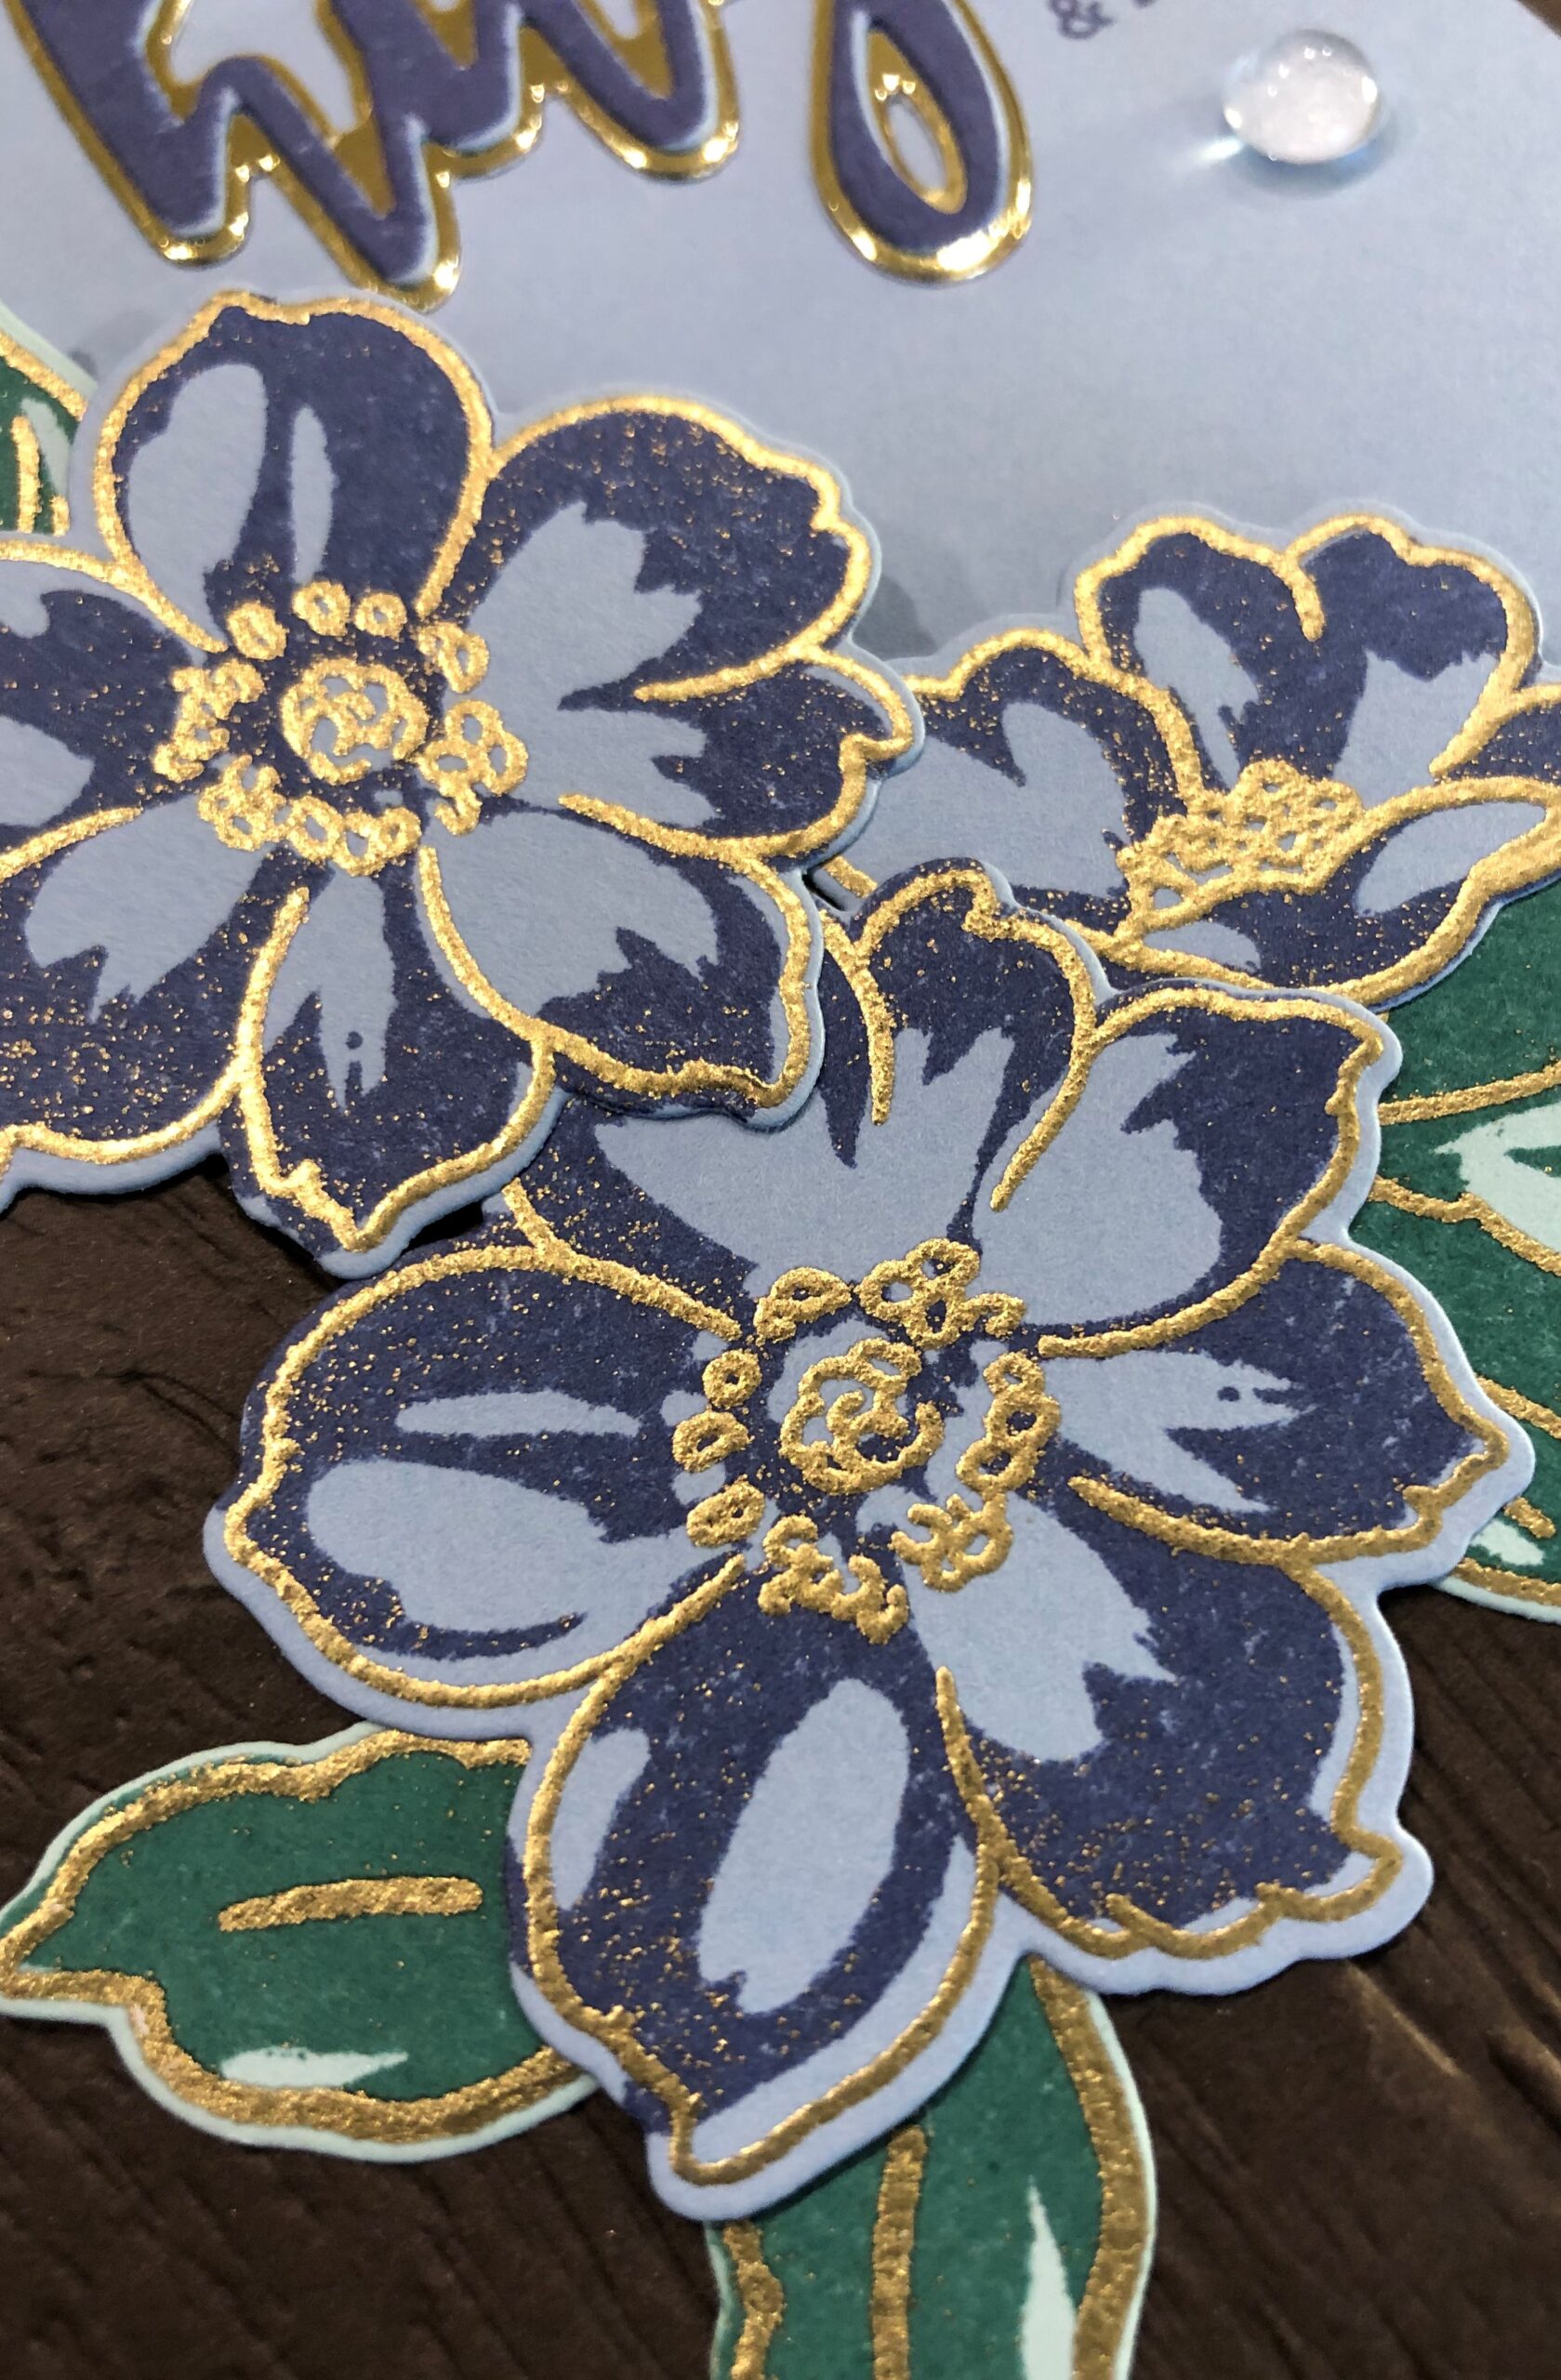
I stamped several of the outlines for the large and small flowers from Wispy Joy onto Seaside Spray cardstock with VersaMark ink then embossed with gold detail powder. For the detail of the flower I used layer 3 (the middle layer) and Indigo Skies ink. I repeated the embossing process for the leaves using Soft Sky cardstock. The inside of the leaves are Forest Fern ink and the layer 2 detail stamps. Lastly the leaves and flowers were all die cut.
The saying was stamped with Indigo Skies ink onto Seaside Spray cardstock then die cut. Gold mirror cardstock was used for the background die cut.
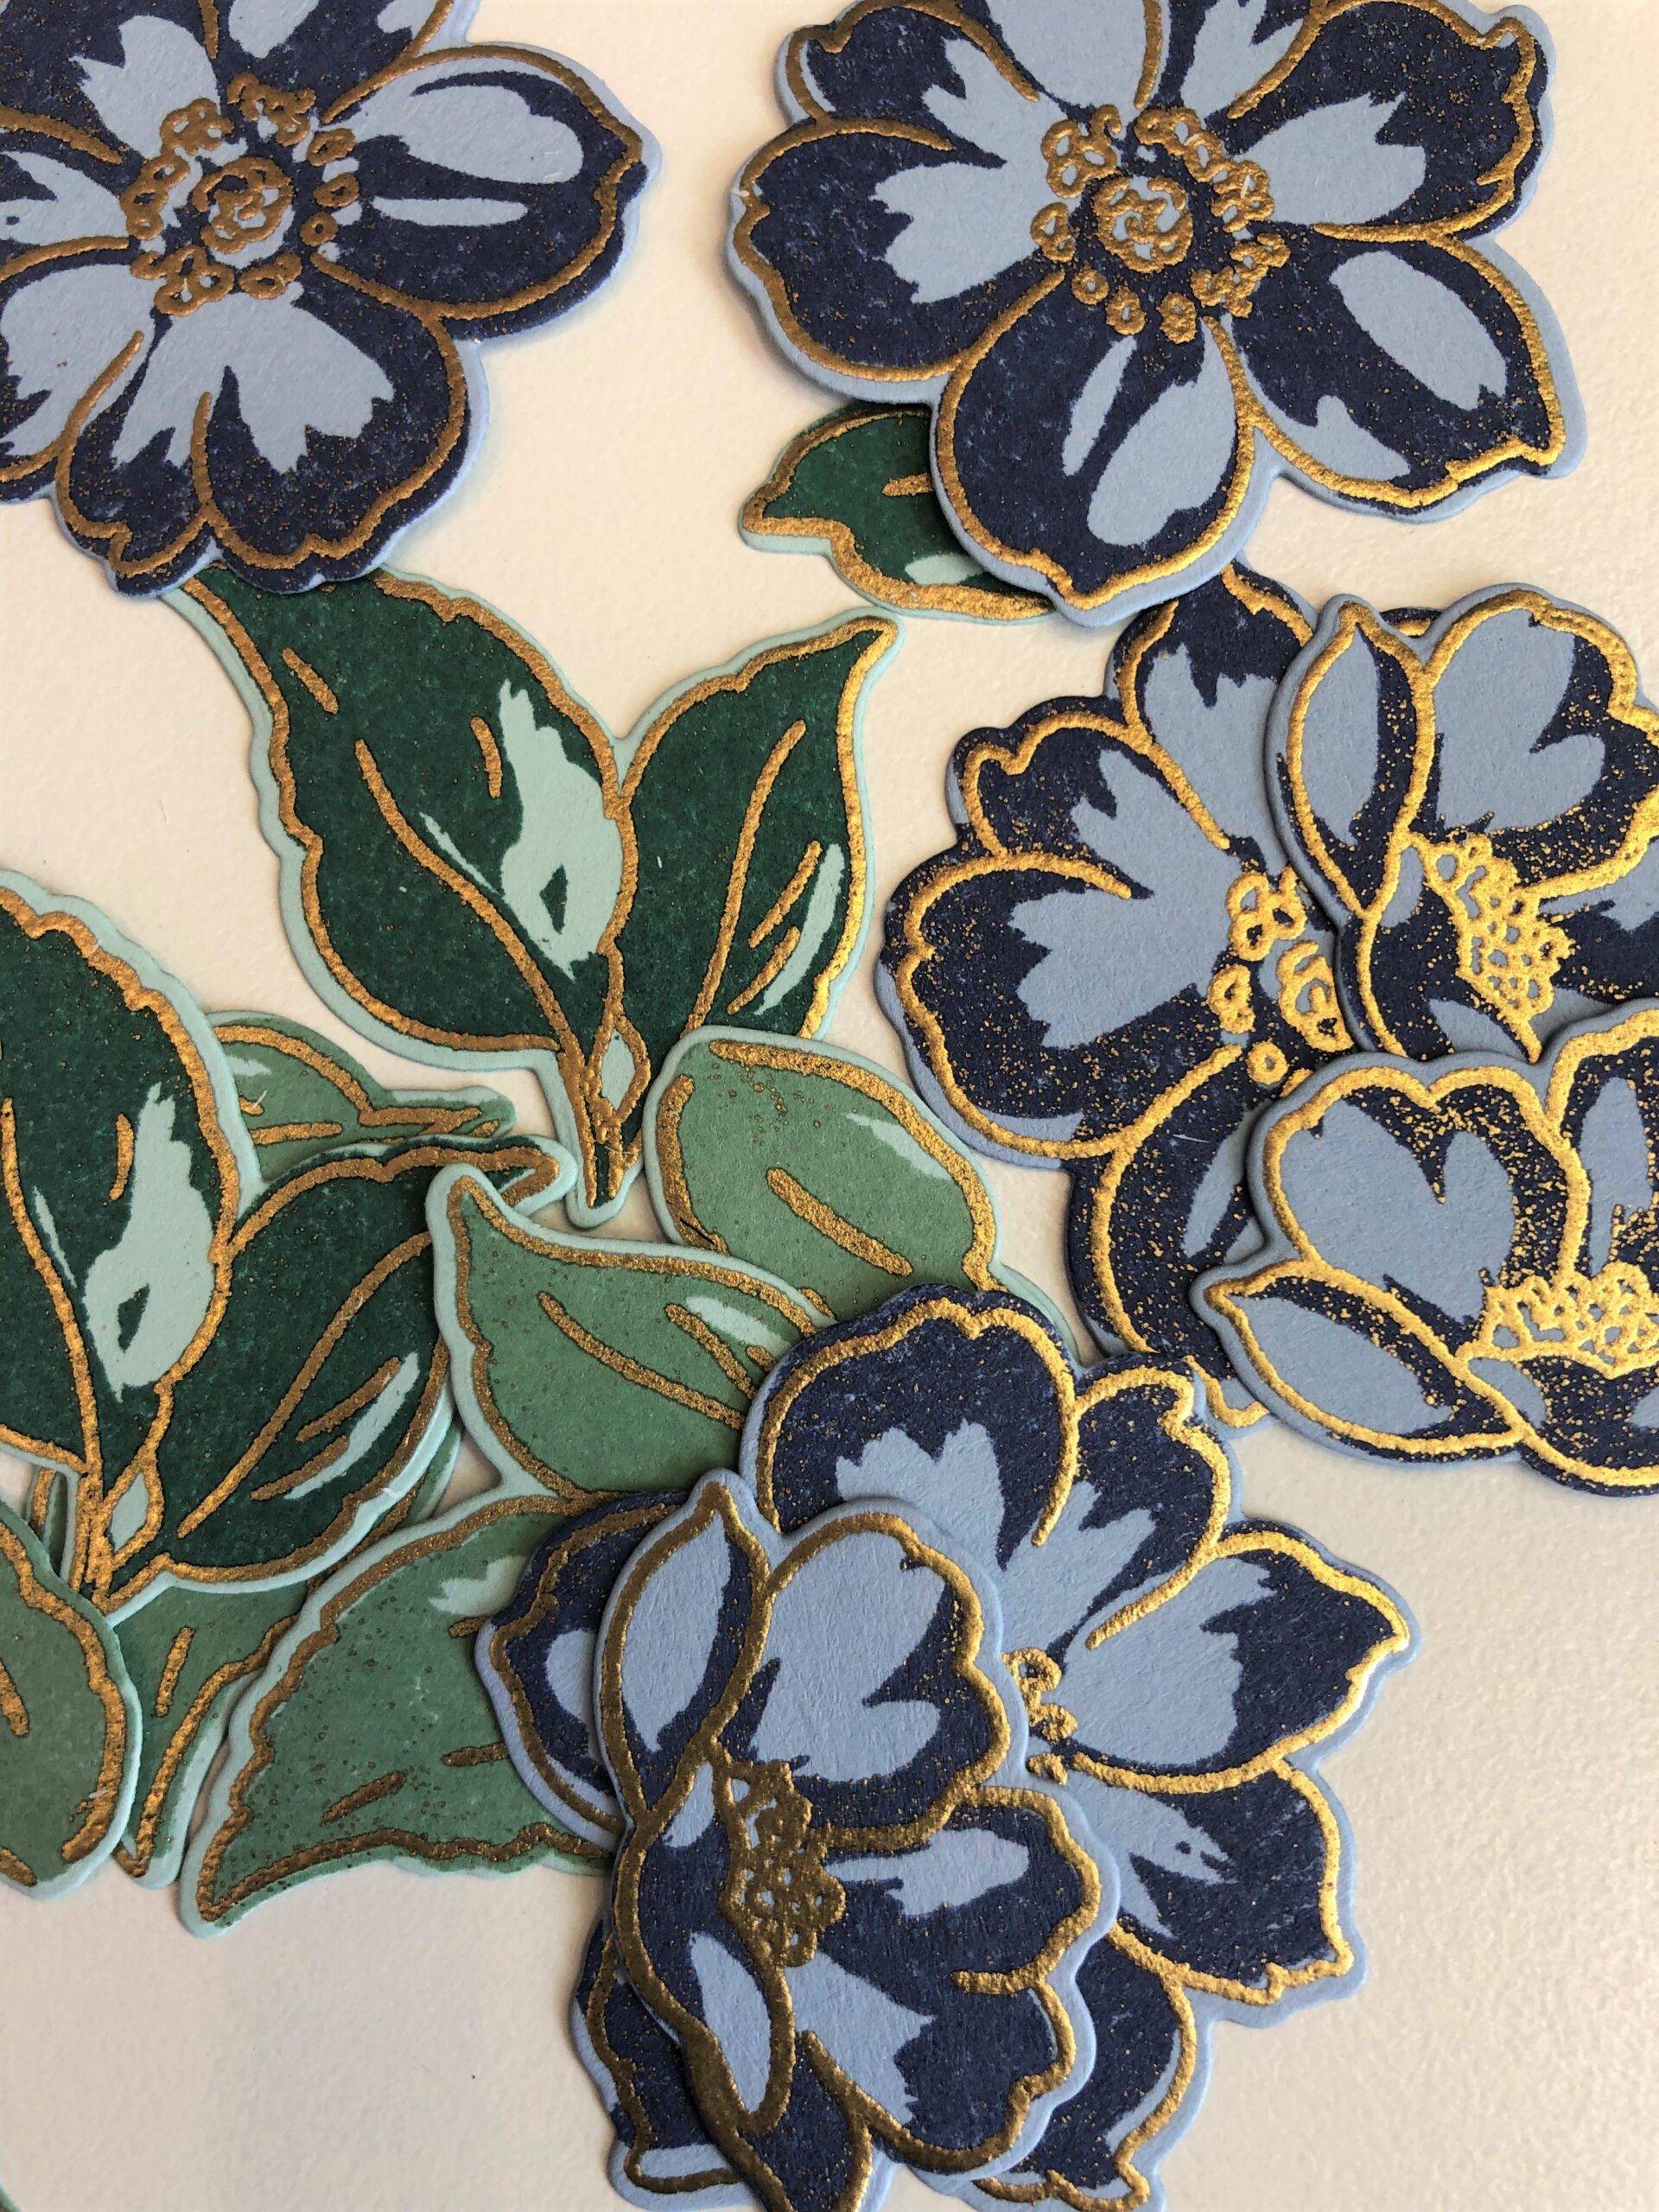
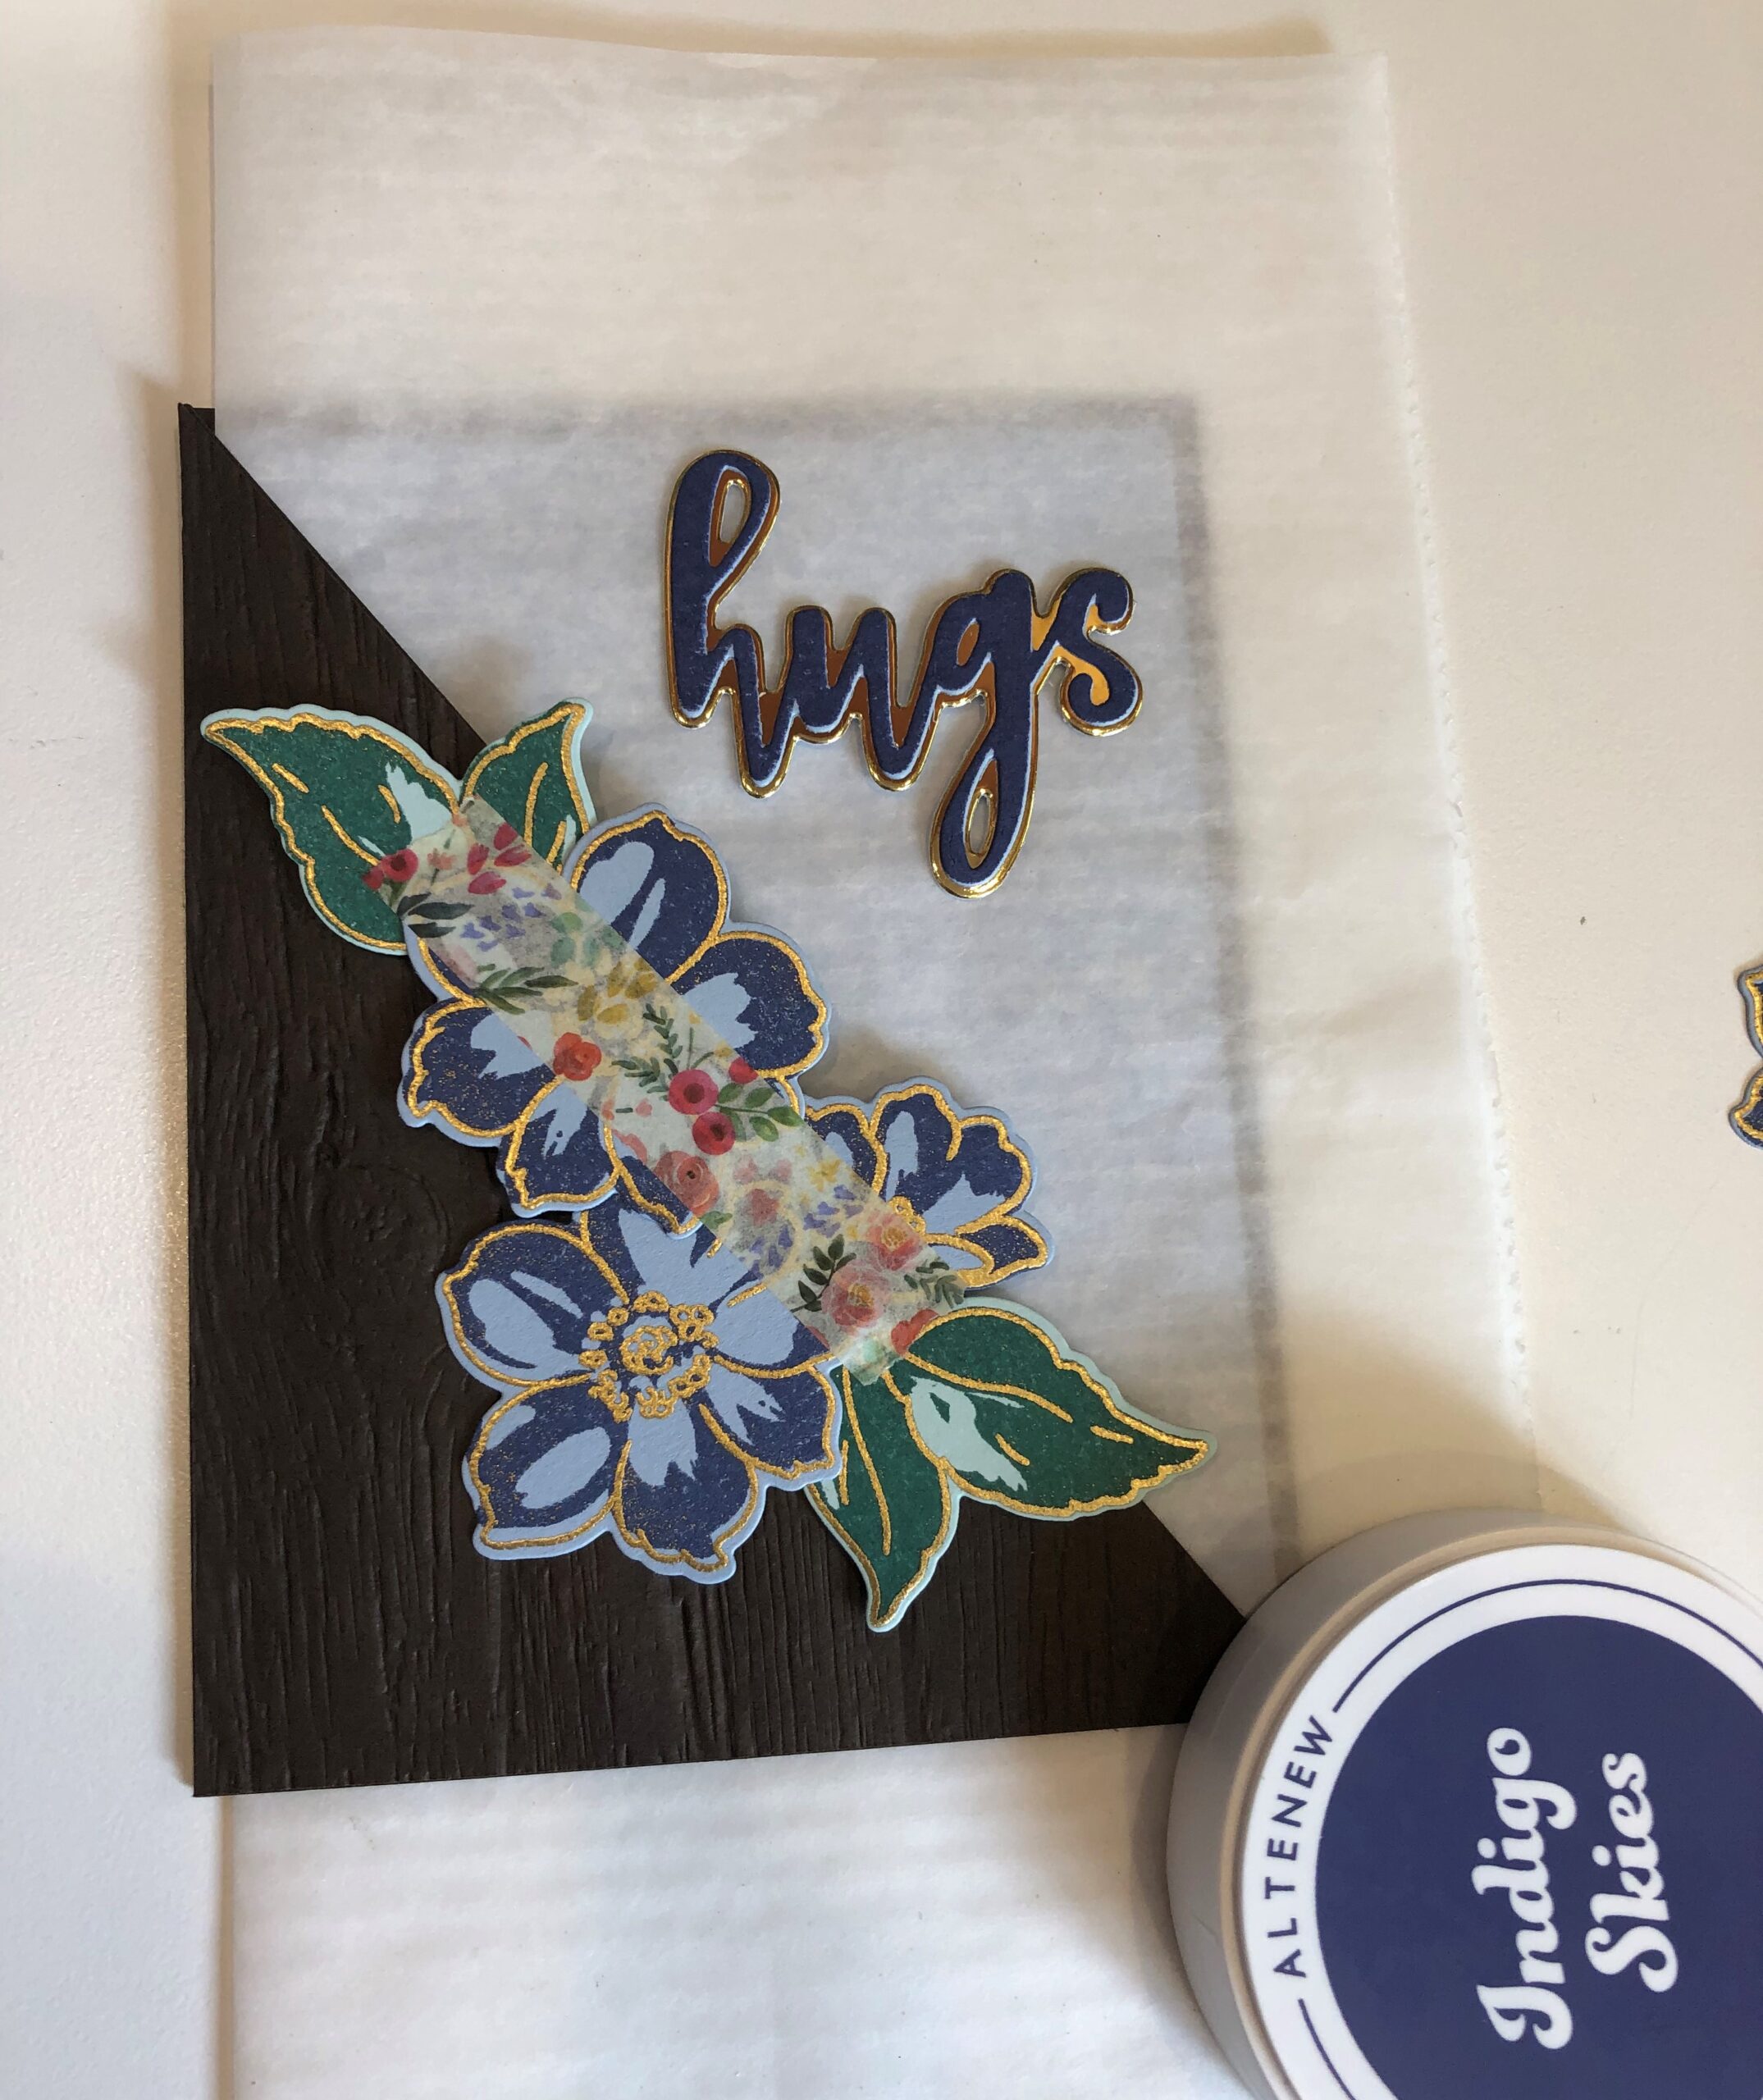
Flowers were arranged, everything was glued together, and then glued on. In the end I added some clear acrylic bubbles and some kisses 😘
Thanks for stopping by and have an amazing day 🙂

